Garden Hoops for Raised Beds
Contributed by Lauren from Dropstone Farms on Bainbridge Island, WA. [With additions from Peaceful Valley.] We have been meaning to write about this for a while, and today friend and blog-reader Melinda provided the impetus when she emailed to ask how our hoophouses are constructed. I know they are working with a raised bed, so I took some photos to illustrate how we have ours set up! It was warm and sunny today, and when I looked under the hoophouses to see what was up, I was hit with a blast of glasses-fog. So I opened them all up to get some fresh air inside and reduce the moisture levels, since too much moisture leads to mold.
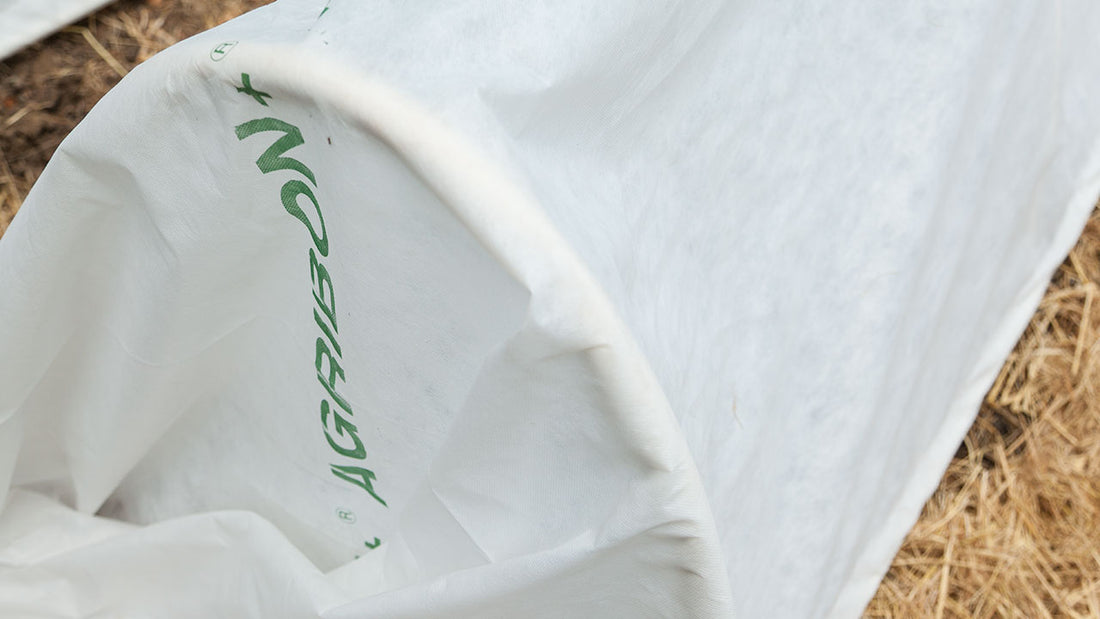
 Opened up the hoophouses today to let them air out a bit, originally uploaded by laurenipsum.
As you can see/guess, our raised beds are constructed of 1×12s. Due to paths and other constraints, many of the angles aren’t right angles, so we did our best to support the corners by screwing into sections of 2×4. The hoops of the hoophouses are 1/2- inch PVC pipe (in varying external widths) in 10-foot lengths. Any size of pipe works fine, as long as you are using clips and pipe sized to suit each other. The hoops are held on with some brackety things that are very simple — just one screw on either side. Anecdote time! As we were building the first hoops on these raised beds, last fall, Garth said, I am envisioning a small bracket that holds the hoops and costs 25¢. Then he went to the hardware store, and seemed a bit sad when he returned (though his pockets were full). I asked, Did they not have the brackets you were envisioning? He said, No, they had them. They were 29¢ each.
Opened up the hoophouses today to let them air out a bit, originally uploaded by laurenipsum.
As you can see/guess, our raised beds are constructed of 1×12s. Due to paths and other constraints, many of the angles aren’t right angles, so we did our best to support the corners by screwing into sections of 2×4. The hoops of the hoophouses are 1/2- inch PVC pipe (in varying external widths) in 10-foot lengths. Any size of pipe works fine, as long as you are using clips and pipe sized to suit each other. The hoops are held on with some brackety things that are very simple — just one screw on either side. Anecdote time! As we were building the first hoops on these raised beds, last fall, Garth said, I am envisioning a small bracket that holds the hoops and costs 25¢. Then he went to the hardware store, and seemed a bit sad when he returned (though his pockets were full). I asked, Did they not have the brackets you were envisioning? He said, No, they had them. They were 29¢ each.
 This is how the hoops are attached, originally uploaded by laurenipsum.
The brackets are easier to apply if you put one on each side, insert the PVC pipe, then have a helper hold it steady while you add the second bracket on each side according to where the PVC hoop wants to rest. The plastic is just a clear-ish plastic dropcloth or tarp from your local hardware store. Ours come from Ace or whichever store we are standing in when we remember we need another one. [Peaceful Valley carries a variety of sizes of more durable greenhouse poly as well.] The plastic is held on the hoops by some very handy hoophouse clips that can be obtained from various sources. [Other companies have them, but only in 20 or 50 packs]; Peaceful Valley has 1/2 inch and other sizes sold individually, with discounts for large amounts.
This is how the hoops are attached, originally uploaded by laurenipsum.
The brackets are easier to apply if you put one on each side, insert the PVC pipe, then have a helper hold it steady while you add the second bracket on each side according to where the PVC hoop wants to rest. The plastic is just a clear-ish plastic dropcloth or tarp from your local hardware store. Ours come from Ace or whichever store we are standing in when we remember we need another one. [Peaceful Valley carries a variety of sizes of more durable greenhouse poly as well.] The plastic is held on the hoops by some very handy hoophouse clips that can be obtained from various sources. [Other companies have them, but only in 20 or 50 packs]; Peaceful Valley has 1/2 inch and other sizes sold individually, with discounts for large amounts.
 Plastic is secured to each hoophouse rib with clips, originally uploaded by laurenipsum.
Pro tip! If you put the two hoop-holding brackets far enough apart, you can put one of the plastic clips in between the two, as above. This clip, snugged up against the side of the raised bed, provides extra security, especially when it’s windy. On our non-raised beds, we buy a larger diameter (1 inch?) of PVC and cut it into 12-16 inch sections. We drive these into the ground until about 3-6 inches are sticking out, and place one approximately parallel on the other side of the planting bed. Then we put the 1/2 inch pipe into each of those and bend it over into the other side. The hoops and plastic and clips are the same as above. [Tip from Peaceful Valley: Make your poly plastic last longer when you reduce abrasion between the poly and the hoop with adhesive Felt Cladding Tape]. If it’s windy, you may need rocks on either end of the tarp to secure it. It will let you know by making a lot of commotion and flapping around in the wind. [Peaceful Valley also suggests Cinch Strap and boards to hold down the poly in windy weather].
Plastic is secured to each hoophouse rib with clips, originally uploaded by laurenipsum.
Pro tip! If you put the two hoop-holding brackets far enough apart, you can put one of the plastic clips in between the two, as above. This clip, snugged up against the side of the raised bed, provides extra security, especially when it’s windy. On our non-raised beds, we buy a larger diameter (1 inch?) of PVC and cut it into 12-16 inch sections. We drive these into the ground until about 3-6 inches are sticking out, and place one approximately parallel on the other side of the planting bed. Then we put the 1/2 inch pipe into each of those and bend it over into the other side. The hoops and plastic and clips are the same as above. [Tip from Peaceful Valley: Make your poly plastic last longer when you reduce abrasion between the poly and the hoop with adhesive Felt Cladding Tape]. If it’s windy, you may need rocks on either end of the tarp to secure it. It will let you know by making a lot of commotion and flapping around in the wind. [Peaceful Valley also suggests Cinch Strap and boards to hold down the poly in windy weather].
[For more information about hoop houses, row covers, and homemade greenhouses Peaceful Valley recommends the book by renowned Maine organic farmer Eliot Coleman -- The Winter Harvest Handbook.]
Opened up the hoophouses today to let them air out a bit, originally uploaded by laurenipsum.
This is how the hoops are attached, originally uploaded by laurenipsum.
Plastic is secured to each hoophouse rib with clips, originally uploaded by laurenipsum.
9 comments
Very similar to what we do! However, I cut a few slits in the top for ventilation – it definitely warms up in there more than you might want, so a few of these do the trick. We keep a staple gun nearby to keep the plastic down on the ends. The stapling also really helps if you have evil chickens who like to cause mayhem in newly planted raised beds :) PS – the “brackety things” are called pipe clamps :)
John, if you are going to leave the rowcover on, the light transmittance is greatly reduced with the heavier weight cloth. The greenhouse poly allows full light into the plants and yes has to be pulled up to water but better for the light. That is really the reason to use (for a winter-long low tunnel) the greenhouse poly.
I’m wondering why you don’t use “row cover” instead of clear poly ? It breaths, thus little heat buildup in sun. It also allows water penetration from rainfall. It too can be held on by the same clips described in your article and weighted by bricks or stones on the ends. Just a question ?
PVC is specified by outer diameter and minimum wall thickness. Contrary to another comment, 1/2" Sch. 40 PVT will NOT fit inside 3/4" Sch. 40 PVC. The former has an OD of 0.840", and the latter has a maximum ID of 0.824". One solution is to upsize your outer sleeve to 1". An alternative solution, much better in my experience, is to use 1/2" CPVC (not PVC) which will indeed fit inside 3/4" Sch. 40 PVC. Being thinner, it is more flexible than its PVC counterpart of the same nominal size, and easier to bend into the sizes typically required for raised garden beds.
Parker, you can use them in the summer, just make sure you have a way to vent it, if it gets too hot. I know with my low tunnels over my raised beds, even in the winter I have to roll back the greenhouse plastic so the plants won’t cook (on sunny days).