A Guide to Successful Growth and Harvest
Garlic is one of the easiest veggies to grow, but sometimes those big green tops yield a harvest of disappointingly small heads. After nearly a year of growing garlic from cloves by patiently watering, weeding and fertilizing, you'll want large flavorful garlic for your favorite recipes!Here’s 9 steps to take, from pre-planting preparation through harvest, to help you grow your biggest garlic heads yet. In addition to following all of the garlic growing steps outlined below, it is important to plant your garlic at the right time.
Best Time to Plant Garlic
Fall planting is best for Garlic, generally September or October is best. It should be at least 2 weeks before your first frost of the season. This affords your garlic the best possible chances to withstand winter conditions by giving it ample time to establish. November is late to plant garlic, December is marginal.
How to Grow Garlic
Select the best variety for your region
Not all seed garlic grows equally well everywhere. Most seed garlic requires sufficient cold temperatures in winter to develop good heads in spring. However some varieties are more tolerant of warm weather.
Hardneck garlic needs exposure to 40-50°F for 6 to 12 weeks for the biggest heads. Softneck garlic such as California Early White and California Late White are a good choice for warm climates.
If you live in an area with warm winters, avoid garlic described as “great for cold areas.” Growing garlic varieties that are not adapted to your climate can result in smaller heads.
Prepare the soil for planting
Garlic can grow in a variety of soils. For large heads it is important to build up your soil with proper amendments and drainage.
Garlic prefers:
- Loose, loamy soil with high organic matter content. If your soil is hard packed consider tilling to loosen the soil
- Well draining soil is preferred, heavy wet soils can cause cloves to rot or develop poorly.
- If your garden soil is not suitable for garlic, its a good idea to consider growing it in a raised bed for better drainage.
- If you fertilize your garden, only do so between pre-planting time and late spring when scapes begin to form. Otherwise you could encourage too much top growth instead of head development.
- Be careful also of over-fertilizing with nitrogen-rich fertilizers in the fall, this could lead to stimulating top growth and result in frost damage in very cold winter areas. For details on soil preparation for garlic, see our Garlic Planting and Growing Guide.

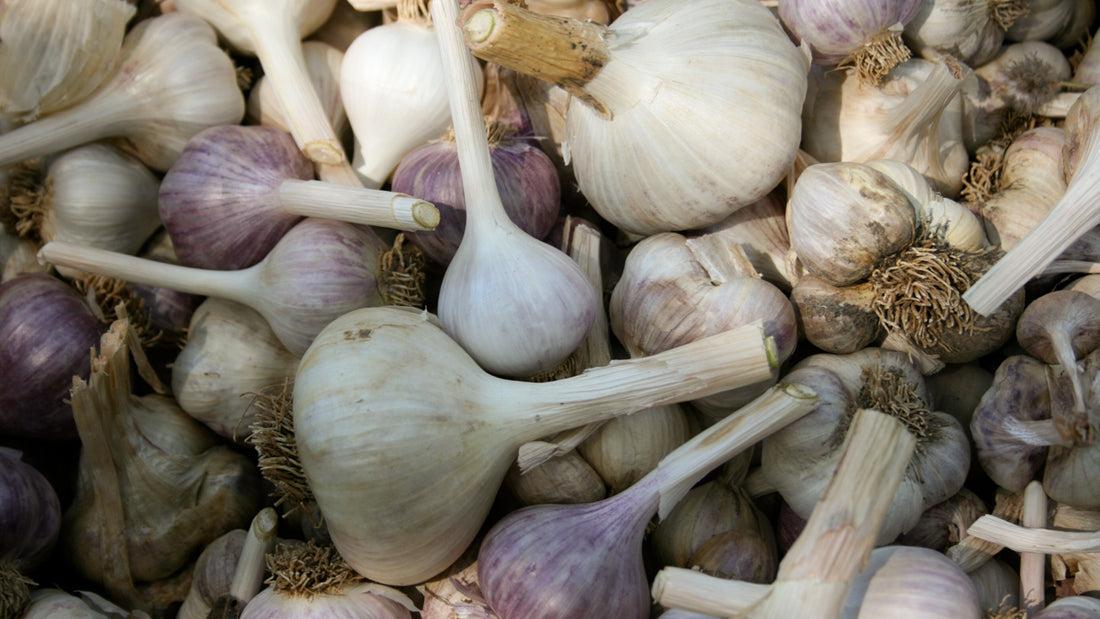
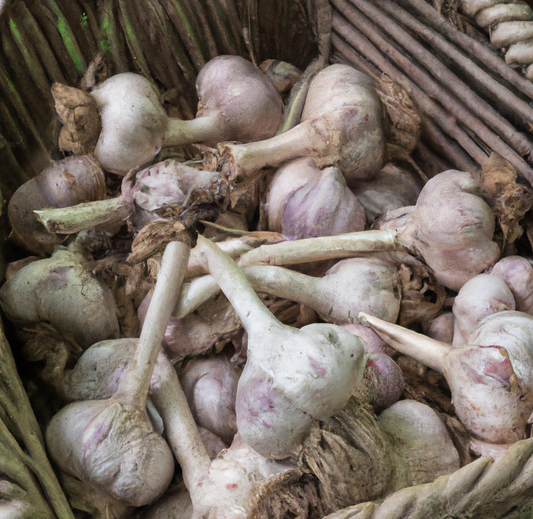
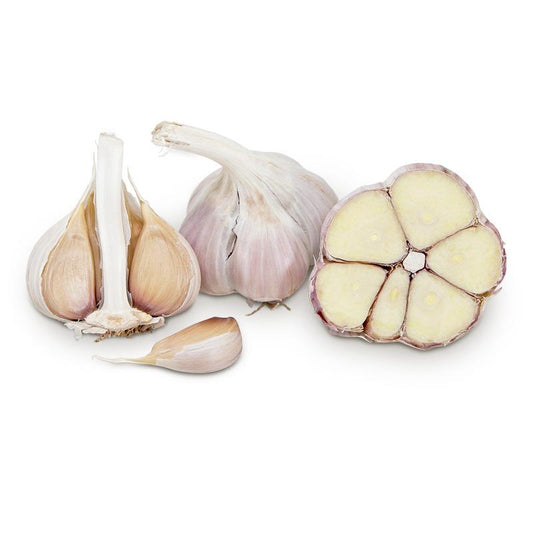
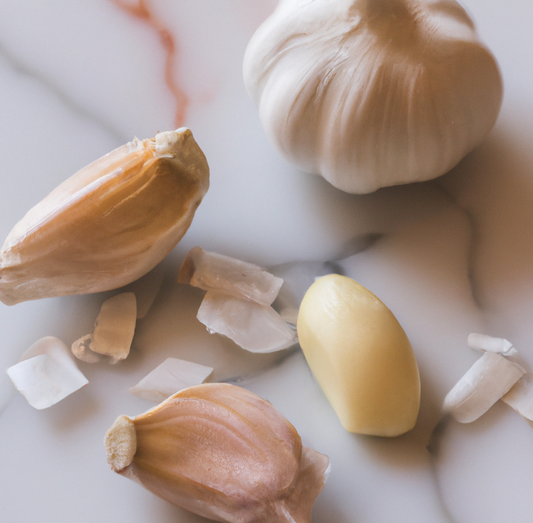
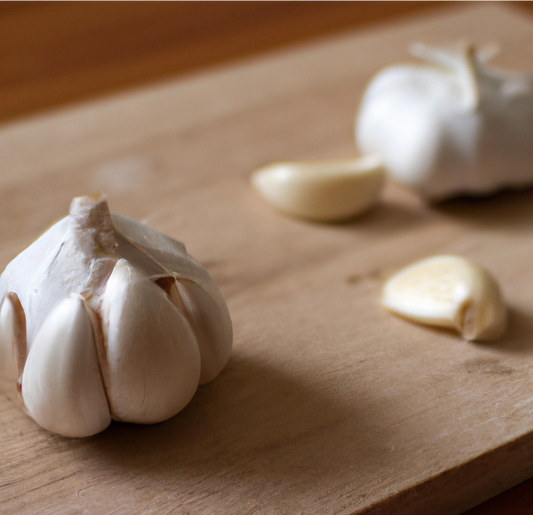
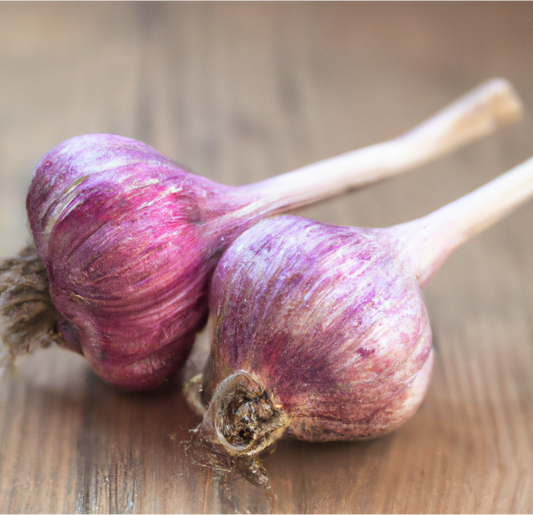
Plant the biggest cloves
The biggest garlic heads grow from the biggest garlic cloves. Large garlic cloves have more energy stored up to help get your garlic off to a good start, and are more resistant to frost damage. When separating cloves for planting, select the largest cloves for growing garlic heads, and use the smaller ones for growing spring green garlic. Just harvest in spring when the leaves have grown, and use like garlic chives.
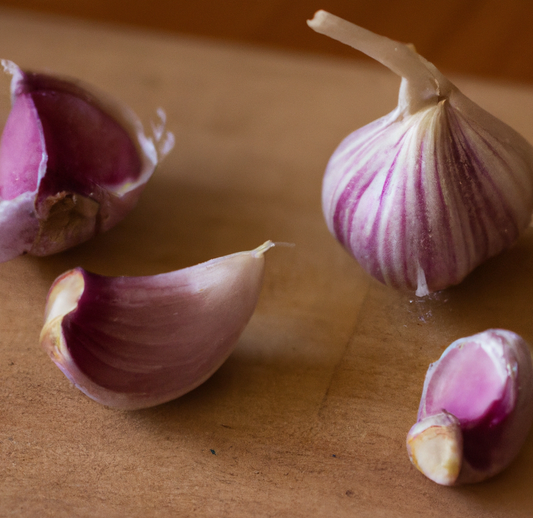
If you saved some of your harvested garlic for planting, select the larger of your heads for seed garlic and eat the smaller heads. While the larger ones are more appetizing, if you select larger heads for planting this year, you’ll have more big heads for both planting and eating in future years.
Give them room to grow
Plant your garlic with plenty of room for their roots to grow, and to keep the garlic from competing with each other for nutrients and water. Spacing them at 6 inches when planting is best. This also is close enough for them to provide some shade to each other while growing, which also helps with the next step.
Keep growing garlic cool
The biggest garlic experiences a long cool winter and early spring when it establishes its root system and prepares for head development, followed by a long (but not too hot) spring and early summer growth period when the heads grow and divide. Head growth starts when the soil temperature is around 60° F, and ends when the soil reaches 90° F.
The key to this step is to keep your garlic’s soil cool for as long as possible until it is ready for harvest. This will give it the longest time possible to develop large heads. If your soil gets too hot too early, head growth will stop when they are still small.
How to Keep Your Garlic Cool in the Summer
- Select a planting site that is shaded during the hottest part of the day.
- Mulch deeply with light colored material such as straw to help reflect light, insulate the soil from heat, and retain moisture – all of which keep the soil temperature lower.
- In areas where the ground freezes, mulching also protects the garlic from getting too cold. Compost, or Mega Mulch are also good mulch options.
- You can also shade your garlic patch with shade fabric.
Plenty of water
A good irrigation plan will also help to increase head size. Mulching helps to reduce evaporation, so your soil stays moist longer and less water needs to be applied. Water your seed garlic deeply but infrequently (allow the surface to dry out between watering, but keep it moist several inches down). This will encourage the roots to grow deeper to find water, instead of staying in the upper regions of the soil where the temperature is higher.
Weed your garlic beds
Weeds growing among your garlic provide unnecessary competition for nutrients and water. Weed your garden regularly! Mulching can also help to reduce the amount of weeds that sprout up.

Remove scapes right away
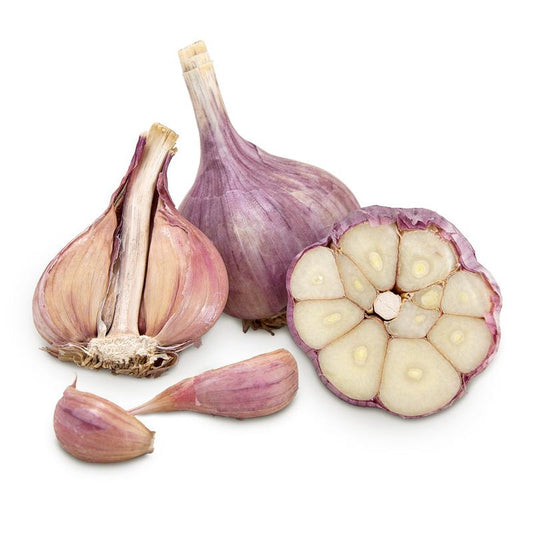
Scapes are the flower stalks that hardneck garlic produces in the spring and early summer. Check your growing garlic frequently for these, and remove them at leaf level. They’re good to eat, so don’t throw them out! They should not be allowed to grow because this takes energy away from head growth.
Harvest at the right time
Make sure that your garlic is fully grown before harvesting. When your garlic is ready, it will not grow anymore and is considered mature when the tops are a third (the 4 bottom leaves) brown or when it falls over (for softneck varieties).
When your garlic tops begin to yellow, stop watering them. Harvest garlic 2 weeks later and cure them. Don’t wait too long, or the papery covering will start to break down and they won’t store as well. Your garlic will not all be ready at the same time, so harvest each head as needed.
Why Cure Garlic:
- Curing allows the garlic's flavor to intensify and mellow, enhancing its taste in culinary applications.
- Properly cured garlic has a longer shelf life, allowing you to enjoy your harvest for an extended period.
- Curing helps reduce the moisture content in the garlic bulbs, preventing mold growth and ensuring better storage conditions.
How to Cure Garlic:
- Harvest garlic when the tops are about one-third brown. Avoid waiting until all the leaves are brown, as this may result in over-mature bulbs.
- Keep the tops (leaves) on the garlic bulbs. This helps protect the cloves during the curing process.
- Hang the garlic bulbs or lay them out in a single layer in a well-ventilated, shaded area. Good air circulation is crucial for the curing process.
- Cure for 2-4 Weeks: Allow the garlic to cure for 2 to 4 weeks. During this time, the outer layers will dry and the bulbs will harden.
- Trim and Clean: After curing, trim the roots and cut the tops to about 1-2 inches above the bulb. Brush off any remaining soil, but avoid removing too many layers of skin.
- Store in a Cool, Dry Place: Store the cured garlic in a cool, dry place with good air circulation. Avoid storing in areas with high humidity.
- By following the curing process, you ensure that your harvested garlic is not only flavorsome but also well-preserved for future use.

50 comments
Nick, you might want to consider getting a soil test. Possibly there is not enough phosphorus and nitrogen to grow a good size bulb. Also are you getting enough cold if you are growing hardnecks?
Elisabeth, as long as the garlic leaves are fully composted, they should not be a problem.
Hi there,
I’ve been growing hard neck garlic in Northern Ontario for a few years now. The bulbs are full sized, but I’m only getting 2 or 3 massive cloves per bulb. Every so often I do get a bulb with 4 to 6 cloves but it’s rare.
These are purple stripe garlic and everywhere says that a bulb should have between 8 and 10 cloves, but I’ve never seen a bulb come close to that.
The plants are otherwise large and healthy. They grow in well drained soil and deep mulch.
I’ve read that you shouldn’t plant legumes in soil that previously had garlic planted in it. I just finished curing my garlic and am getting ready to put the discarded leaves from the garlic plants into the compost. Would compost containing garlic leaves also be detrimental to legumes if added to the soil prior to planting?
Elisabeth, hard to say what your garlic needs, without knowing what level of nutrients you have in your soil. You may want to consider doing a soil test to find out. Garlic can not size up for several reasons: not enough phosphorus and nitrogen, not the right garlic for your growing zone (hardnecks will not size up if they do not get enough cold in winter), soil too warm in the summer (which will cause bulbs to stop increasing in size). If you do not want to feed with any animal based fertilizers, you can use soft rock phosphate for phosphorus and soy-based fertilizers or alfalfa meal for your nitrogen. Kelp has no to very little nitrogen or phosphorus, not sure the amount of nutrients in alfalfa tea.