Designing Your Drip Irrigation System
Welcome to part 1 of a five-part series on how to install and assemble drip irrigation systems. Whether you're going to be using poly tubing, drip tape, soaker-hose, emitterline or with various sprinklers and emitters you're going to start out with the same planning and assembly.
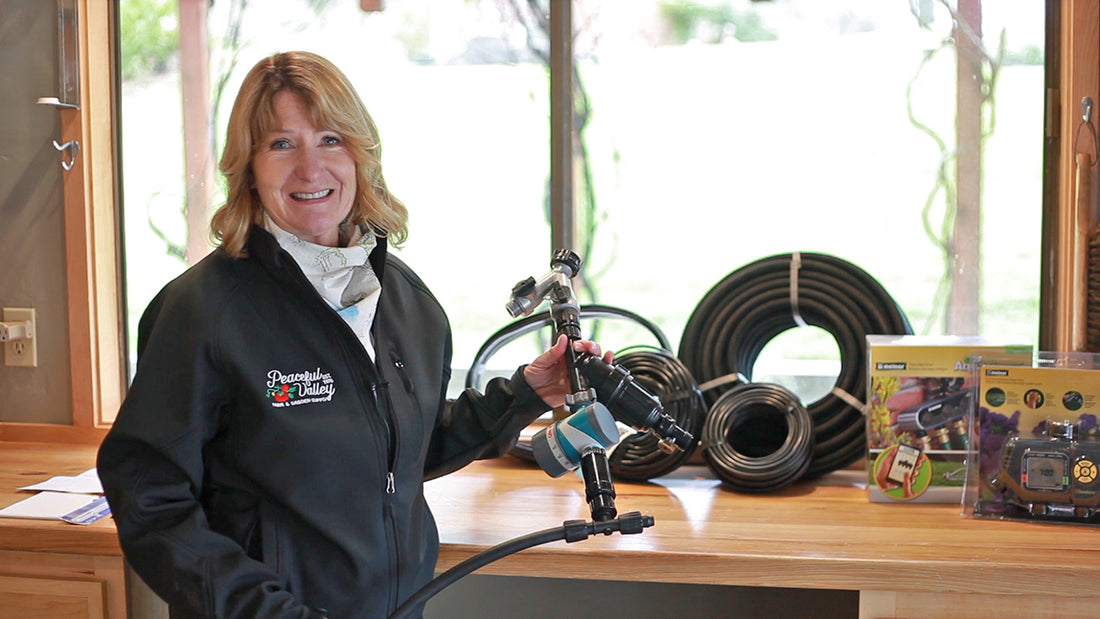
Watch Part 1 video, where Tricia steps you through the process, or continue reading!
Drawing up Your Irrigation System
To begin with get out your pen, pad and tape measure for the planning session. Your drip irrigation system begins at the water source, whether that's a free-standing faucet near your garden, a hose bib on your house, a spigot near a well ditch or other water source.- Start by measuring how far it is from your water source to your gardens.
- Decide whether you can water all your gardens with one line from the source or if you'll need several lines such as if your gardens are located in different directions from the faucet, or you need to determine if you need more feet of line than the system can support at once.
- You'll also need to measure your garden beds, length and width.
- From your measurement you can now draw out all of your gardens on paper.
- Note each measurement on your drawing then draw in or note what you'll be watering–veggie beds, flowers, perennials, trees and shrubs should all be included in your diagram.
Now it's time to take the time and analyze what kind of drip system is going to be the best for you–drip tape, emitterline, soaker hose, sprayers or drip emitters. You need to incorporate several types for the most efficient irrigation. Check out the corresponding videos on each type of irrigation system to learn more about what each system is used for before you decide, or you can check out any one of our Drip Irrigation Set-up Diagrams at groworganic.com. 
Water Hook-Up
The first part of your system from your water source to the edge of your garden will be the same no matter what kind of drip irrigation system you choose.
- At the end of either a hose or faucet the first thing you'll install is a Y-Connector or a you can use a 4-Way Connection. This allows you to water other things without disconnecting your drip system.
- Next install a Vacuum Breaker. This will prevent back flow from your irrigation system and prevent your water source from becoming contaminated. This will be especially important if you plan to be using a fertilizer injector system.
- If using a fertilizer injector system now is the time to install it, however, if you are using a timer, you should install the injector after the timer.
- A filter should be installed next, this will prevent your drip system from getting clogged. A Flushable Y-Filter is very easy to clean or you can use an economical In-line Filter. A filter is especially important if you're using a fertilizer injector or if your water source is from a well, irrigation pond or a ditch.
- Next is a timer (optional). There are a variety of timers to choose from. Anywhere from a simple mechanical timer to a fully digital timer. Adding a timer will save you time and money on your water bills.
- Most drip systems work best with a fixed pressure regulator. The type of pressure regulator to use will be based on the type of drip system you're going to be installing. If you are using multiple types of drip irrigation, install the type of pressure regulator needed before the line (ie. install a 10 psi pressure regulator before drip tape line).
Getting Water to the Garden–Adding the Supply Line
Last step is to add the 1/2" poly tubing, which will bring the water to the edge of your garden. So at the end of the pressure regulator you'll need to install a Power-Loc - 3/4" Female Hose Starter Fitting Attach your 1/2 inch poly to the starter and then power lock it in place.- Where the poly hits the ground, to avoid kinking of hose, attach either a Power-Loc Elbow, or if you want to split the line into two, add a Power-Loc Tee.
- You can stake it down with Ground Staples or you can hold it firmly in place along a wooden deck or raised beds with Mounting Clips.

4 comments
Lindsey, it would depend if you need all of your zones pressure reduced. I am not sure if your manifold has a minimum psi, that would also be a consideration. If you put it after the manifold, then each zone can be different giving you more flexibility in your irrigation system.
where would you place a pressure regulator (with filter) in your sequence of building a drip irrigation above ground with hose spigot. I am using with a controller with a 4 zone manifold.
Would each zone need a pressue regulator and filter or just one prior to entering the controller ?
Much Appreciated,
Lindsey
Hi there. I came across this series on drip irrigation (which is amazing by the way) and was very interested in seeing the diagrams that are mentioned in the video and linked in the blog for the first video. However, after clicking the link (https://www.groworganic.com/media/pdfs/irrigation-diagrams.pdf) I get an error that no file is available. Would it be possible to have this link fixed or email me the PDFs? Many thanks!
Thank you! I was having a hard time finding a step by step online for a beginning farmer. Very helpful. Do you recommend adding a PSI meter to the filter as well?