How to Assemble a Drip Irrigation System
Welcome to part 3 of How to Assemble a Drip Irrigation System. In this blog we're going to tell you how to install the most popular drip irrigation, drip tape. If you haven't watched the Part One video yet be sure and do so because that will tell you how to get the water from your water source to the drip tape via the poly tubing.
You can also watch our video on How to Install Drip Tape where Tricia explains all the details to installing drip tape.
Facts About Drip Tape
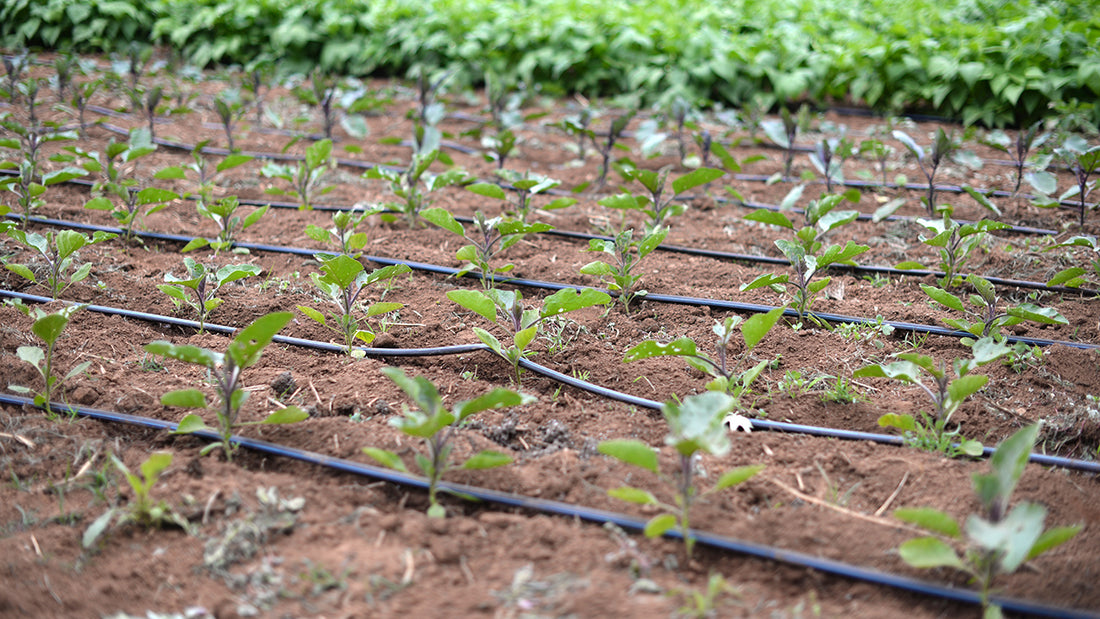
- Drip tape is great for vegetable gardens requiring even watering.
- The tape has little slits (Chapin brand) or embedded emitters (Cascade brand) every eight inches to deliver water directly to your veggies.
- Drip tape can only be installed in straight lines.
- Drip Tape comes in two different weights, 8 mil and 15 mil.
- Works best at low flow of 10 psi.

Installing Drip Tape
- To install drip tape bring your water up to the garden with poly tubing as shown in our part one video.
- Install a 10 psi Pressure Regulator because drip tape must be used with pressures less than 10 psi.
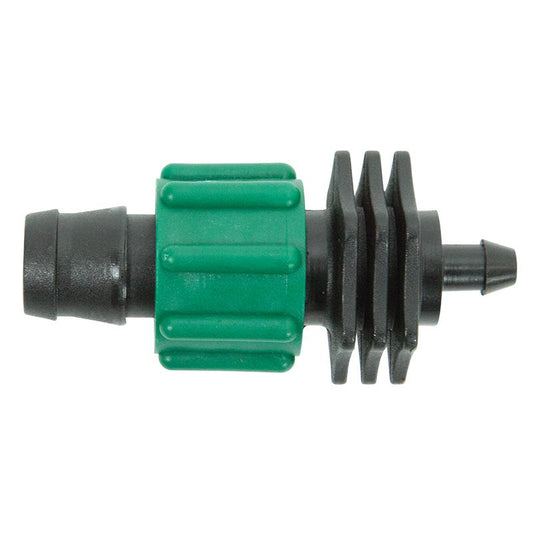
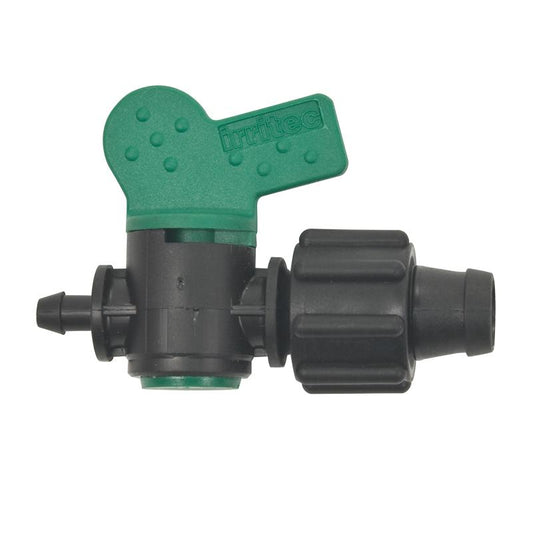
- To hook into your 1/2" poly you can use either a Drip Tape Loc Sleeve 1/2" Barbed Fitting-IRC470 (for running one line of Drip Tape), the Drip Tape Loc Sleeve 1/4" Barbed Fitting-IRC450 (punches into the side of your 1/2" poly) or a Perma-Loc 1/4" Barbed Fitting with Shut Off Valve (use if you will need to shut off your drip tape line).
- Just like the Power-Loc fittings, the Drip Tape fittings, work the same way. Screw the coupler all the way up, insert the drip tape and screw down to lock on.
- To end the line you can either use a Drip Tape Sleeve End or a Drip Tape Loc Sleeve with End Cap (good if you want to flush out the lines).
Installing Drip Tape in a Raised Bed
- Extend your 1/2" poly tubing so that it runs the full length of one side of your raised beds (narrow side is best).
- Anywhere along the tubing that you would like drip tape to branch off use a Punch Tool to make a hole in poly tubing in the side your drip tape, not on the top.
- Insert the small end of a Drip Tape Loc Sleeve 1/4" Barbed Fitting into the hole. Alternately, you can use a Perma-Loc 1/4" Barbed Fitting with Shut Off. This fitting allows you to individually turn off each drip tape line on and off.
- Cut the drip tape to the length of the bed. When cutting your tape, cut it in between the emitters not on the emitter slit.
- When you install your drip tape make sure that the side with the slits is facing up.

Installation and Care Tips
- Lay out your poly tubing and your drip tape in the warm sun. It will be a lot easier to deal with and unwind.
- If it's hard to get your fittings into either the end of your poly tubing or at the end of the drip tape, just moisten it a little bit with cold water or spit, that works too!
- Use a ground staple to keep the drip tape in place.
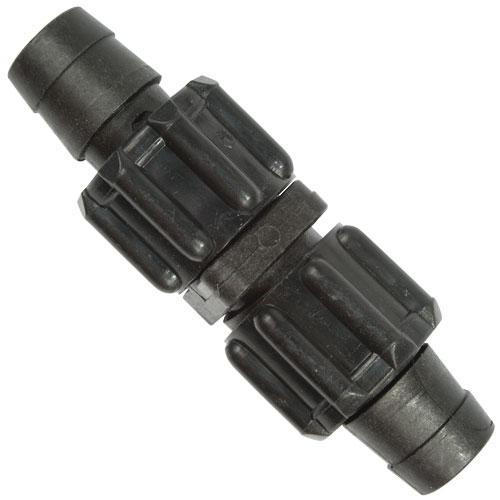
- If your drip tape springs a leak, cut out the bad section and marry them together with a Drip Tape Loc Sleeve Coupler (good to keep a few of these on hand).