How To Assemble A Drip Irrigation System
Welcome to part two of How to Assemble a Drip Irrigation System. In part one we discussed how to set up your system from the water source, so if you haven't watched that video or read the blog, check it out first. In this blog we'll discuss how to install micro-sprinklers, sprayers and other drip irrigation emitters along poly tubing. Watch our video where Tricia explains all the different types of sprayers or emitters that can be installed.
Poly tubing with micro-sprinklers is a great choice for providing customized water delivery to the different plants in your gardens. You can choose a different sprayer, sprinkler or emitter that fits each section or each plants' requirements and even change them out throughout the season if necessary.
Attaching the 1/2 Inch Poly at the Initial Set-Up
Set-Up Configuration
- Y-Connector (or 4-way connector) attached to the water source
- Vacuum Breaker (especially important if using a fertigation attachment)
- Filter (important if using water from a pond or irrigation canal)
- Timer (optional attachment)
- Pressure Regulator (especially important if using Drip Tape or Soaker Hose)

Attaching Poly Tubing with Power-Loc Connectors
First attachment is the Power-Loc 3/4 inch Female Hose Starter fitting to the pressure regulator. Before adding your poly tubing, make sure the locking coupler is turned all the way up (so the barb is exposed). Push the poly tubing as far as you can (should be over the first barb, but best to be pushed up to the stop). Once you've inserted the poly tubing then tighten the locking coupler over the poly tubing. To run the poly tubing along the ground in a single line you will need to add a Power-Loc 1/2 inch Elbow coupler. This will make a nice smooth flow of water from the source, at a 90 degree angle, and prevent any kinking. If you want to run your poly in two directions, add a Power-Loc 1/2 inch Tee instead of an elbow.
Adding the Olson Mini-Sprinklers
- These run directly off of the 1/2" poly tubing
- Useful for lawns or landscaping plants
- Lay down your 1/2" poly and punch a hole on the top where you want your Mini-Sprinkler
- Push the Olson Clamp (barb is on the bottom) into the hole you just punched
- Place a Stabilizer Base under the poly tubing and push the clamp into the base to lock in place. You can also use ground staples on each side of the base to keep in place.
- You can add a Riser or Mini-Sprinkler to the clamp
- If using the Riser, screw the Mini-Sprinkler to the top of the Riser.
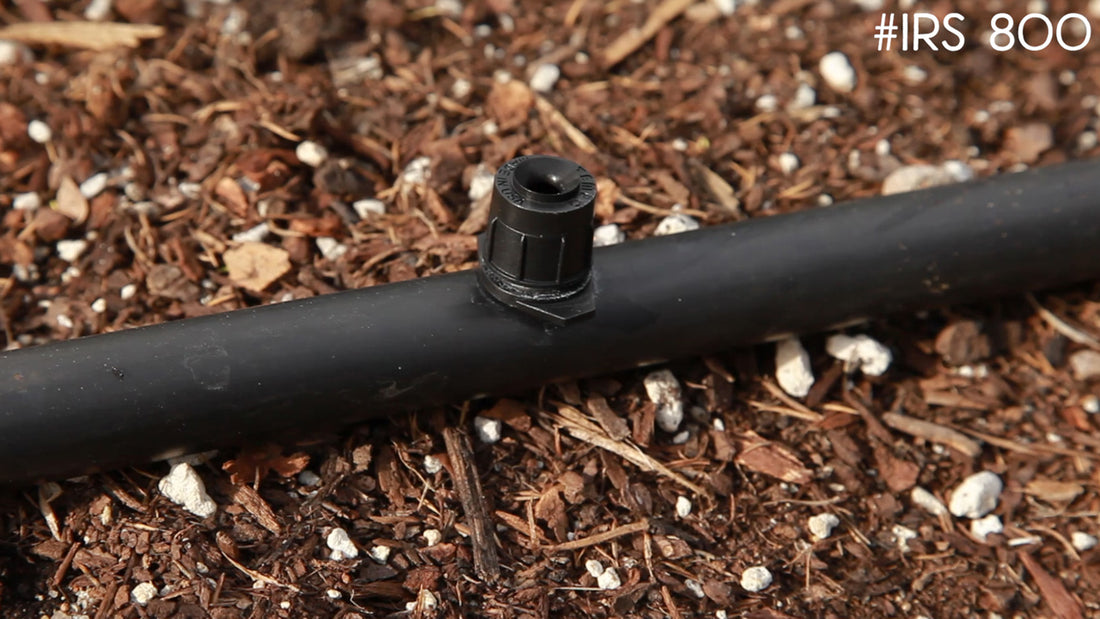
- The Mini-Sprinkler you choose will depend on how much water you need delivered. At a psi of between 10-30, IRS620 delivers 4.4 to 7.3 GPH, vs. the IRS619 delivers 10.2 to 30.5 GPH (see website for more information.
Adding Sprayers to Your System
- Sprayers are usually added to a Riser, an Irrigation Stake or a Spike Stake.
- Three types of sprayers offered, Olson O-Jet, Olson Ultra Jet or Micro Sprayer with Flow Control
- Connection to the 1/2" poly using a barbed coupler, then attaching to 1/4" poly tubing
Olson O-Jet Sprayers
- Works at low pressure better than other sprayers.
- Spray patterns from 90°, 180°, 300°, or a 30°/30°
- Puts out a fine spray.
- Use in combination with a riser and a spike stake or an irrigation stake attached to 1/4 inch poly.

Olson Ultra-Jet Sprayers
- Use for ground covers, under trees or in areas that need moderate water coverage.
- Provides a stream type of spray.
- Comes in a 360° or 180° spray pattern.
- Works well at low pressures
- Hook up is the same as the Olson O-Jet Sprayers.

Micro Sprayers with Flow Control
- Use where customized emitter flows are needed.
- Vari-Jets™ combines a threaded barb base, spray cap and flow valve in one unit that is installed the same way as O-Jet Sprayers.
- Optimal operating pressure is 20 psi
- Available in 90°, 180° and 360° spray pattern.
Spectrum Spray 360
- These come either on a stake, which you would use 1/4" poly to go to the 1/2" poly, or on a barb that can go directly into your 1/2" poly tubing.
- At 30 psi, it will cover a 108 inch diameter and put out up to 20 GPH.
- Flow can be adjusted and even shut off when not needed.
Shrubbler
- Great for shrubs or trees.
- Comes on a stake or on a barb that can go directly into your 1/2" poly tubing.
- At 30 psi, it will spray a maximum of 26" diameter and deliver 15 GPH.
- Adjustable flow control and shut off
- On the stake, use a 1/4" poly tubing to attach to the 1/2" poly.

Aquatic Tri-Tip Sprayers
- The only sprayers that use the 1/8" poly tubing to hook into the 1/2" poly tubing.
- Each sprayer has three points to attach the tubing and will deliver different amounts of water.
- Delivers at 4.8 GPH, 7.8 GPH or 10.8 GPH at 10 psi, also has a shut-off point on the side.
- Good for using in pots.
Emitters
These are used to bring water directly to your plant. They are installed either on a line of 1/4" poly tubing or punched directly into the 1/2" poly tubing. You usually use only one on each 1/4" poly, unless you use the Mini-Flo Inline Emitters (more about those later).
Flag Emitters
- These attach to 1/2" or 1/4" poly to deliver water.
- If attaching directly to 1/2" poly, insert the pointed end into it.
- They deliver either 1, 2 or 4 GPH.
- Secure in place with a Ground Staple or a Short Stake/
Compensating Emitters
- Use when inconsistent water pressure is a problem. This emitter delivers uniform flow rates (1/2, 1 and 2 GPH) even at varying pressure.
- These attach to 1/2" or 1/4" poly to deliver water.
- If attaching directly to 1/2" poly, insert the pointed end into it.
- Secure in place with a Ground Staple or a Short Stake/

Mini-Flo Inline Emitters
- Inline emitters are mini-flow and therefore multiple emitters can be used on a single line, because a minuscule amount of water is going to seep through the little hole on the emitter.
- Comes in 1/2 or 1 GPH.
- Start with attaching 1/4" to the 1/2" poly tubing. Cut when you want to put an emitter, and then continue the line.
- You can either end with a Goof Plug in the 1/4" poly or loop back around to the 1/2" poly.
Fogger Mister Emitters
These are great for making misting chambers in your greenhouse for propagating, or make something for your deck to keep things cooler in the hot summer. The can attach directly into the 1/2" poly or by using 1/4" poly.
Essential Extras for Assembling Your Drip System
- Hole Punches–some may just try to skimp and use a nail or something sharp to puncture the 1/2" poly tubing. But it is not advisable and you may get some leaking if the hole made is too big. Punches make just the right size hole for the barbed couplers to fit into.
- Goof Plugs–these are great to have on hand if you make a mistake or just want to move your line. They are also good for ending an inline string of emitters, or for the 1/4" emitterline.
- Vari-Flow 1/4" In-Line Valve–great if you need to shut off your water to an emitter or sprayer.
- Ground Staples–secures your poly to the ground.
- Short Stake For 1/4" Poly Tubing–use these instead of ground staples to secure your emitter in place.
- Spike Stake–used for installing sprayers on risers.
- Risers–Comes in two lengths but can be cut to any desired length. Used for attaching sprayers and raising it above plants.
- 12" Irrigation Stake–use with a riser or 1/4" poly tubing to secure you sprayers.
- Barbed Couplers–comes in 1/4" or 1/8" (for Aquatic Tri-Tip Sprayers) and 1/4" also comes in heavy-duty. They are longer and are a little easier to handle when installing. Couplers also come in a 90°, a Tee or threaded.