Introduction
Did you ever plant a fruit tree and then find out it wouldn't produce in your climate? Did you wish you could wave a magic wand and make the tree change into a different one? Well, you can -- but you have to wave a grafting knife instead of a magic wand. You can add different cultivars of apples to an existing apple tree, for instance, for a multi-graft apple tree. Or if you have a healthy plum tree that's not producing you can graft on another plum cultivar that is better suited to your climate. Do you want many kinds of fruit on one tree? Your best bet for that is adding several cultivars of stone fruits to one stone fruit tree. **Don't graft any patented fruit trees though. We know the Zaiger family in California's Central Valley spends many years trying out and perfecting fruit tree hybrids. They go down many roads that lead to dead-ends so they need to have their successful fruit tree patents respected for their full 20 years. No GMO stuff, just old-fashioned plant breeding. Here's a short video about the Zaigers.** Budding is the name of the simplest grafting process, with the highest success rate. Tricia shows you T-budding (the easiest budding method) in our latest video, and we'll walk you through the steps right here.

How to talk like a budding horticulturist
Let's get our terms straight, as suggested by the University of Florida.
- Rootstock: The roots and lower trunk of a tree. A rootstock is usually chosen for vigor and health. The scion is grafted on to the rootstock.
- Scion: The scion is the upper part of the tree, including branches and leaves. Scions are selected for excellent fruit.
- Grafting: The process of cutting a section from the scion and inserting it into another tree's rootstock or scion.
- Budding: The smallest scion section is cut for grafting -- only one bud as opposed to a branch with several buds -- and attached to another tree's rootstock or scion.
-
T-budding: The easiest method of budding.

T-budding basics
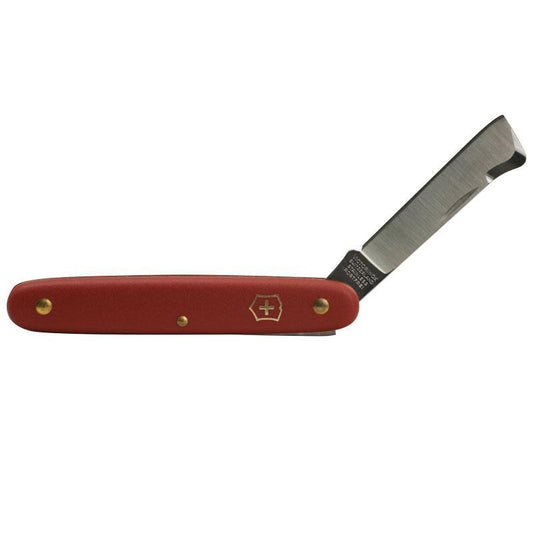
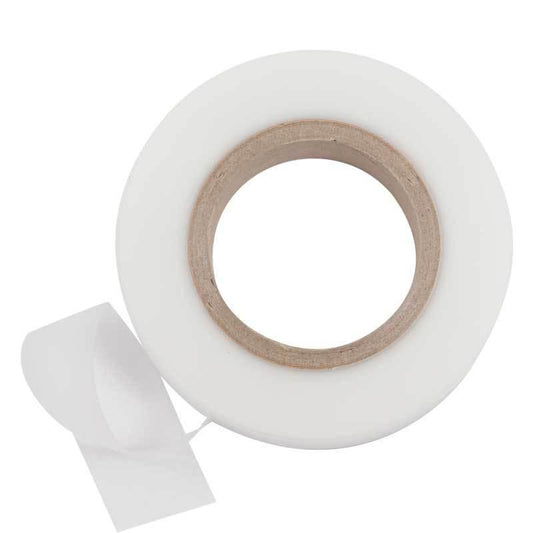
* T-budding works on trees younger than five with branches smaller than 1/2". * T-budding is the preferred grafting method with stone fruits (peaches, plums, apricots -- any tree fruit with a pit), and is also effective with pome fruits (apples and pears), citrus, and avocados. * Things you'll need: a grafting knife and grafting tape. * Inverted T-budding, where the T is upside down, is the most successful way to do T-budding.

Using the inverted T-budding method on tree branches
For grafting on a branch, budding should be done on a spot that is 12" to 18" out the branch from the trunk. Remove leaves and branches from the spot so you will have a clean, smooth working surface. Make the T cut on the host branch by inserting your grafting knife through the bark, into the branch until you meet resistance of the wood layer of the stem. Cut an upside-down T with a vertical slit 1" to 1 1⁄2" long and a top slit up to 1⁄2" long. Open the slit enough to insert the bud shield that you will cut from the budstick.
Once you have your budding location selected cut some budsticks from your donor cultivar. This should be done in the morning when the tree's turgor pressure is highest. You want a nice healthy shoot with plump buds from the current season's growth. The middle buds are the best so you cut off and discard the top buds and the bottom buds. Cut off the leaves, but leave about half an inch of the petiole to use as a handle when budding. Using your grafting knife, start your cut 1/2" to 3/4" below the bud and end it 1/2" to 3/4" above the bud. It is critical that the back of the bud shield be straight or else it won't take. Getting it straight and not slightly curved takes practice. The bud shield needs to be inserted immediately into the T before it dries out. Slide the shield under the bark until it roughly in the center of the vertical cut. Make sure that you insert it right side up, buds put in upside down rarely take. Using grafting tape, start below the bud for inverted T and above the T for a right-side up T bud to make sure the pressure of the tape doesn't pop the bud shield out. Make sure you don't cover up the bud though, leave that peeking out between the wrapping.
Check back a week to ten days later to see if the bud has taken. If the shield looks healthy and plump and the leaf petioles have fallen off then it has taken. If it looks all dry and shriveled the union was unsuccessful. The bud won't sprout this year. Next spring right before bud break cut off the wood above your successful budding and be alert to pinch off all other shoots in the area except your new bud. At this stage, careful nutrient management—especially when fertilizing mature fruit trees—helps support strong growth of the new graft without overstimulating the tree.

A bushel basket of fruit tree information for you
 For more university-research-based information on fruit tree topics, check out our Fruit Tree Central where we collect all our fruit tree videos and articles. Our favorite fruit tree book is The Home Orchard by famed Sacramento County Farm Adviser Chuck Ingels, published by the University of California Agriculture and Natural Resources. To make your orchard dreams come true, take a mouth-watering tour of our fruit trees and get ready to pre-order bare root trees. We give you all sorts of information about the fruit varieties, from flavor to zones to pollinators, to make it easy for you to have a productive orchard. Create magic in your garden with a grafting knife and your new budding skills.
Conclusion
Grafting may not be magic, but with a steady hand and a sharp knife, it can completely transform your orchard. Through simple techniques like T-budding, you can improve fruit quality, adapt trees to your climate, and even grow multiple cultivars on a single tree. By understanding key terms like rootstock and scion and following careful, precise steps, even home gardeners can successfully propagate and enhance their fruit trees.
Respecting plant patents, choosing healthy budwood, and maintaining proper aftercare all play important roles in long-term success. With a bit of practice and patience, budding becomes not just a propagation method, but a powerful tool for creativity and sustainability in your garden. Armed with knowledge, the right tools, and thoughtful care, you can shape your orchard into exactly what you envision—one bud at a time.
FAQs About Budding and Grafting Fruit Trees
What is budding in fruit tree propagation?
What is T-budding and why is it popular?
When is the best time to bud a fruit tree?
How do I know if a bud has taken?
Can I graft any fruit tree cultivar?
Resource Area: Propagation & Garden Knife Uses
See how gardening knives can be used beyond cutting—like propagating, scoring, and preparing plants:
- Use Budding to Change the Varieties of Cultivars on Your Fruit Trees – Shows precise use of bud grafting with sharp knives.
- Sharpening Tools – Pruners, Loppers, Shovels and More – Video on maintaining the edge for clean plant cut.
- Opinel Knives – Highlight of folding garden knives useful for propagation, harvesting, and general garden work.