Calculating Needed Seed Quantity

You need approximately 50 cloves of seed garlic* per 25’ row with 6” spacing between cloves. For most garlic, expect a maximum yield of 10 pounds for every one pound planted.
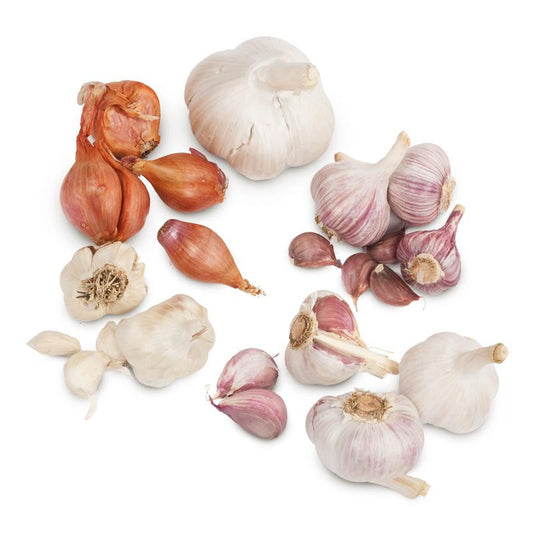
Every variety of garlic varies in the number of cloves per bulb and the number of bulbs per pound. Please reference the garlic descriptions on our website to find out the information needed to calculate the number of cloves per pound.
*Example: how many pounds of Music garlic is needed to plant one 25’ row? One pound yields between 20–35 cloves per pound (4 cloves per bulb x 5 bulbs per pound (low end of the range). So you will need about 2–3 pounds of Music to plant one 25’ row.
Soil Preparation
Garlic prefers to be grown in full sun; partial shade is marginal, but full shade will not work. Garlic prefers a sandy and loamy soil with a pH range of 6–7 and good drainage. Test your soil and amend accordingly and make sure it is loose and not compacted. It is recommended to plow or till and amend the area you plan to plant your garlic at least one month prior to planting.
Garlic needs room to size up, so make sure to provide adequate room for your garlic to grow. Do not plant in areas where other allium crops (onions, garlic, chives, scallions, shallots and leeks) were planted in the last 3 years. Gophers love garlic, so be sure to protect your crop with gopher wire or gopher baskets prior to planting.
Planting & Growing

Plant by November 15th to take advantage of our Limited Seed Garlic Guarantee.
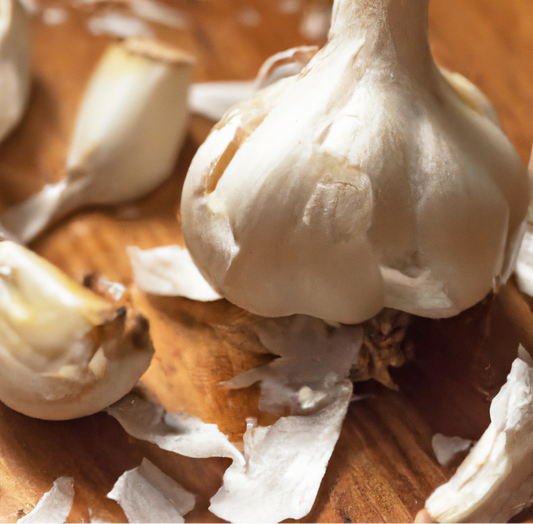
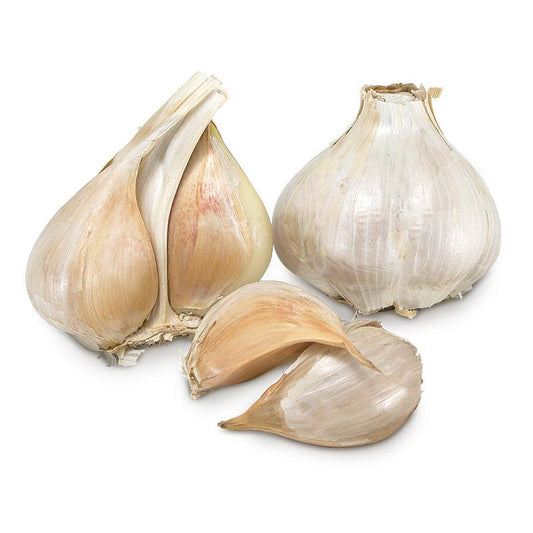
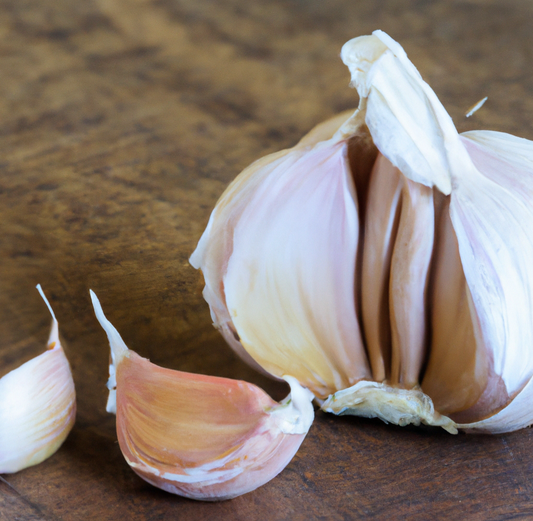
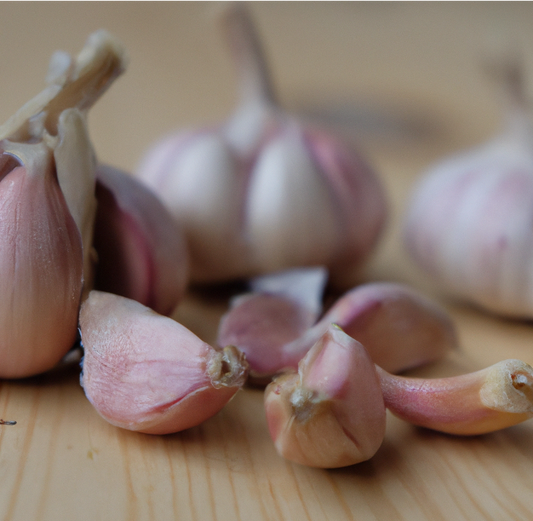
Your garlic will arrive in full bulbs (exception is the elephant garlic which comes with some cloves separated from the bulb). These bulbs need to be cracked into individual cloves for planting.
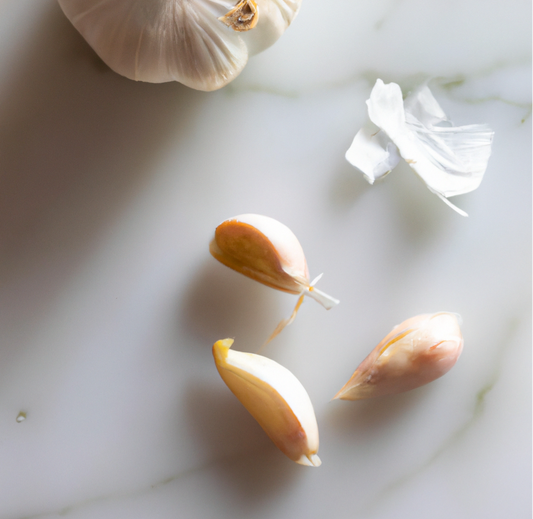
Plant the cloves within one week after the bulbs were cracked apart. Be careful not to damage the basal plate of the garlic (very bottom). Do not remove the skin from the individual cloves; the skin helps prevent the cloves from rotting in the ground. Separate the cloves by size; larger cloves should be planted for garlic production, the smaller cloves can be planted (or eaten) for garlic greens. Not all cloves are suitable to be planted to produce large bulbs of garlic.
Plant your garlic in slightly moist, well draining soil in the fall. September and October are optimal months to plant your garlic (it should be at least 2 weeks before the first frost in your area). This will give your garlic the best possible chances to withstand winter conditions, by giving it ample time to establish. November is late to plant garlic, and December is marginal. It is best to plant your garlic within a week or two after you received it. Garlic needs to be planted while it is still vibrant.
Some growers like soaking the cloves overnight prior to planting in a solution of liquid kelp (4 tablespoons per gallon of water) and baking soda (1 tablespoon per gallon of water) to give the cloves a good head start.
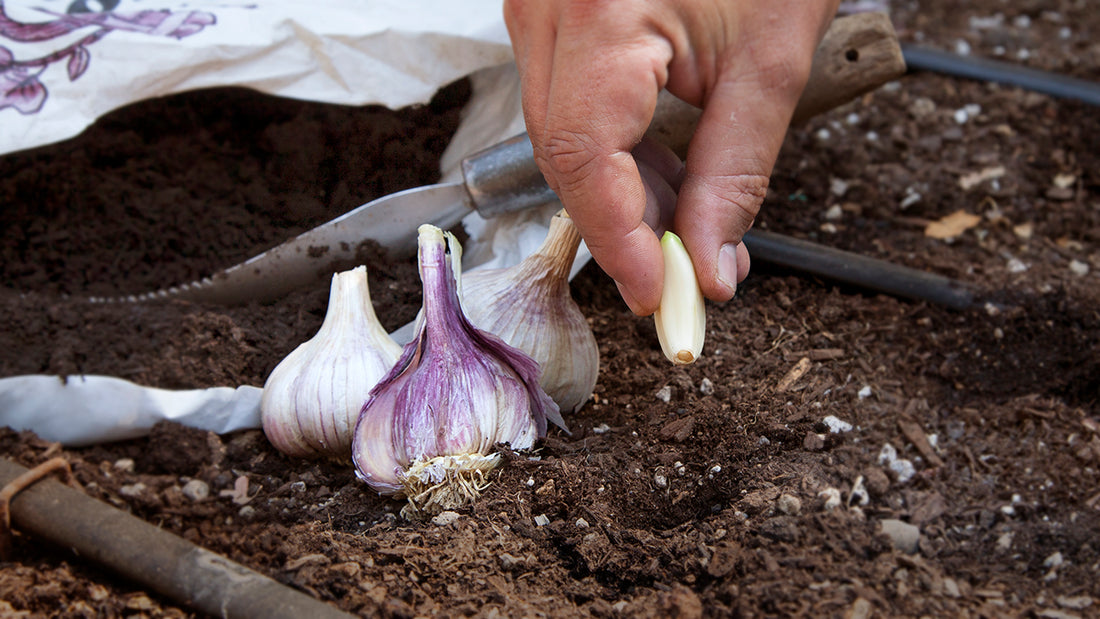
Plant the cloves with the pointed end up. In warmer climates, plant the cloves 1–2” deep in the soil. In colder climates, plant about 2–4” deep (measured from the top of the clove). Plant in rows no less than 12” apart with cloves planted 6” apart within in their row (allow about twice that for Elephant Garlic).
Place a layer of mulch on top of the rows (leaves, compost or straw works best), depths vary based on your climate (up to 8” in the north). To prevent frost damage in extreme winter regions, mulch should always be kept deep enough to prevent the shoots from surfacing. In areas with wetter winters (mild winter regions) a thin layer of mulch can be used.
Two to four weeks after planting your garlic, dig up (and then replant) enough of your cloves to check for signs of root growth and germination (green shoot coming out of the pointed tip). Repeat as necessary until you see signs of root growth and germination.
In the off-chance that you experience a significant lack of germination (over 50%), contact us within 45 days of receiving your garlic. You may be able to take advantage of our Limited Seed Garlic Guarantee (assuming you planted your garlic by November 15th). See the terms and conditions of our guarantee on this page.
Required Care During Growth
Once planted, water only when the soil dries out (winter rains may suffice at first). Garlic loves water, but do not over-water or it may rot. Do not over fertilize; this could cause the garlic to grow prematurely before winter, causing it to freeze and die off.
During spring, after the last frost, mulching is no longer necessary and you can pull back your mulch. Fertilizing with a high nitrogen fertilizer is highly recommended. Be sure to keep the weeds away from your garlic; you can grow garlic or weeds, but not both!
If any of the plants start to turn yellow or look sick well before the expected harvest time, pull those plants and keep them separated from the rest of your garlic crop. They could be diseased and you don’t want it to spread to the other healthy plants.
When hardneck garlic stalks start to form scapes (a stem with a little bulge towards its end that will turn into a flower), cut them off when they begin to curl close to where the leaves start to form. This is done to direct the vigor of the plant into sizing up its bulb versus producing flowers, then seeds. Save the scapes. They are great sautéed!
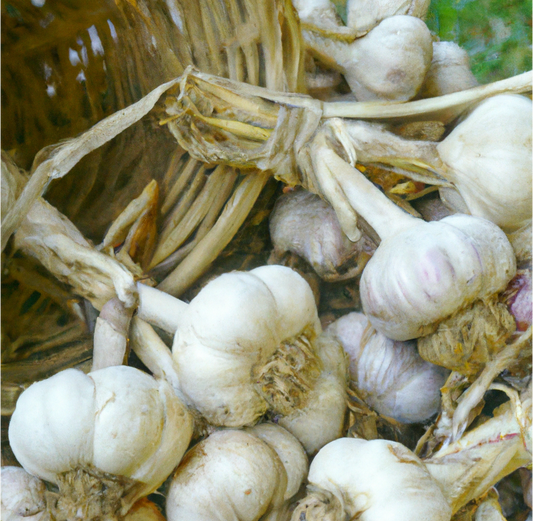
Harvesting & Storage

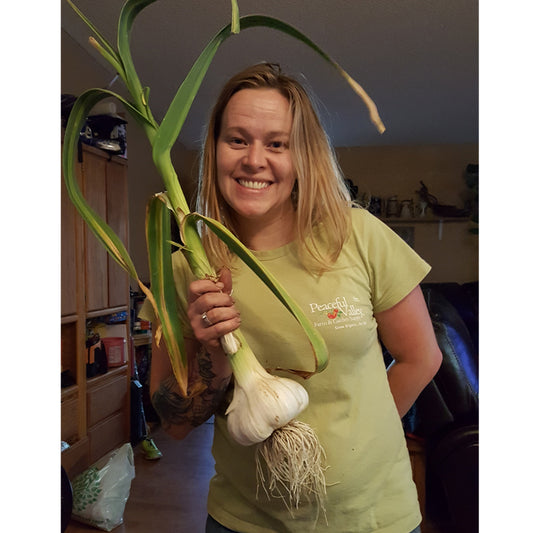
As soon as the garlic plants begin to turn yellow (around June or July), stop watering and wait about 2 weeks to harvest. When the 2 weeks is up, your garlic is ready to be pulled from the ground!
Cure the garlic in the shade, or indoors. Do not leave in direct sunlight or the bulbs will get sunburned and rot. Make sure there is good air circulation or they may become moldy and rot. A good way to cure garlic is to tie them in bunches, or braid them together (if it is a softneck variety) and hang them in the garage or barn, away from windows.
Elephant Garlic needs to cure for at least 30 days before it is ready for consumption. Other varieties are a little quicker to cure. They will become stronger tasting with age. Most hardneck varieties store well for up to 6 months. Softneck varieties will store even longer. The ideal storage conditions are 50°F with a humidity below 60%.