
Introduction
Cover crops are a valuable addition to any garden or farm, offering numerous benefits. They prevent soil erosion, build organic matter, and improve soil structure. Cover crops also increase microbial activity, fostering a healthy soil ecosystem that supports beneficial insects and earthworms. Additionally, they suppress weeds, enhance water infiltration, and recycle nutrients from the subsoil to the topsoil. Certain varieties provide natural habitat and food for pollinators and beneficial insects, while others help break up compacted subsoil for better water and air penetration.
Preparing Your Soil for Cover Crops
Healthy soil is crucial for successful cover crop growth. Begin by assessing soil fertility. For optimal results, ensure adequate levels of phosphorus (P), calcium (Ca), and sulfur (S). High-quality compost, soft rock phosphate, gypsum, or oyster shell lime are excellent organic amendments to address deficiencies. Compost not only adds essential nutrients but also supports microbial activity and improves soil texture.

Planting and Maintenance Tips
Cover crops thrive when planted correctly. Use a no-till drill for efficient seeding, or broadcast seed over prepared soil, covering it with mulch to ensure proper germination. Depth matters; plant seeds at the recommended depth to prevent drying or rot. For legumes, inoculate seeds with Rhizobium bacteria to enhance nitrogen fixation.
When to Plant Cover Crops
Plant cool-weather cover crops between September and October for best results. For warm-season varieties, wait until the soil warms to 60°F. Timely planting ensures robust growth and nutrient contribution to the soil.
Expanding the Benefits of Cover Crops
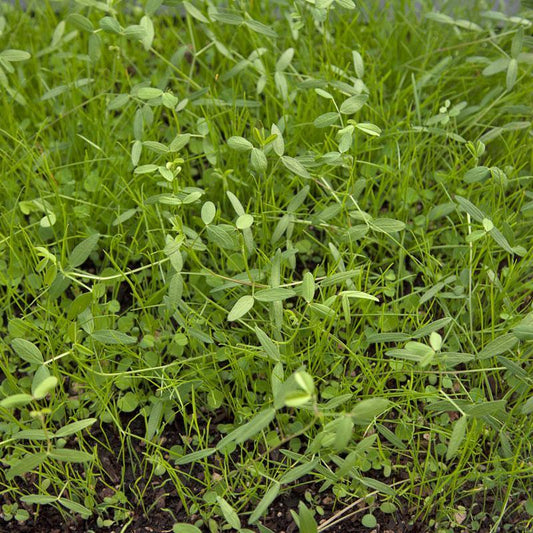
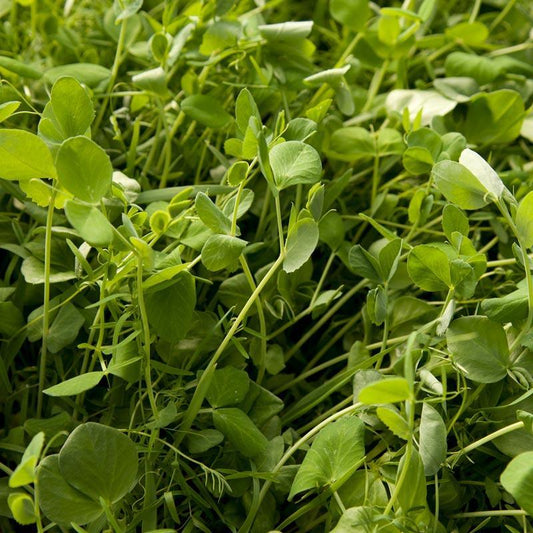
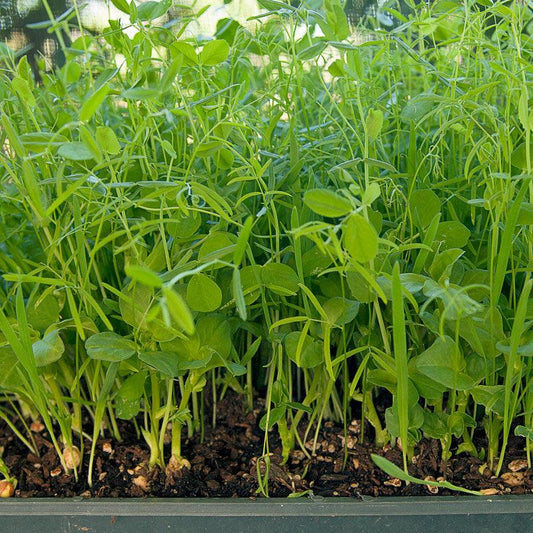
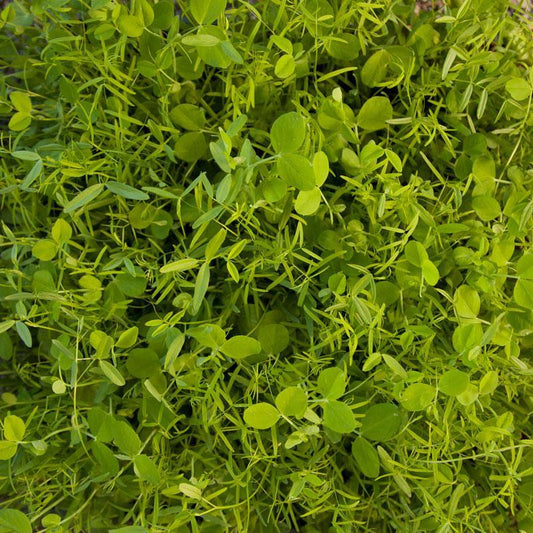
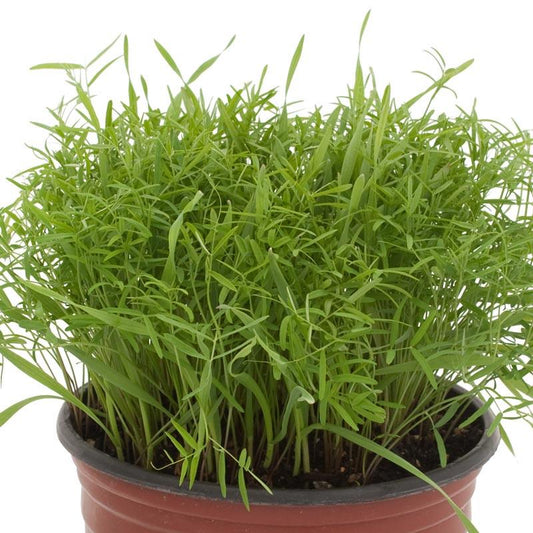
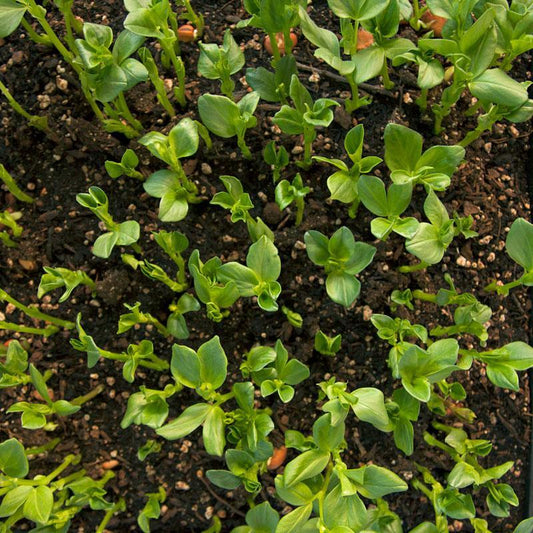
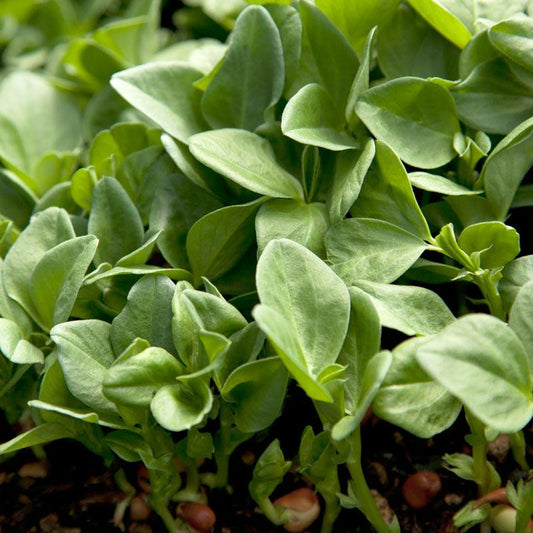
Cover crops are a cornerstone of sustainable agriculture and home gardening. By planting cover crops, gardeners can create an environment that promotes soil health, encourages biodiversity, and fosters long-term productivity. For example, cover crops like clover and vetch fix nitrogen in the soil, reducing the need for synthetic fertilizers. Meanwhile, grasses like rye and oats are excellent at preventing soil erosion during heavy rains.
Another significant benefit is the suppression of weeds. Cover crops provide a natural barrier that minimizes weed growth, saving time and reducing the reliance on chemical herbicides. Furthermore, they act as a living mulch, regulating soil temperature and conserving moisture during dry periods.
Additional Resources and Tips
Looking to choose the right cover crop? Check out our Annual Cover Crops section, where you'll find options suited for different climates and soil types. For more advanced tips, explore our Garden Hand Tools collection to ensure proper preparation and maintenance.
Cover Crop Examples
Cover Crop Resources & Tools
Ready to take your soil health to the next level? Explore these expert guides and videos from GrowOrganic for more in-depth information on cover crop selection, planting techniques, and seasonal strategies.
-
📚 Cover Crop Growing Guide
A comprehensive guide covering everything from seed selection and planting depth to timing and turning crops into green manure. - 🌱 Introduction to Cover Crops: A Growing Guide
Start here if you're new to cover crops—learn how they work, why they're beneficial, and how to choose the right type for your garden. - 🛠 Tips on Planting a Fall Cover Crop
Seasonal insights and advice for getting the most out of your fall-planted cover crops. - 🎥 Cover Crop Spotlight: Daikon Radish (Video)
See how daikon radish works as a natural soil aerator and compaction breaker in action. - 🧱 Erosion Control with Jute Netting and Cover Crops
Discover how combining jute netting with cover crops provides effective erosion control for sloped or vulnerable areas. - 🌾 Shop Cover Crop Seeds
Explore our curated selection of organic cover crop seeds for every season and soil condition, including legumes, grasses, and blends.
Shrimp Meal in Organic Gardens
Learn how shrimp meal fits into organic and conventional soil feeding strategies:
- Choosing the Best Poo for You – Compare shrimp meal with other animal-based manures for nutrient timing and soil structure.
- Down to Earth Shrimp Meal (Video) – See how shrimp meal is applied and its benefits for soil structure and microbial health.
Vetch in Crop Rotation
Explore how including vetch or other legumes can enhance crop health and prevent soil erosion:
- Companion Planting for Thriving Bean Crops – Insights on using vetch and beans together to improve soil fertility and structure.
- Planting Vetch for Soil Structure Enhancement – Vetch as a legume choice to enrich rotations and guard against erosion.
- Nematodes in Soil: The Invisible Threat to Your Plants – Find out how rotation with legumes like vetch can reduce nematode populations and support soil balance.
Green Manure & Organic Matter
Learn how to turn your vetch cover into green manure for lasting soil health improvements:
-
Turning Cover Crops into Green Manure – Step‑by‑step process for incorporating legume covers to enrich garden soil.


2 comments
Christi, your soil would benefit from a cover crop. What you choose will really depend on what you want to do. Do you want erosion control over the winter? Do you need to mix that is planted over land that is damaged by fire? Do you just want to create a habitat for beneficial insects and pollinators? If you want to plant a traditional soil builder mix, you do not need a rototiller. You would plant it in the fall and would need to water it until the rains come (not sure when that is in our dry California) and knock it down in the spring. January is really too soon to cover it, you are going to get more benefit if you let it go into the spring. In the spring you can use a weed eater to cut it down and if you don’t want to till it under, just cover it with cardboard, a silage tarp, weed fabric or black plastic. That will speed up the decomposition of the green matter.
I am moving to a new house up in Paradise California. I will have 1/3 acre that has few plants on it now, and only one tree. And the soil was cleared away after the fire in 2018. I have been planning to put down cardboard and bring in compost to put on top of it, to block weeds and improve the soil. But I am wondering if I should plant a cover crop as I will be moving in the first week of September. I cannot operate a rototiller, and want to know if I could grow a cover crop, and then cover that with cardboard in January or so, and let it decompose. Any chance that would work? Since it is a large lot, I want to improve the soil in the easiest way I can!