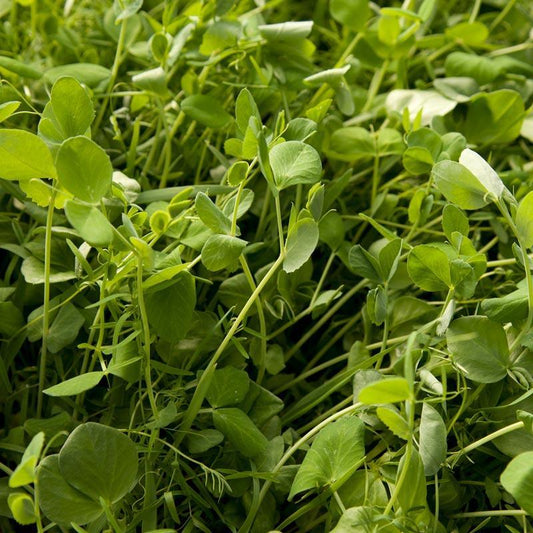
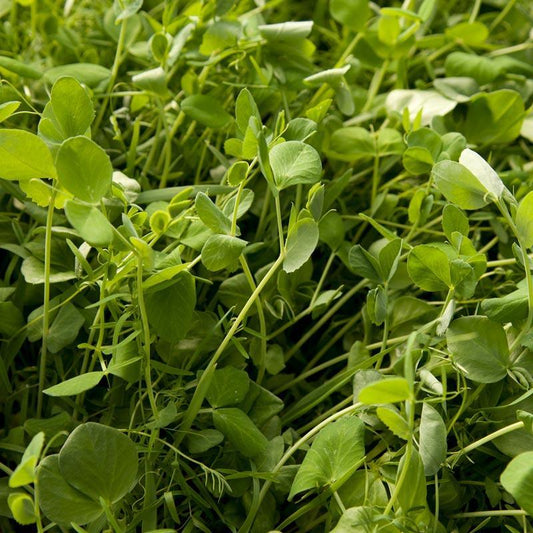
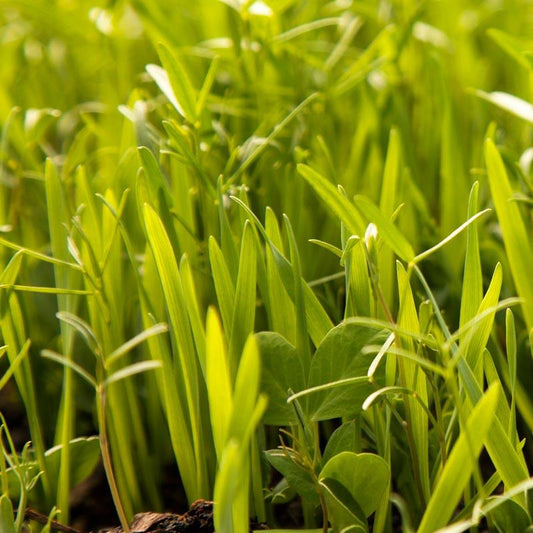
Cover crops are planted primarily to protect and improve soil rather than for harvest. A well-chosen cover crop can reduce erosion, compete with weeds, add organic matter, capture leftover nutrients, support beneficial insects, or—when legumes are properly nodulated—add biologically fixed nitrogen. The best crop depends on your season, climate, soil conditions, available growing window, and what you plan to plant next.
This guide explains how to choose, plant, manage, and terminate cover crops in gardens and on farms. For a quick side-by-side comparison, start with the Cover Crop Solution Chart. When you are ready to select seed, browse All Cover Crop Seeds.
Build your cover crop plan
Choose the next step by the decision you need to make. The selection tool, calculator, and supporting guides serve different purposes.
| Your decision | Best next resource |
|---|---|
| Plan a first or small-area planting | Cover Crops for Beginners and Cover Crop Preparation |
| Choose a fall or overwintering crop | Fall Cover Crops |
| Fill a warm-weather growing window | Summer Cover Crops |
| Prioritize biological nitrogen fixation | Nitrogen-Fixing Cover Crops |
| Plant between tree or vine rows | Cover Crops for Orchards and Vineyards |
| Compare a blend with one species | Cover Crop Mixes vs. Single Species |
| Diagnose a weak or uneven stand | Cover Crop Troubleshooting |
| Plan termination and residue management | Turning Cover Crops into Green Manure |
Use the Cover Crop Solution Chart to narrow the species or mixture. After selecting a product, enter its current seeding rate and your measured area in the Cover Crop Seed Rate Calculator. The product listing controls planting rate, treatment, seasonal fit, and management.
For additional field context, review the National Cover Crop Survey findings.
What is a cover crop?
A cover crop is grown between or alongside cash crops to provide a soil or ecosystem service. “Green manure” describes a management use: the cover crop is terminated and its residue is incorporated or left on the surface to return organic matter and nutrients to the soil. A crop can therefore be both a cover crop and a green manure, but the terms are not interchangeable in every situation.
Cover crops are useful tools, not one-size-fits-all remedies. Their results depend on establishment, weather, species selection, termination timing, and how the residue fits the next crop. Begin with the problem you want to solve.
Choose a cover crop by your primary goal
Add nitrogen
Legumes such as clovers, vetches, peas, beans, and cowpeas can form a partnership with compatible Rhizobium bacteria. When nodulation is successful, the plants fix atmospheric nitrogen. Choose from our legume cover crops, and read the Nitrogen-Fixing Cover Crops guide before planting.
Legumes do not supply all of their nitrogen immediately, and nitrogen benefits vary with biomass, nodulation, termination stage, weather, and residue management. They are often combined with grasses to balance nitrogen production, biomass, winter hardiness, and weed suppression.
Build biomass and organic matter
Grasses and other non-legumes—including cereal rye, oats, barley, buckwheat, and sudangrass—often establish quickly and produce substantial residue. Their fibrous roots help hold soil and capture nutrients that might otherwise leach. Browse non-legume cover crops or crops selected for soil building.
Cover bare soil and suppress weeds
Fast germination and a dense canopy are important when weed competition is the main goal. Buckwheat is a popular short-window warm-season option, while cereal grains and vigorous mixtures can provide fall and winter coverage. Cover crops suppress weeds most effectively when seeded at the recommended rate into a clean seedbed and allowed to establish before heavy weed pressure develops.
Reduce erosion and capture nutrients
Dense roots and dependable ground coverage protect soil from wind and rain. Grasses are especially useful for scavenging residual nitrogen, while mixtures can combine erosion protection with nitrogen fixation and biological diversity. Explore erosion-control seed options.
Improve compacted soil
Deep-rooted crops can create channels through the soil, but no cover crop can correct every compaction problem by itself. Species such as tillage radish may help with shallow compaction when conditions allow good root growth. Severe plow pans, traffic compaction, drainage problems, or low organic matter may require additional changes to equipment, timing, irrigation, or soil management.
Support pollinators and beneficial insects
Flowering cover crops can provide forage and habitat when allowed to bloom. However, flowering must be balanced against reseeding risk, water use, and the time needed to prepare for the next crop. Avoid mowing or spraying while bees are actively foraging, and choose products appropriate for your region and planting window.
Combine several benefits
Mixtures can pair complementary traits—for example, a legume for nitrogen with a grass for biomass and nutrient capture. They can also be more complex to manage because species mature, winterkill, and respond to termination differently. For a balanced starting point, compare our cover crop mixes.
Choose by season and available growing window
Warm-season cover crops
Warm-season crops are planted after frost danger has passed and soil has warmed. Buckwheat fits short gaps, while cowpeas, sunn hemp, and sudangrass generally need more heat and time. The right choice depends on the number of frost-free days available and whether your priority is fast cover, nitrogen, biomass, or root growth. See Cover Crops for Summer and shop warm-weather cover crops.
Cool-season and fall-planted cover crops
Cool-season crops are commonly seeded from late summer through fall, but the correct date is regional—not a single national calendar date. Plant early enough for the selected species to establish before growth slows. Winter-killed crops may simplify spring bed preparation; winter-hardy crops provide longer protection but require an intentional spring termination plan. Read Fall Cover Crops and browse fall-planted cover crops.
Always use the product instructions and local frost dates to refine timing. Extension recommendations are especially valuable for regional planting windows and winter-survival expectations.
Raw seed, coated seed, and inoculants
Cover crop listings may identify seed as raw, coated, or Nitrocoated. Raw seed has no applied coating. Coated or Nitrocoated seed may include materials intended to improve handling or establishment, and some products may include a compatible inoculant—but coatings differ by product. Do not assume that every coating contains the bacteria required by every legume.
For raw legume seed, or whenever a product does not clearly state that a current compatible inoculant is included, consider applying the correct inoculant for that legume. Inoculation is especially important where the legume has not been grown recently or compatible bacteria may be absent. Match the inoculant group to the crop, follow label rates, protect inoculant from heat and sunlight, and plant promptly after application. Browse cover crop inoculants and confirm the individual seed listing before planting.
Prepare the site
- Test the soil when possible. Soil pH, drainage, salinity, nutrient levels, and compaction can influence establishment. Use test results and crop-specific recommendations instead of applying fertilizer automatically.
- Control existing weeds. A cover crop establishes more reliably when it is not competing with mature weeds at emergence.
- Create good seed-to-soil contact. The seedbed should be firm enough to support uniform seeding but loose enough at the surface for shallow placement.
- Plan termination before planting. Know how the crop will be mowed, winter-killed, grazed, rolled, incorporated, or otherwise terminated, and leave enough time before the next planting.
For more site-preparation detail, use Cover Crop Preparation. The printable Cover Crop Growing Guide is a useful field reference.
Calculate the right seeding rate
Use the rate on the individual product page because seed size, germination, planting method, purpose, and mixture composition vary widely. Avoid applying a universal pounds-per-acre rule across species.
For a small garden, convert the listed rate to your bed area:
Seed needed = recommended seed per square foot × bed square footage.
If a product lists only an acre rate, remember that one acre contains 43,560 square feet. Broadcasting may require a different rate than drilling, but any adjustment should follow the product instructions or a regionally appropriate recommendation. More seed does not always correct a late planting date or poor seedbed.
How to plant cover crop seed
Drilling
A seed drill places seed at a controlled depth and can provide excellent seed-to-soil contact. It is efficient for larger areas, but calibration, seed size, residue, moisture, and field conditions determine success.
Broadcasting
Broadcasting works well for gardens and fields when followed by shallow incorporation, raking, rolling, or irrigation as appropriate. Divide the seed into two portions and spread in perpendicular passes for more even coverage. Very small seeds are usually planted shallowly; large seeds generally tolerate greater depth. Follow the specific product directions rather than burying an entire mixture at one depth.
Small beds and raised beds
Remove crop debris and mature weeds, loosen only as needed, spread measured seed evenly, rake lightly, firm the surface, and water gently. Keep the seed zone consistently moist during germination without creating runoff or crusting.
Water and manage establishment
Seed requires adequate moisture to germinate and establish. Irrigation needs depend on rainfall, soil texture, planting depth, temperature, and crop. In dry conditions, plan irrigation before seeding. In rain-fed systems, time planting around dependable moisture rather than scattering seed onto dry soil and assuming it will establish.
Inspect the stand after emergence. Look for skips, crusting, bird or rodent feeding, standing water, weed competition, and uneven moisture. A thin stand may reflect poor seed-to-soil contact, planting too deep, low moisture, excessive residue, temperature stress, or seed planted outside its recommended window.
Manage growth without losing sight of the next crop
Monitor height, flowering, moisture use, lodging, and seed development. Vigorous covers can become difficult to manage if allowed to mature beyond the capacity of your equipment or schedule. A living cover also uses water, which can be beneficial in wet conditions but a concern before a dry-season crop.
If the cover is part of a vegetable rotation, work backward from the next crop’s planting date. Allow time for termination and, when incorporating residue, decomposition. High-carbon grass residue generally breaks down differently from succulent legume growth, and cool or dry soil slows decomposition.
When and how to terminate
Termination timing is a management decision, not a universal “50 percent bloom” rule. Earlier termination usually produces less biomass and more tender residue. Later termination can increase biomass and flowering but may increase water use, carbon-rich residue, regrowth, or viable seed. The best stage depends on species, desired nitrogen, equipment, soil moisture, and the next crop.
Common methods include mowing, cutting, rolling, grazing where appropriate, shallow incorporation, tarping, winterkill, and combinations of methods. Confirm that your chosen species can be reliably terminated with the tools available. Read Turning Cover Crops into Green Manure and When to Cut Down Your Cover Crop before the stand matures.
Troubleshooting common cover crop problems
- Poor germination: Check planting depth, moisture, soil crusting, temperature, seed-to-soil contact, and planting date.
- Uneven or thin stands: Review spreader or drill calibration, seed mixing, residue, irrigation patterns, and bird pressure before reseeding.
- Legumes growing without nodules: Confirm that the correct inoculant was used, inspect roots for nodules, and consider soil pH, moisture, and nitrogen conditions.
- Weeds overtaking the stand: The cover may have been seeded too sparsely, too late, or into existing weed pressure. Prevent weeds from setting seed and adjust the next planting plan.
- Cover crop is too mature: Terminate before viable seed develops when reseeding is unwanted. Mature fibrous residue may require different equipment and more time before planting.
- Next crop cannot be planted on schedule: Terminate earlier, select a shorter-window crop next time, or choose a winter-killed species where suitable.
Build your cover crop plan
- Choose one primary soil or rotation goal.
- Measure the available growing window and check regional planting dates.
- Select a species or mixture that can be established and terminated with your equipment.
- Confirm seeding rate, planting depth, raw or coated status, and inoculant needs on the product page.
- Set a termination date before planting.
- Record establishment, biomass, weed pressure, and results so the next cover crop improves on the first.
Ready to select seed? Shop All Cover Crop Seeds, compare Organic Cover Crop Seeds, or use the Cover Crop Solution Chart to narrow the options.
To estimate how much seed you need, take the rate listed for the selected product and enter it with your measured area in the Cover Crop Application Rate Calculator.
Check Legume Inoculation Before Planting
When the plan includes a legume, confirm whether the seed is raw, coated, or Nitrocoated and whether it needs compatible rhizobia. Compare seed inoculants, then return to Cover Crop Seeds for planting-rate and management details.
Check Legume Seed Inoculation
When a cover-crop planting contains clover, vetch, peas, beans, or another legume, confirm whether the seed is raw or already inoculated. Match raw seed to the crop group on the current product label. Use the Legume Inoculant Compatibility Chart and the rhizobia application and nodulation guide. Non-legume seed does not receive the same rhizobia treatment.