Canning is a great way to extend your harvest into the winter months. Low-acid vegetables, like green beans, require pressure canning to ensure safe preservation. Follow this step-by-step guide to learn how to pressure can green beans and enjoy your garden-fresh produce all year long.
Why Pressure Canning?
Pressure canning is essential for low-acid vegetables and meats because it heats the contents to 240°F, effectively destroying harmful microorganisms like Clostridium botulinum. Unlike water bath canning, pressure canning ensures the safety of low-acid foods, making it a crucial method for preserving green beans.
Preparing Your Jars and Equipment
- Inspect Your Jars: Check for defects or cracks that might prevent sealing.
- Clean Thoroughly: Wash jars, lids, and rings in hot, soapy water and rinse well.
- Maintain Your Canner: Ensure the pressure pipe is clear and lubricate the lid edges as needed.
Step-by-Step Guide to Pressure Canning Green Beans
1. Prepare the Green Beans
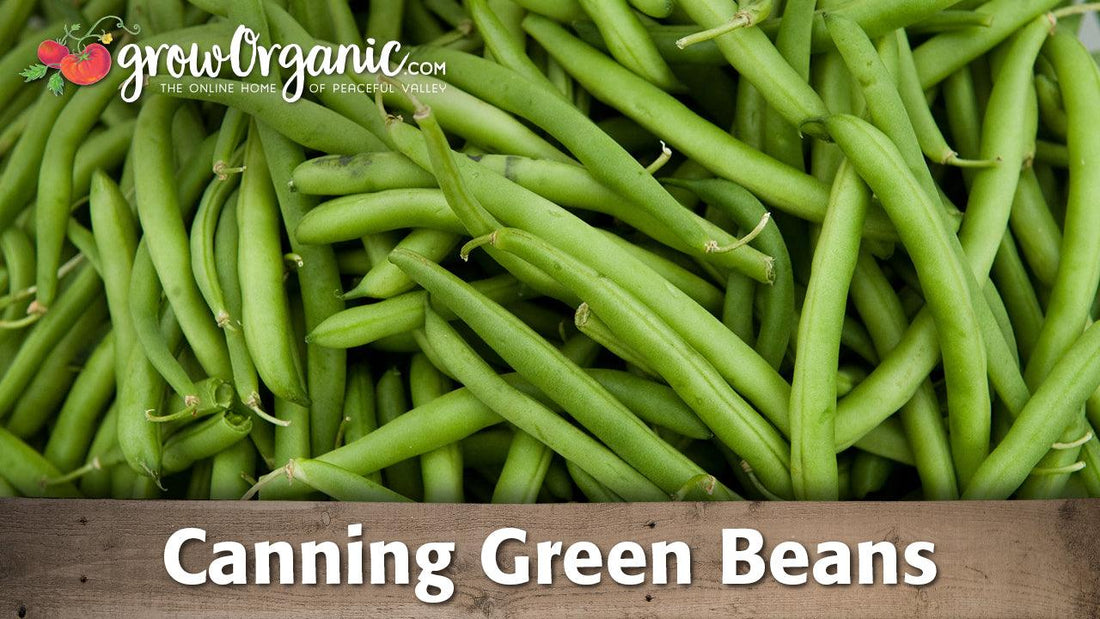
Start with approximately nine pounds of fresh green beans. Choose thin, young, and tender pods, discarding any that are molding or damaged. Wash thoroughly, trim the tops, and snap them into smaller pieces or leave them whole based on your preference.
2. Blanch the Beans
Blanch the beans by boiling them for about five minutes. This process preserves their color and texture. Add a half teaspoon of salt to each jar for flavor, though it’s not necessary for preservation.
3. Pack the Jars
Loosely pack the jars with blanched beans and cover with hot blanching water. Leave one inch of headspace at the top of the jar to allow for expansion during processing.
4. Process in the Pressure Canner
Place the jars on the rack inside the canner, ensuring they don’t touch each other. Add water to the canner and secure the lid. Follow these steps:
- Exhaust Steam: Allow steam to vent for seven minutes before placing the regulator weight.
- Adjust Pressure: For green beans, maintain 15 pounds of pressure above 1,000 feet elevation.
- Process Time: Quart jars require 25 minutes of processing time at the correct pressure.
5. Cool and Store
Once processing is complete, turn off the heat and let the canner depressurize naturally. Open the lid carefully, lifting the side opposite you first to avoid steam burns. Place jars on a towel to cool undisturbed overnight. Check seals the next day; any unsealed jars should be refrigerated and consumed promptly.
Tips for Success
- Use clean, sharp tools like kitchen shears to trim beans efficiently.
- Maintain consistent pressure during processing to ensure proper preservation.
- Store sealed jars in a cool, dark place with labels indicating the canning date.
Recommended Tools
Make canning easier with high-quality canning supplies. From pressure canners to jars, find everything you need for safe and efficient home preservation.
Enjoy Your Green Beans
With these steps, you can enjoy the fresh taste of green beans all year long. Pressure canning may seem intimidating at first, but with practice, it becomes an easy and rewarding way to preserve your harvest. Happy canning!