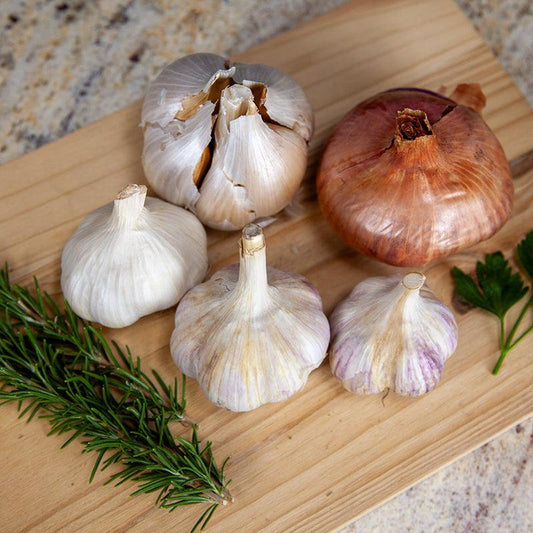
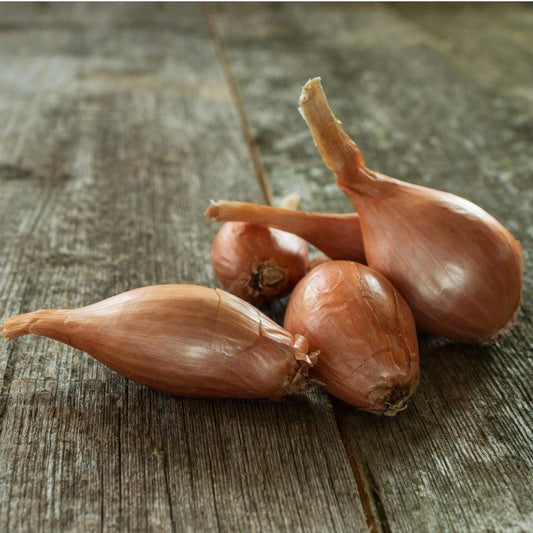
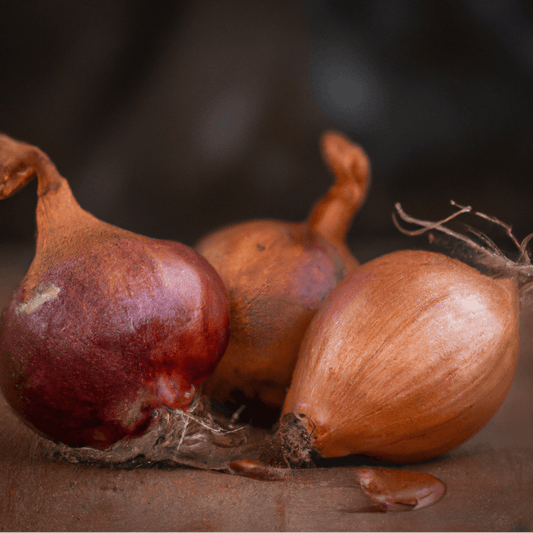
Certified organic seed shallots are a valuable addition to any fall garden, offering a unique culinary experience and a touch of elegance to your dishes. Among the various shallot varieties available, French Red Shallots stand out as an indispensable staple in French cuisine, renowned for their exceptional flavor profile. In this article, we will delve into the world of seed shallots, with a particular focus on French Red Shallots.
French Red Shallots: A Culinary Treasure
French Red Shallots, also known as "Échalion" or "Banana" shallots, are celebrated for their mild and sweet flavor. Unlike the pungency of garlic or the sharpness of some yellow onions, these shallots bring a delicate and nuanced taste to your culinary creations. Whether you choose to enjoy them fresh in salads or sauces or caramelize them to enhance their sweetness, French Red Shallots are versatile ingredients that elevate your dishes.
Planting and Cultivating Seed Shallots
Growing seed shallots, especially French Red Shallots, is a rewarding endeavor. These shallots typically start from a single bulb, eventually developing into a large clump or cluster of bulbs. The planting process involves setting individual shallot bulbs in your garden or raised beds, spaced adequately to allow room for growth. It's advisable to plant them in the fall for a spring harvest or in early spring for a late summer harvest, depending on your location and climate.
Harvesting Seed Shallots
The time to harvest your seed shallots, including French Red Shallots, comes when the tops of the plants have naturally fallen over. This indicates that the bulbs have reached maturity. Gently dig up the clusters of shallots, taking care not to damage them in the process. Shake off excess soil, leaving the bulbs intact, and allow them to air dry quickly.

Curing for Optimal Storage
To ensure the long-term storage of your harvested shallots, curing is a crucial step. Curing involves laying out the freshly harvested shallots in a well-ventilated area, preferably out of direct sunlight. This allows the outer layers of the bulbs to dry and harden, forming a protective skin that helps extend their shelf life. Curing typically takes a few weeks, during which time the tops and roots of the shallots will naturally wither and become brittle.
Storing Your Seed Shallots
Once the curing process is complete, it's time to prepare your seed shallots for storage. Trim the tops and roots of the bulbs, leaving just a short stub of each. This helps prevent any potential moisture loss during storage while minimizing the risk of rot. Store your cured shallots in a cool, dry location, preferably in mesh bags or crates that allow for good air circulation. Properly stored seed shallots can last for several months, providing you with a steady supply of these delectable ingredients for your culinary endeavors.
Certified organic seed shallots, particularly the esteemed French Red Shallots, offer a delightful addition to your garden and kitchen. Their mild, sweet flavor and culinary versatility make them a prized ingredient in various dishes. By following proper planting, harvesting, curing, and storage techniques, you can enjoy a bountiful harvest of these exceptional shallots and elevate your culinary creations with their unique flavor. So, why not embark on a journey to cultivate these culinary treasures in your garden and savor the exquisite taste of French Red Shallots?
For more information, see our Garlic and Shallot Resource Center. Our staff has selected dozens of articles, videos, recipes, and tips with everything you need to grow garlic bulbs and delicious shallots successfully. Including our popular video Selecting and Planting Garlic.
 Sold out


