Drip Irrigation - Part 5: Using Soaker Hose in the Garden and Landscape
Welcome to Part 5, the final part of How to Assemble Drip Irrigation. Today we will talk about how to add a soaker hose to your drip irrigation system. Before getting started, be sure to watch the earlier videos in this series for a complete understanding:
- Part 1 – Set Up at the Faucet
- Part 2 – Using Poly Tubing, Sprayers, and Emitters in the Landscape
- Part 3 – Using Drip Tape
- Part 4 – Using Emitterline in Your Garden and Landscape
If you would like to watch Tricia assemble the soaker hose, check out the Part 5 – Soaker Hose video.
Facts About Soaker Hoses
- Soaker hoses can get clogged with mineral deposits and should not be used in areas with heavy minerals in the water. If you have hard water, be sure to include a calcium filter as well as a regular filter.
- Great for landscaping where meandering or curved lines are needed and in the garden.
- Our soaker hose is made from recycled materials.
- Only be used on flat surfaces when designing your soaker hose irrigation system.
- Do not make any lines longer than 250 feet. Also, the maximum soaker hose per faucet is 500 feet, no matter the number of lines or individual line length.
- Flow rate of the 1/2" soaker hose is approximately 54 gal/hr per 100' of hose at 10 psi, or approximately 224 GPH per 100' of hose at 25 psi.
- For ideal performance, it is recommended that you use a 22-25 psi regulator.
Installing Soaker Hose in Your Drip Irrigation System
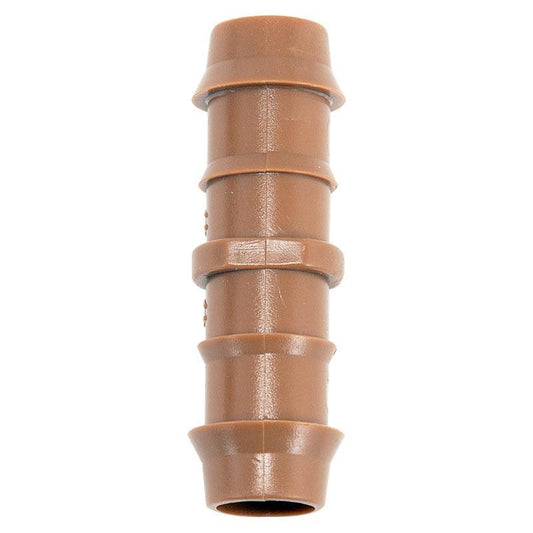
There are several ways to transition to soaker hose from the 1/2" poly tubing. If using only one long line of soaker hose, use a 1/2" Barbed Coupler to transition from poly tubing to soaker hose or use a 1/2" Barbed Tee at the poly tubing to form a circle.
Conclusion
Soaker hose can withstand freezing temperatures, but be sure to empty it out when winterizing your garden. Install some soaker hose and soaker hoses and fittings for sale to Grow Organic for Life!
Resource Area: Building Confidence with Drip Systems
Overcome any uncertainty—learn to install soaker hoses confidently from start to finish:
- Take the Fear Out of Drip Irrigation – Clear explanation of drip and soaker systems, components, and setup tips.
- Mr. Soaker Hose Demo – A helpful video showcasing how to use soaker hose to deliver consistent moisture directly to plant roots.


