Introduction
Knowing when and how to harvest potatoes is crucial for maximizing yield and ensuring they stay fresh for months. Harvesting potatoes at the right time, curing them properly, and following best practices for storage can make all the difference between a successful harvest and one that falls short. This guide covers how to recognize when potatoes are ready to harvest, the potato curing process, and potato storage tips to help you make the most of your crop.
How to Recognize When Potatoes Are Ready to Harvest
Timing is everything when it comes to harvesting potatoes. The exact potato harvest time depends on the type of potatoes you’re growing—whether they’re early, mid-season, or late-maturing varieties—and their intended use as new or storage potatoes.
Understanding Potato Growth Stages
To determine when to dig up potatoes, it helps to understand their growth cycle:
- Planting to Flowering: After planting, potato plants will produce lush green foliage and flowers.
- Tuber Development: Tubers start forming underground shortly after flowering. At this stage, they are small and tender, ideal for new potatoes.
- Maturation: As the plant begins to yellow and die back, the tubers grow larger and develop thicker skins, which are ideal for long-term storage.
Harvesting New Potatoes
New potatoes, also called "baby potatoes," are harvested before the plants fully mature. These young tubers are tender and thin-skinned, making them perfect for immediate consumption.
- When to Harvest: New potatoes are typically ready about 2–3 weeks after the plants flower.
- How to Harvest: Gently dig around the base of the plant with your hands or a small spade, taking care not to damage the delicate tubers.
Harvesting Mature Potatoes
For fully mature potatoes intended for storage, timing your harvest is critical:
- Signs of Maturity: The foliage will yellow, wither, and die back naturally. This usually occurs 2–3 weeks after the plant flowers for early varieties and 4–6 weeks for later varieties.
- Skins Set for Storage: Mature potatoes have firm skins that don’t rub off easily when touched. This thicker skin protects the tubers during storage.
Best Time of Day for Harvesting Tubers
Harvest potatoes on a dry day to minimize soil clinging to the tubers. Early morning or late afternoon is ideal, as the soil is cooler and easier to work with.
Best Practices for Harvesting Potatoes
Harvesting potatoes requires care to avoid damaging the tubers. Follow these potato harvesting guide tips for a successful harvest:
- Use the Right Tools: A garden fork or spade works well for loosening the soil without cutting or bruising the tubers. For small-scale harvesting, your hands can also be effective.
- Work from the Edges: Start digging at the outer edges of the plant and gradually move closer to the base to uncover all tubers.
- Handle Gently: Avoid dropping or roughly handling potatoes, as bruises and cuts can shorten their storage life.
- Sort as You Go: Separate damaged or small tubers for immediate use and keep the best ones for curing and storage.
Curing Potatoes for Long-Term Storage
Curing potatoes is an essential step to prepare them for storage. This process allows the skins to toughen and minor wounds to heal, which extends the life of your potatoes.
What Is the Potato Curing Process?
Curing involves keeping harvested potatoes in a specific environment to dry and harden their skins. This protective layer prevents moisture loss and reduces the risk of rot during storage.
Steps to Cure Potatoes
- Brush Off Soil: Gently remove excess soil from the tubers, but avoid washing them, as moisture can encourage rot.
- Choose a Curing Location: A cool, dark, and well-ventilated area is ideal for curing. Temperatures should be around 50–60°F with high humidity (85–95%).
- Spread Tubers Evenly: Lay potatoes in a single layer, ensuring they are not stacked. Use wooden crates or mesh bags for good airflow.
- Curing Duration: Allow the potatoes to cure for 1–2 weeks. Check them periodically and remove any tubers showing signs of damage or disease.
Storing Potatoes for Maximum Freshness
Proper storage is key to preserving your potatoes for months. Following potato storage tips can help maintain their flavor, texture, and nutritional value.
Preparing Potatoes for Storage
- Sort and Inspect: After curing, sort through your potatoes and discard any damaged or diseased ones. Even a small blemish can lead to rot and spoil surrounding tubers.
- Don’t Wash: Keep the potatoes unwashed until you’re ready to use them. Washing removes their protective layer and increases the risk of spoilage.
Ideal Conditions for Storing Potatoes
- Temperature: Store potatoes at 40–50°F. Warmer temperatures can cause sprouting, while colder ones can turn starches into sugar, affecting taste.
- Humidity: Maintain a humidity level of 85–90% to prevent the tubers from drying out.
- Darkness: Store potatoes in complete darkness to avoid greening, which can make them toxic. Use opaque containers or dark storage rooms.
- Airflow: Ensure good ventilation by storing potatoes in breathable containers, such as burlap sacks, wooden crates, or perforated cardboard boxes.
Storing Root Vegetables Together
Potatoes can be stored with other root vegetables like carrots and beets, as long as conditions are suitable. Avoid storing them near fruits like apples, which emit ethylene gas that can cause potatoes to sprout.
When to Use Stored Potatoes
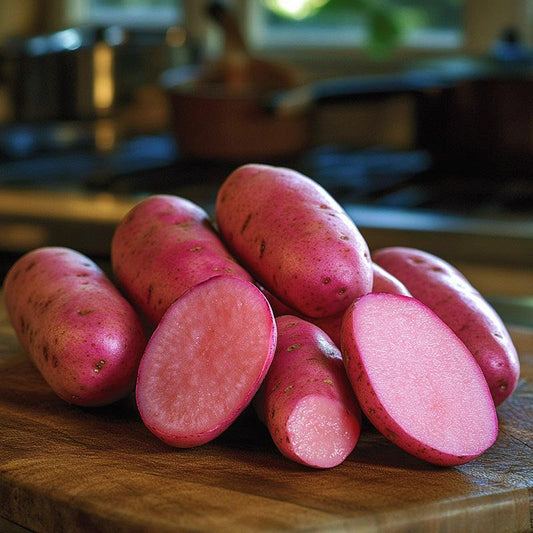
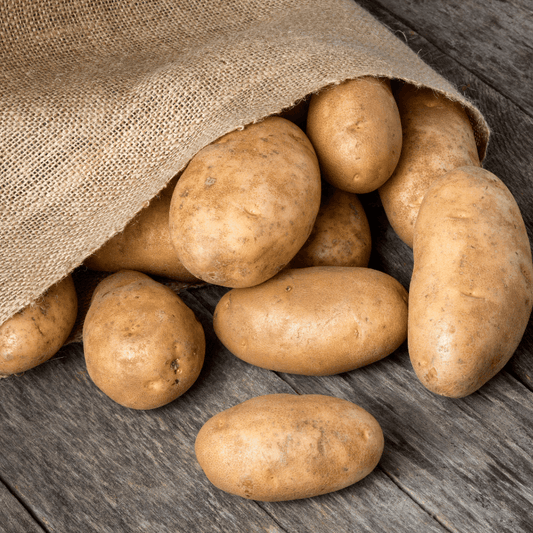
Properly stored potatoes can last for several months, depending on the variety. Early varieties like Red Norland are best consumed within a few months, while late-maturing types like Russet Burbank can remain fresh for up to six months.
- Check Regularly: Inspect your stored potatoes every few weeks and remove any that show signs of sprouting or rot.
- Use Rotating Stock: Use the oldest potatoes first to maintain freshness.
Sustainable and Organic Practices for Harvest and Storage
Growing and storing potatoes sustainably benefits both your crop and the environment. Incorporate these practices to ensure a successful and eco-friendly harvest:
- Use Organic Fertilizers: Boost soil fertility with compost or natural amendments like bone meal before planting.
- Rotate Crops: Prevent soilborne diseases by rotating potatoes with legumes, leafy greens, or cover crops.
- Compost Waste: Compost potato peels and any damaged tubers to recycle nutrients into your garden.
Common Harvesting and Storage Issues
Even with careful planning, challenges may arise during harvesting and storage. Here’s how to address common problems:
- Sprouting in Storage: Ensure proper storage conditions to minimize sprouting. If sprouting occurs, cut off the sprouts before using the tubers.
- Rot or Mold: Remove affected potatoes promptly to prevent spoilage of healthy ones. Review humidity levels and ventilation in your storage area.
- Green Potatoes: Exposure to light causes tubers to turn green and develop solanine, a toxic compound. Always store potatoes in complete darkness.
Conclusion
Knowing the right time to harvest your potatoes ensures a bountiful and long-lasting crop. Monitor your plants closely: once the foliage turns yellow and begins to die back, it's a sign that your potatoes are ready for harvest. For optimal storage, allow the skins to cure in a cool, dark place for a few days before storing them. By following these guidelines, you can enjoy homegrown potatoes throughout the year.
To start your potato-growing journey, explore our selection of seed potatoes for sale and organic seed potatoes for sale. These high-quality seeds are perfect for planting in your garden.
Resource Area: Harvesting, Curing & Storing Potatoes Like a Pro
Knowing when and how to harvest your potatoes can make or break your crop’s storage success. With the right techniques, you can enjoy flavorful, long-lasting potatoes for months after harvest. This resource area compiles essential tips for identifying the perfect harvest window, properly curing your tubers, and maintaining ideal storage conditions—all while keeping your practices sustainable and organic.
- 📘 Complete Potato Growing Guide (Step-by-Step)
Get the full overview of potato planting, growing, harvesting, and curing in one go-to guide. Great for both beginners and experienced home gardeners. - 🎥 Planting & Growing Potatoes (Video Tutorial)
Visual learner? Follow this video from soil prep through harvest and hilling to get a hands-on view of the full potato-growing process. - 🌿 Grow Bigger, Healthier Potatoes
Set your crop up for success at harvest by improving your soil and nutrient strategy. This article covers fertilizers, pH, and irrigation tips that directly impact tuber quality. - 🪴 The Art of Potato Towers
Harvesting a lot from a little space? This guide shows how to use potato towers for increased yield and easier access when harvest time arrives. - 🌱 Maximizing Small-Space Potato Yields
Discover container-specific strategies that simplify both harvesting and storage for those growing potatoes in tight areas or urban settings. - 🌧️ Tips for Growing Potatoes in the Pacific Northwest
Tailored for PNW growers, this guide helps you time your harvest around cooler, wetter weather and manage late-season disease risks. - 🍽️ Creative Potato Recipes from Oregon’s Organic Farms
What to do with your perfectly cured potatoes? Explore flavorful and unique recipe ideas that make the most of different potato varieties. - 🛒 Shop Certified Seed Potatoes
Plan your next harvest early! Explore a variety of certified seed potatoes, from heirlooms to storage-friendly types perfect for curing and cellaring.
This resource hub provides everything you need to ensure a smooth harvest and successful long-term storage. Learn how to cure potatoes for longevity, avoid spoilage, and maintain ideal storage conditions—all while keeping your methods organic and sustainable.