

Bare Root Tree Planting-Day Checklist
A little preparation helps keep bare roots from drying out and makes planting easier. Bare root trees arrive without soil around their roots, so they need protection while you prepare their new home. Your main goals are to keep the roots moist, give them room to spread, and plant at the correct depth.
Use this checklist on planting day, then follow the detailed instructions in How to Plant a Bare Root Fruit Tree.
If you have not selected a tree yet, start with How to Choose a Bare Root Fruit Tree or browse current bare root trees.
Before You Start
Plant promptly while the tree is dormant and the ground is workable. If planting must wait, keep the roots covered with damp packing material in a cool, shaded, frost-free location. Do not let them dry out.
- Confirm the location meets the tree’s sunlight and drainage needs, with enough room for its mature size and easy access to water.
- Check whether the variety needs a compatible pollination partner. If it does, confirm suitable bloom timing and spacing.
- Keep roots moist and protected from sun and wind throughout planting.
- Locate the root flare, where the trunk widens into the main roots. Identify the graft union, if present; this is a separate swelling or bend higher on the trunk.
- Inspect roots with clean pruning tools ready. Remove dead, broken, or decayed portions, and correct circling or sharply kinked roots where necessary. Preserve healthy roots.
Gather Your Planting Supplies
Having supplies ready reduces the time roots spend exposed while you work.
- Shovel and hand cultivator or trowel
- Damp material for covering exposed roots and a bucket if soaking is recommended
- Watering hose or filled watering containers
- Clean pruning shears
- Mulch for the surrounding soil surface
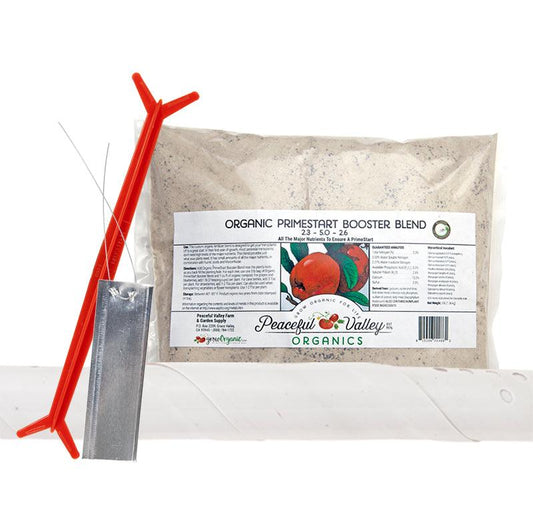
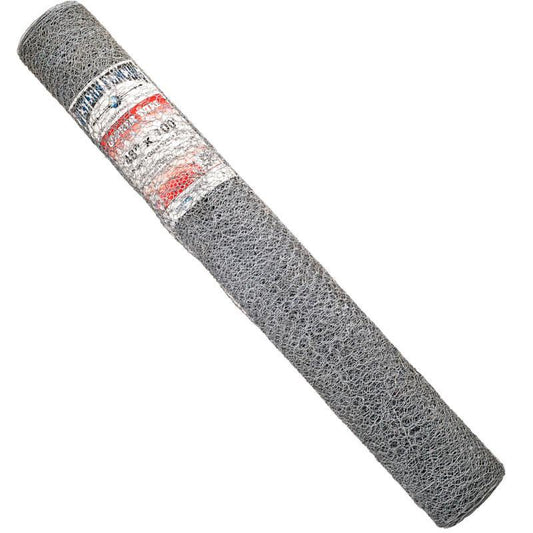
- Gopher basket, trunk protection, or stakes where needed
Do not routinely add fertilizer, compost, or other amendments to the planting hole. Backfill with the excavated soil. If a soil test identifies a problem, seek guidance on suitable soil amendments for the planting area rather than choosing a product simply because it is low in nitrogen.

Prepare the Hole
A wide hole gives you room to arrange the roots without crowding them. Correct depth matters just as much: planting too deeply can bury the base of the trunk.
- Dig approximately two to three times as wide as the spread of the roots. Make it only deep enough to accommodate them with the root flare at the surrounding soil level.
- Create gently sloping sides. Roughen smooth or glazed surfaces left by the shovel.
- Build a firm soil cone if needed to support the tree and spread its roots outward. Avoid leaving loose soil beneath the tree that could settle substantially.
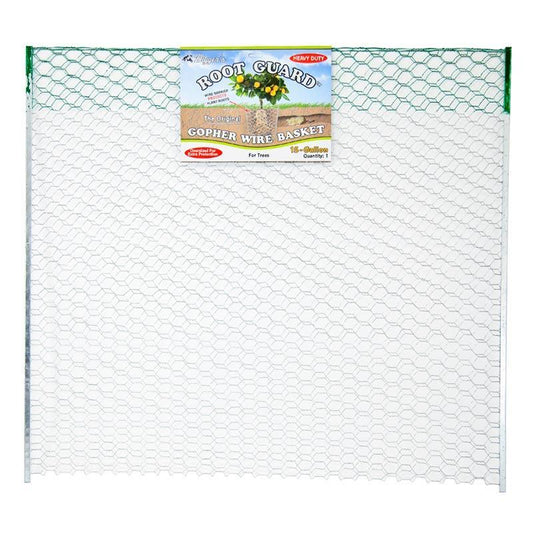
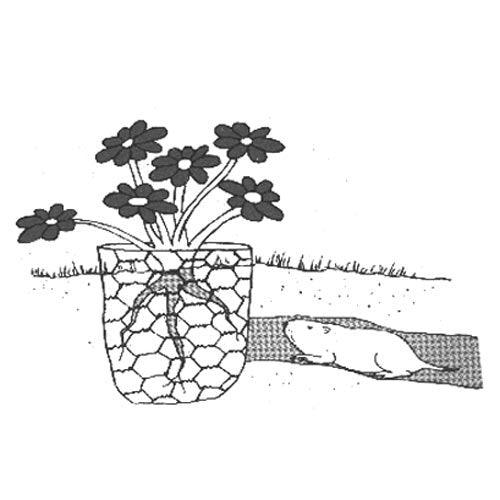
- Where gophers are a concern, consider a basket intended for tree planting. Allow room for root growth and seek local guidance, since wire barriers can restrict roots and do not provide complete protection.
Position and Backfill
Check the tree’s position before filling the hole. A shovel handle laid across the opening provides a useful guide to the surrounding ground level.
- Spread the roots naturally without circling, sharply bending, or bunching them together.
- Position the root flare at soil level, with the uppermost roots just below the surface. If the flare is hard to see, use the uppermost roots as your guide.
- Keep the graft union above the final soil line. Do not confuse it with the root flare.
- Backfill with the excavated native soil, working it gently between the roots.
- Firm lightly with your hands and water to settle soil around the roots. Avoid heavy compaction.
- Recheck planting depth after watering. If the tree settles too low, carefully reposition it before finishing.
Finish the Job
- Spread a 2–3-inch layer of wood-chip or bark mulch over the surrounding soil, keeping it at least 4 inches away from the trunk.
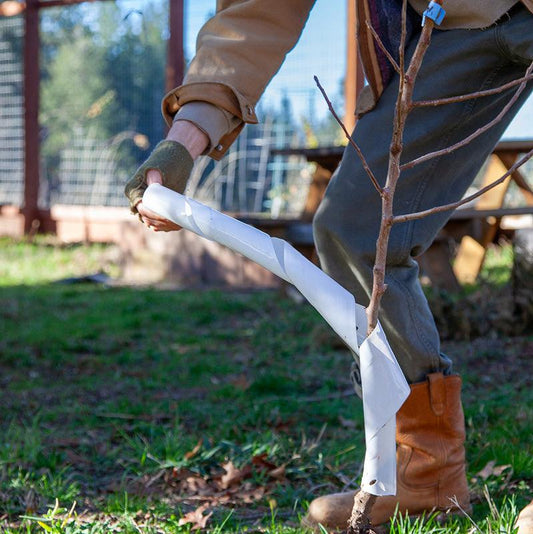
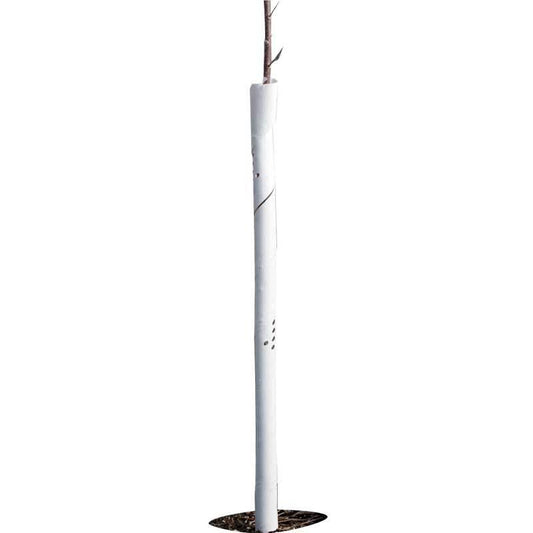
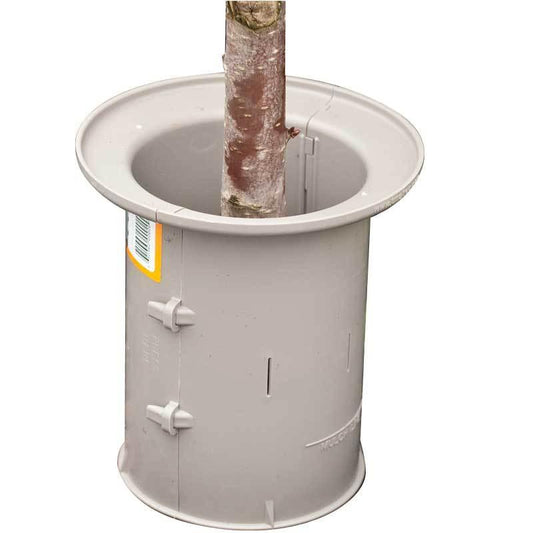
- Add suitable trunk or animal protection where needed, and check it regularly as the tree grows.
- Stake when the tree, site, or rootstock requires support. Use wide, flexible ties that allow some movement without rubbing or tightening around the trunk.
- Check rootstock requirements: apple trees on dwarfing rootstocks may need ongoing stake or trellis support.
- Record the variety, rootstock, planting date, and pollination partner for future reference.
After Planting
Check soil moisture regularly rather than watering by the calendar alone. Rainfall, temperature, and soil drainage affect how quickly the root zone dries. Water when needed to keep it moist without leaving it persistently saturated.
Follow the first 30 days of bare root tree care, then use the broader receiving and first-year care guide.
Conclusion
Successful bare root planting starts with a few careful steps: protect the roots, prepare a wide hole, check planting depth, and water thoroughly. Keep mulch away from the trunk and continue checking moisture and support after planting. These simple habits give your tree a sound start as it develops new roots.
2 comments
Jeffrey, if your tree has started to break dormancy you should plant it in the ground or if you are still not ready to plant, put it in a large pot with soil. Your garage must get warm enough during the day to signal the tree to start growing.
I’ve received my trees and put them in my cold garage in pine shavings as stated in the directions. One of my trees started to break dormancy and bud. What do I do now? Thanks Jeff