Transplanting young plants from pots to the ground is a crucial step in gardening. Done correctly, it ensures your plants grow strong and thrive. However, improper transplanting can set back their development or even lead to plant death. This comprehensive guide covers timing, preparation, and techniques to minimize transplant shock and help your plants transition seamlessly into their new environment.
Why Timing Matters in Transplanting
The key to successful transplanting lies in choosing the right time. The best time to transplant plants is when they are healthy, their root systems are well-developed but not root-bound, and environmental conditions are favorable.
 When to Transplant Your Plants
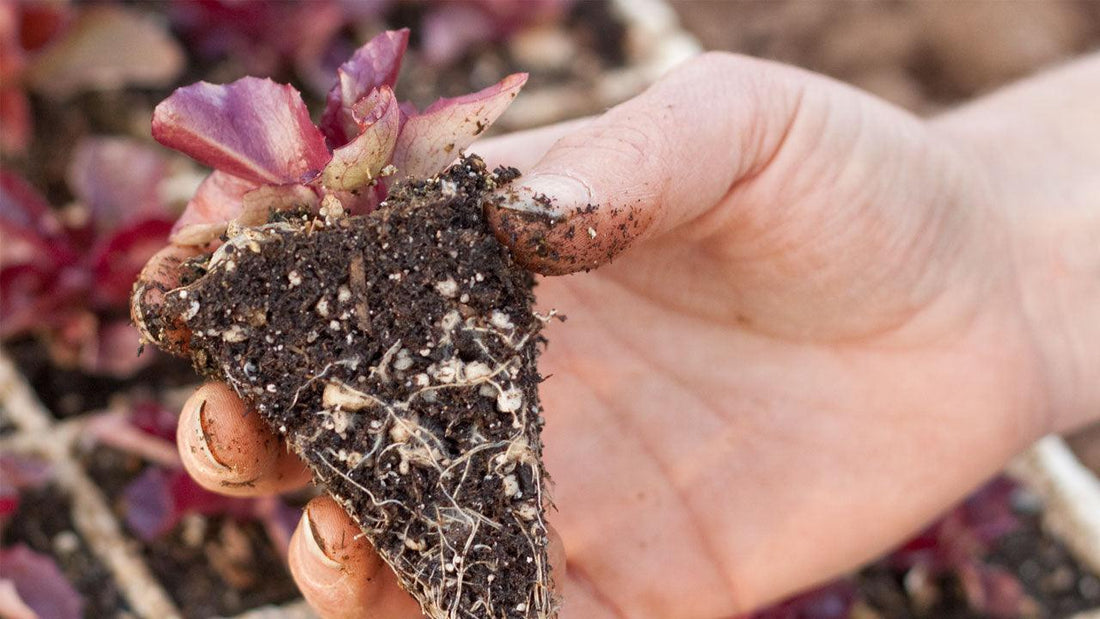
- Roots Have Filled the Pot: Check the root system by gently squeezing the pot to release the plant. If the roots are just starting to creep along the edge without circling, the plant is ready.
- Plants Are Hardened Off: Gradually acclimate your plants to outdoor conditions by setting them outside in a protected spot for a few days. This process is called hardening off.
- Cool, Overcast Weather: Transplant during cooler parts of the day—morning or evening—or on an overcast day to reduce stress on the plants. Avoid windy conditions, which can dry out plants and cause damage.
How to Identify Healthy Plants
Before transplanting, it’s essential to select plants that are in optimal condition. Whether purchasing from a nursery or growing your own, look for these signs:
- Appropriate Size: Plants should be proportionate to their pots. Small plants in large pots may not have established strong root systems, while overgrown plants are often root-bound.
- Healthy Foliage: Avoid plants with yellowing or wilted leaves, as this could indicate stress or poor root health.
- No Open Blooms: For flowering plants, choose those with buds instead of fully opened flowers. Plants in bloom are focused on reproduction rather than root establishment.
Preparing for Planting Day
Transplanting is most successful when you plan ahead and create the ideal conditions for your plants to thrive.
1. Choose the Right Day
- Ideal Weather: An overcast day with little to no wind is perfect for transplanting. If it’s sunny, plant early in the morning or late in the afternoon, and provide shade if necessary.
- Avoid Heat and Wind: Protect new transplants with garden fabric to shield them from sunburn or windburn.
2. Prepare Your Soil
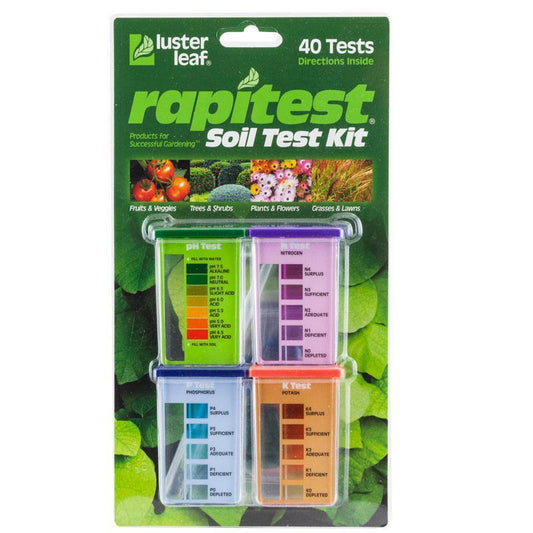
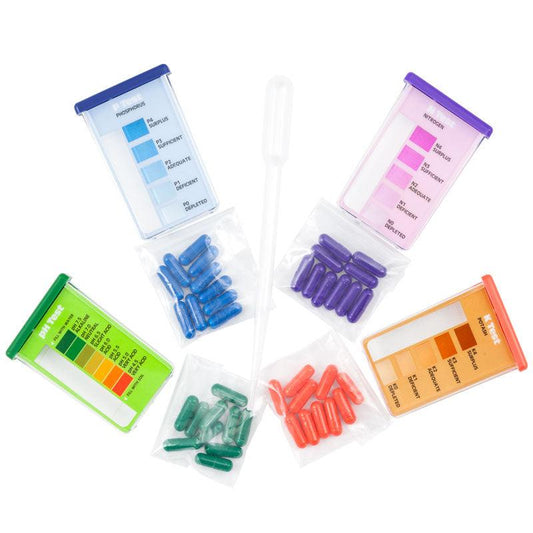
- Soil Testing: Conduct a soil test to determine the amendments your soil needs.
- Organic Fertilizers: Enrich the soil with organic fertilizers and compost to provide essential nutrients.
- Irrigation Setup: Ensure your irrigation system is ready before planting. New transplants require immediate and consistent watering to survive the transition.
3. Water Plants Thoroughly
- Soak transplants thoroughly before planting to keep roots hydrated.
- Lightly water the planting holes to provide a moist environment for the roots.
Step-by-Step Guide to Transplanting
Follow these steps for a smooth and successful transplanting process:
1. Handle Roots Carefully
- Minimize the time roots are exposed to air to prevent drying out.
- Move plants quickly from pots to soil.
2. Plant at the Right Depth
- Place the plant in the ground at the same depth it was growing in its pot. The exception is tomatoes, which can be planted deeper to encourage root growth along the buried stem.
- For tomatoes, remove the lower leaves and bury the stem so only the top 4–6 inches of the plant are above ground.
3. Tamp and Water
- Gently tamp the soil around the plant to stabilize it and eliminate air pockets.
- Water thoroughly, soaking the soil to a depth of 3–4 inches. This promotes capillary action and helps the roots connect with surrounding soil.
4. Use Kelp or Seaweed Fertilizer

- Give your plants a boost by watering them with liquid kelp or seaweed fertilizer, such as Maxicrop. This can help reduce transplant shock and encourage root growth.
Post-Transplant Care
Even with the best preparation, transplants need ongoing care to establish themselves in the soil.
1. Monitor Daily
- Check your plants daily to ensure the root zone stays moist. Transplants can dry out quickly as they adjust to their new environment.
2. Watch for Growth
- If you’ve minimized transplant shock, you may see new growth within a few days. However, it can take several weeks for plants to fully establish their roots and begin drawing nutrients from the soil.
3. Protect from Pests
- Keep an eye out for pests that may target your vulnerable plants. Consider using row covers or organic pest control methods as needed.
Avoiding Common Transplanting Mistakes
- Planting Too Deep or Shallow: Ensure the root ball is fully covered, but don’t bury the plant’s crown (except for tomatoes).
- Delaying Irrigation: Water immediately after planting to reduce stress and help roots settle.
- Ignoring Soil Quality: Poor soil preparation can stunt plant growth and lead to nutrient deficiencies.
Why Proper Transplanting Matters
Proper transplanting minimizes stress on plants, allowing them to quickly establish themselves in their new environment. Healthy transplants are more likely to thrive, produce abundant blooms or harvests, and resist pests and diseases. By following the steps outlined in this guide, you can give your plants the best possible start.
Final Thoughts
Transplanting may seem daunting, but with the right timing, preparation, and care, you can ensure your plants transition smoothly into the ground. From choosing healthy plants to preparing your soil and watering correctly, every step plays a vital role in minimizing transplant shock and encouraging robust growth.
Take the time to plan your transplanting process, and you’ll enjoy thriving, healthy plants that reward you with beauty and productivity throughout the season.
Resource Area: Watch & Learn Acclimation
Visual learners can follow along with a video guide that walks through seedling care and hardening:
- Seedling Care Video – Shows lighting, potting, transplanting, and hardening off routines.
- Harden Off Your Seedlings – A practical guide that complements video tutorials with real-world transition strategies.
1 comment
Besides tomatoes, you can also deep plant pepper plants after cutting the lower leaves off.