Grow Almonds in Your Garden

There’s nothing more satisfying than enjoying food grown in your own backyard. Almonds are no exception. While nut trees may take extra effort at harvest, the reward of homemade almond butter, milk, or flour makes it all worthwhile!
The Harvest
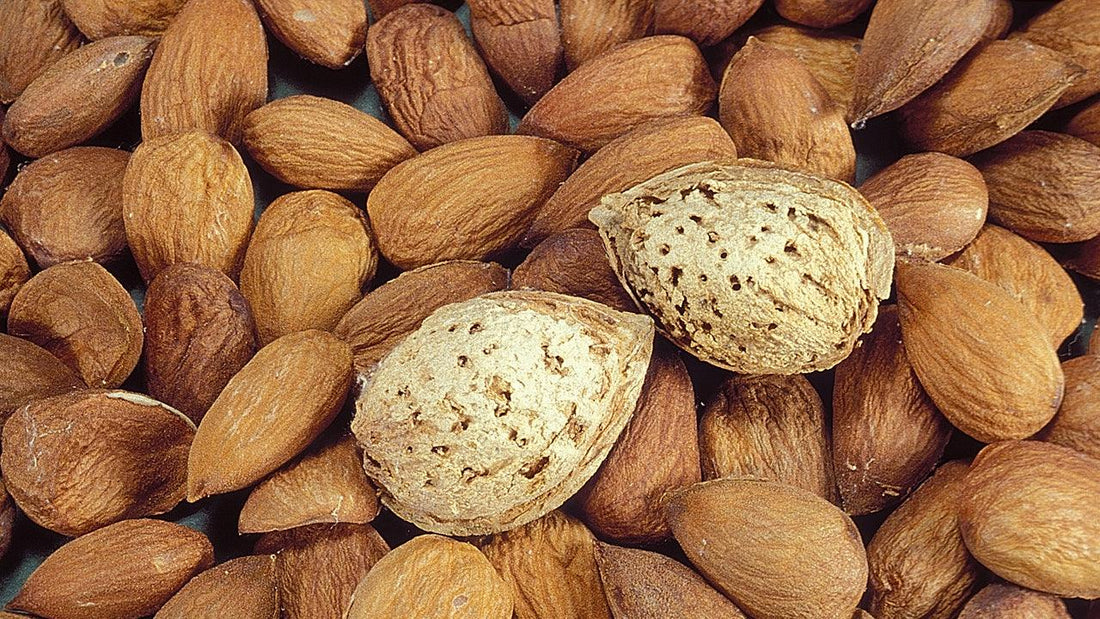
Almonds on the tree look quite different from what you see in the store. A relative of the peach, the almond fruit has a fuzzy green husk that protects a hard shell containing the seed—or "nut." You’ll know it’s time to harvest when at least 75% of the fruits have split open to reveal the nut inside. Start by shaking the branches to release the nuts, but be sure to wear protective gear to avoid injury from falling almonds.

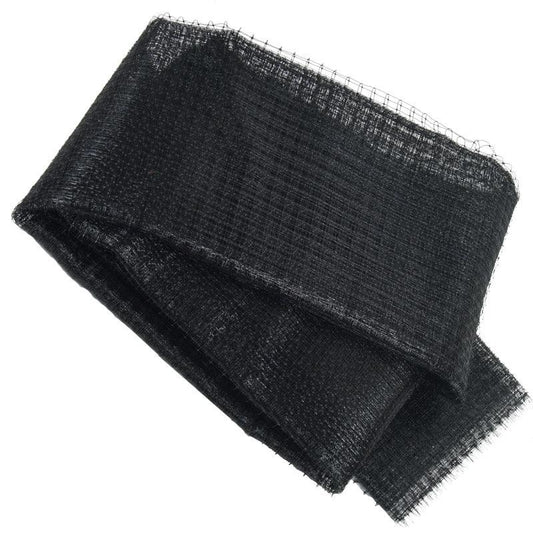
Once collected, remove the husks from the nuts. You can do this manually or use a mechanical de-husker for larger harvests. After husking, dry the almonds in a warm, sunny spot for several days, ensuring they’re protected from rain and pests. Cover them with bird netting to keep critters away. Properly dried almonds will rattle in their shells and snap cleanly when broken.
Store almonds in a cool, dry place, either shelled or unshelled. Properly dried almonds can last up to 8 months at room temperature or over a year in the fridge or freezer.
Go Nuts in the Kitchen
A mature almond tree can yield up to 50 pounds of nuts per year—plenty for experimenting with homemade almond-based recipes. Here are some simple and delicious ways to use your harvest:
Blanched Almonds
Many recipes call for blanched almonds. To blanch almonds, boil them for a few seconds and then remove the skins, which will peel off easily.
 Almond Flour
Almond flour is a fantastic gluten-free alternative for baking. Roast or blanch almonds before grinding them in a food processor until they resemble coarse flour. Be careful not to over-grind, or you’ll end up with almond butter.
Almond Butter
For creamy almond butter, grind roasted or raw almonds in a food processor until smooth. Add a pinch of salt or a drizzle of honey for extra flavor.
Almond Milk
Soak 1 cup of almonds in water for 12–24 hours, then blend with 2–4 cups of water until creamy. Strain through cheesecloth and enjoy. The leftover pulp can be dried and turned into almond flour.
Almond Cheese
For a dairy-free cheese alternative, soak 2 cups of blanched almonds overnight. Blend with 1 cup of water until smooth, then drain in cheesecloth for 8 hours. Use this almond "ricotta" in recipes or as a spread, flavored with herbs.
Grow, Harvest, and Enjoy Homegrown Almonds
Growing your own almond tree brings beauty and bounty to your garden. From fragrant spring blossoms to a fall harvest of nutritious nuts, almonds thrive in USDA Zones 7–9, where mild winters and warm summers create ideal growing conditions.
With an All-In-One Almond Tree, you can enjoy years of delicious rewards—fresh almonds for homemade butter, flour, milk, or healthy snacks. Almond trees are both ornamental and productive, offering stunning blooms and generous yields in a compact, manageable form.
Whether you’re creating a home orchard or adding a single tree to your landscape, growing almonds is a rewarding way to connect with your garden and enjoy truly homegrown flavor. Plant one today and experience the satisfaction of harvesting your own almonds—straight from tree to table.
Resources
For more tips on growing and harvesting almonds, check out our Growing Guide. Explore our bird netting options to protect your harvest, and don’t forget to stock up on almond trees for planting!
Growing almonds can be a fun and rewarding experience. With a little effort, you’ll enjoy delicious, homemade treats from your backyard harvest!


4 comments
Such a helpful and inspiring guide! I never realized how many ways you can use homegrown almonds—from milk to cheese. Definitely motivated to try planting a tree this season. Thanks for breaking it all down so simply!
This guide is super helpful—especially for beginners like me! I never knew growing almonds at home could be this doable. Loved the kitchen tips too—definitely trying almond milk and flour soon. Thanks for breaking it down so simply.
Wow, I never knew growing almonds at home could be this rewarding! Love how you can make so many things like almond milk, flour, and butter from just one tree. The harvesting tips are super helpful too—definitely saving this for when I start my garden!
Thanks for all your input about growing, harvesting pruning etc. It really is helpful & appreciated.