Using Garden Row Covers as Frost Protection
We're always talking about extending your growing season with floating row covers, low tunnels, and hoop houses. These all protect your tender plants from light frost. Today we'll give you easy instructions on how to build a low tunnel with PVC pipe and floating plastic covers. In our video series you can also watch Tricia build a low tunnel (also called a low hoop house) over one of her raised beds.
Floating row covers as frost protection for plants
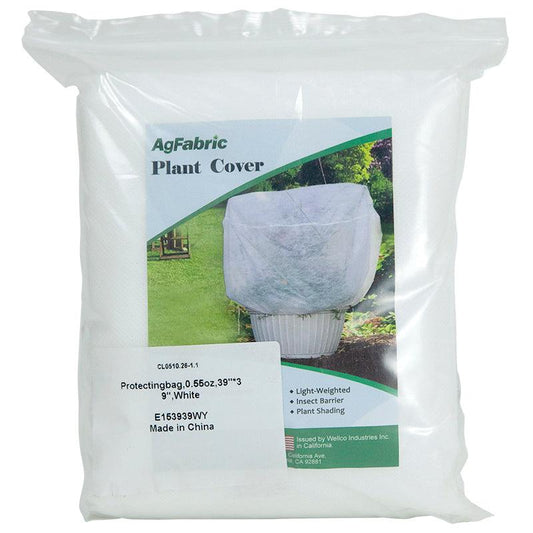
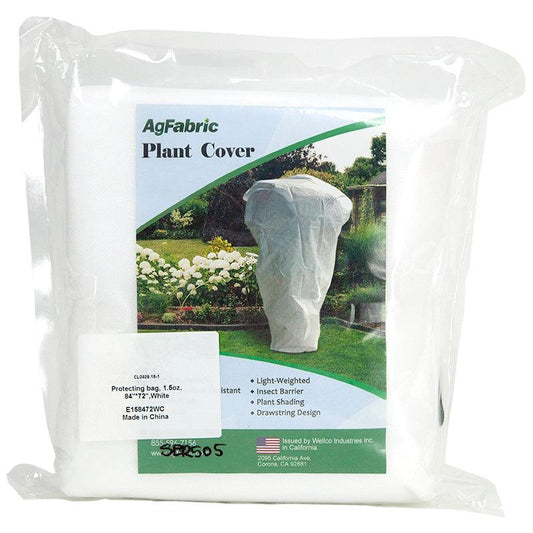
These row covers are made of lightweight fabrics (that "float" on the top of your crops) and allow for light transmission, air, and water to pass through to your plants. Please consider our guidelines when choosing the row cover weight you need in your climate.
Low tunnels of floating row cover give easy access to your crops, while protecting your plants from frost
Make gardening simple with lower maintenance when you stretch row cover over semicircular hoops to make low tunnels. The support of the hoops keeps snowy row cover weight off your plants, and allows you to quickly lift the row cover for harvesting.
Once you have the hoops in place, there are other things you can do... make a small greenhouse by covering with the clear Tufflite plastic. In the summer cover it with shade cloth to cool down your plants and prevent sun burn. Whatever the weather forecast, you will have a useful tool in protecting your raised beds and potted plants.
How to build the frame for a low hoop tunnel
Supplies needed per five feet of tunnel:
- 2 x 18" pieces of 1/2" rebar
- 1 x 8 ft. length of 3/4" PVC pipe
First, pound the rebar into the ground with an angle of 35-45° toward the center of the bed. Leave about 6" of rebar sticking out of the ground. If you plan to leave the rebar in the ground after you remove the low tunnel in the summer you might want to paint the tops a bright color or flag them so they aren’t a tripping hazard. Slide an 8-foot length of PVC over the rebar to create a hoop, repeating down the bed every 5 feet.
How to fit the floating row cover over a low tunnel frame
Supplies needed per five feet of tunnel:
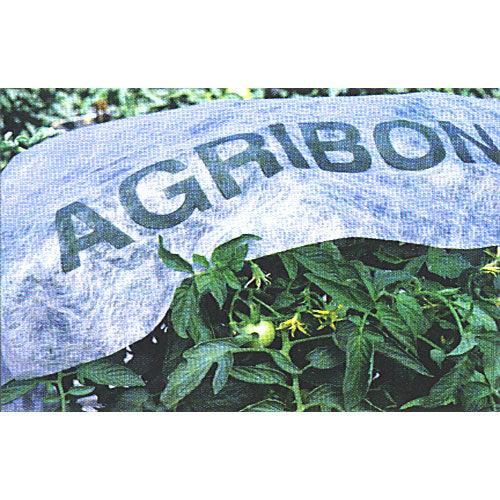
- 1 x 83" width x 50' long AG-30 Agribon (4' extra for each end)
- 1 x 3/4" PVC pipe the same length as your bed
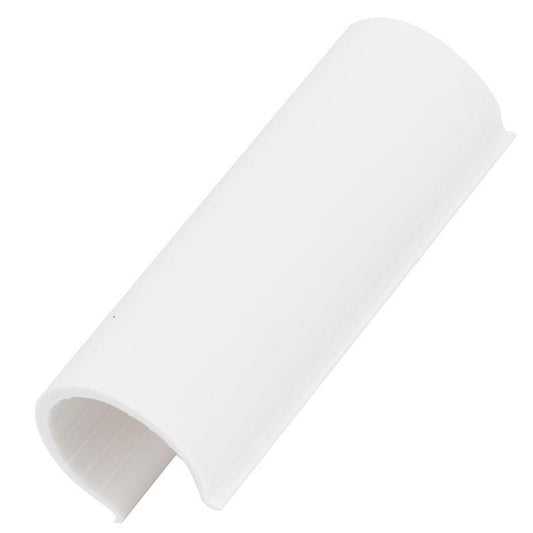
- 2 x 2 3/4" rowcover clamps
First, cut a piece of Agribon off of the roll about 8 feet longer then the length of the bed. That allows the fabric to drape over and close at each end of the tunnel.
To make it easy to vent the tunnel and harvest the crops, sew a simple "sleeve" down one long side of the Agribon: take 6 inches of the fabric along the long edge, fold it over, and stitch it in place.
Next, drape the Agribon over the hoops. Slide your long piece of PVC down the sleeve. If you did not sew a sleeve, use more 3/4" clamps to secure the long piece of PVC to the edge of the Agribon.
Gather and secure the fabric at the each end of the tunnel with a rock, or a sand bag. Now you can easily lift one side to vent the tunnel or to harvest delicious vegetables year round!

When to plant in your low tunnel
Use the low tunnel to extend your seasons at both ends of the year, regardless of air temperature.
Plant cool-season crops in late summer and see how long you can harvest through the winter.
Use the low tunnels to warm the soil in late winter or early spring and get a jump on growing the cool-season vegetables that prefer spring and fall. Check out our article on cool-season vegetables to get ideas on what to plant.
Protect your plants from frost with low tunnels, and enjoy your home harvest for extra months every year!











4 comments
Last winter (20-21) was my first essay at low hoops. I have twelve beds 5’ x 20’; we made low tunnels for three of them. We placed five 10’ PVC ½” pipes [yes, you are using 3/4"] down the bed (so 5’ intervals) with 10” set into the ground on each side, covered with two layers of 4F frost blanket—that was sufficient until the end of December. When the real cold came, on Christmas Day, we added greenhouse 6 mil plastic. Before putting on the plastic we had also braced the end hoops with stakes fitted (curve cut out with spade bit) and taped to the hoops, and run a 3/16” nylon line across the top of the hoops. Nylon line ran diagonally, end to end, on top of the plastic. Really heavy snow came in January ‘21, and due to my inexperience/ignorance of that effect, I did not rush out to sweep off the snow. The weight of the snow didn’t quite collapse, but did permanently mal-form, the inner hoops—now useless as hoops. This fall we added a hoop to each bed: spacing hoops at 4’ intervals, and also adding two more wood braces (now four per bed on hoops 1, 3, 4, 6). First snow came last night, 4.5”, and this morning I went out quickly to sweep clear the plastic. My first experience says that 5’ spacing of hoops is inadequate for heavy snow if using 1/2" pipe.
Amanda: the pipes and techniques used here are heavy duty enough for any amount of snow…but the material on top is not.
I suggest looking into a proper 0.20 mm+, UV treated greenhouse cover, instead. They’ll last you 5+ years, and, if the pipes are close enough together (which they are, here), they can handle any amount of snow thrown at them.
The structure can also be solidified with a top beam (or even just an anchored string that serves a similar purpose).
Finally! I’ve been searching for a simple row cover to extend my growing season into fall. This is perfect! Thank you for the instructions!!
Gardening is my passion, but I do live in an area with a lot of snow so the season is pretty short for me. I do like how you say that tunnels will keep the weight from snow off of the plants. That would be really nice and extend the time I can have plants. I should find someone who would give me an estimate on how expensive a heavy-duty tunnel that’s just a bit more permanent than the tunnel you describe would cost.