Raised beds are useful for many gardening situations: they’re easier to reach, can reduce some pest problems, and work well in poor soil conditions. A well-constructed raised bed can bring you years of gardening success. Follow these three easy steps to design your raised bed!
Step 1: Select a Location
Your raised bed requires similar conditions to a standard garden. Consider sunlight, water access, yard layout, and pathways. Raised beds can be used for flowers, vegetables, and even trees. Make sure your bed is placed where it will be easy to maintain.

Step 2: Choose Your Building Materials
The primary consideration in designing your raised bed is selecting materials for the walls:
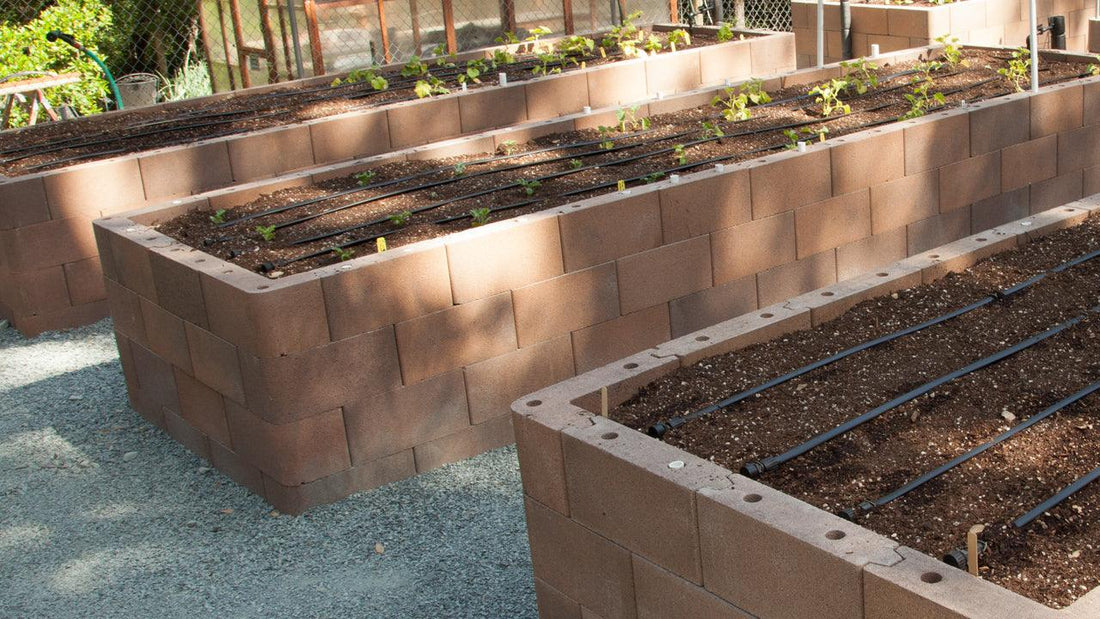
- Stone: Durable and long-lasting.
- Wood or Recycled Plastic: Easily assembled with Smart Pot Big Bag Beds.
- Gopher Protection: Install gopher wire at the bottom.
- Weed Barrier: Use landscape weed fabric to prevent root intrusion.
If you plan on adding row covers, bird netting, or shade fabric, make sure you incorporate support structures such as hoops. Check out how to build a low tunnel for raised beds.
Step 3: Decide Your Bed Size
The size of your raised bed should allow easy access for planting, weeding, and harvesting. Consider the following:
- Width & Length: Ensure you can reach all areas without stepping into the bed.
- Height: Typically ranges from 8 inches to several feet, depending on plant needs.
Deeper beds (several feet) are necessary for trees, while vegetable gardens typically need 8-12 inches of depth.
Shop Raised Beds

Conclusion
Designing a raised bed is easy and rewarding. With the right location, materials, and size, you’ll enjoy a productive and low-maintenance garden for years to come.