Brussels sprouts were first cultivated in large quantities in Belgium, hence the name.
If you're wondering when, exactly, is a good time to plant your Brussels Sprout seeds, enter your last frost date (for spring planting) and first frost date (for fall planting) into our Seed Planting Calculator. It will calculate the best dates to direct seed or start seeds indoors.
You can also calculate when to plant your seeds by using the sowing information on the back of the seed pack and counting backwards from your last frost date on your calendar.
Brussels Sprout Types
Early Season: Spring planted and harvested in September through November (155–175 days). Less cold hardy than late season.
Mid Season: Spring planted and harvested in November through December (175–200 days). Not cold hardy.
Late Season: Spring planted and harvested December through March (200–250 days). Cold hardy varieties. Try planting our Darkmar 21 or Red Bull varieties.
Growing Basics

Soil: Brussels sprouts prefer a soil pH between 6–7.5 that drains well, has consistent moisture, and has plenty of organic matter. A temperature of 80°F is optimal for germination, (but will tolerate temperatures between 50–100).
Try growing Brussels sprouts in some of our Peaceful Valley Organics Potting Soil; it is an excellent, organic all-around mix.
Air Temperatures: Considered a cool season crop developing best at 60–65°F.
Days to Emergence: 5–14 depending on variety and conditions.
Seed Longevity: If properly stored, the seeds should be viable for about 3 years.
Yield: Varies widely depending on variety as well as weather and water availability. (Estimate about 30 sprouts per 4’ stalk.)
Spacing: Plant seeds 3 to 4” apart, thin to 18–24” apart after emergence in rows spaced 30” apart.
Companion planting:
- Incompatibility — Tomatoes
- Companions — Nasturtiums
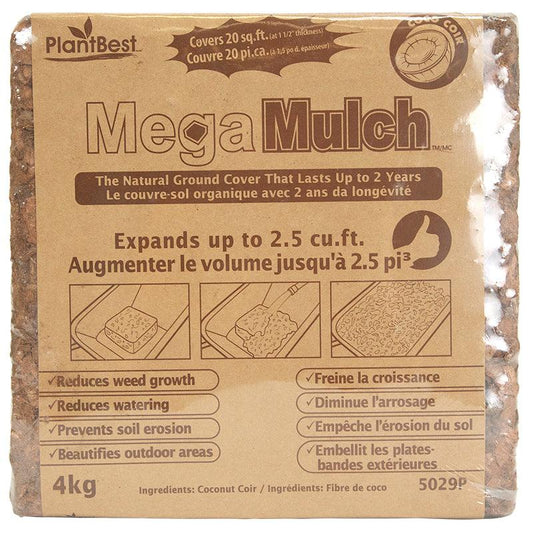
Water Requirements: Water Brussels sprouts consistently and with moderate to high amount of water. Use mulch to retain moisture as the plants are shallow rooted.
Fertilization: Address amendments prior to transplanting into garden, supplementing per product label. Brussel sprout roots are shallow, so do not disturb the soil; top dress and water in.
Planting & Growing
Sowing: To begin transplants indoors, sow seeds in late May-June for transplanting outdoors. Plant ¼” deep in a moist soilless mix (Quickroot) to prevent damping off. Provide a grow lamp directly above seedlings or place in a sunny south facing window. Keep seedbed consistently moist using a sprayer or fine sprinkler and a dome, if using.
After first true set of leaves have formed, feed with half dilutions of liquid fish and liquid kelp twice a week.
Transplanting: Harden off your seedlings before planting outdoors. Transplant into the garden when plants have about 4–5 true leaves. Set at the same level it was in the pot and space plants about 18 inches apart. Brussels sprouts are heavy feeders, so feed with a balanced fertilizer according to the label about once a month.
Use a mulch to keep soil consistently moist. Keep your garden bed well weeded, but do not cultivate deeply since the plants have a fairly shallow root system. Do not overhead water; it is best to use drip irrigation.
A lightweight row cover (Agribon AG15) can be used as a barrier to pests. Cover your plants when they are young, before pests have arrived.
After lower sprouts have reached about 1 inch in diameter, the top growing part of the plant can be removed. This will encourage the top sprouts to enlarge.
Harvesting
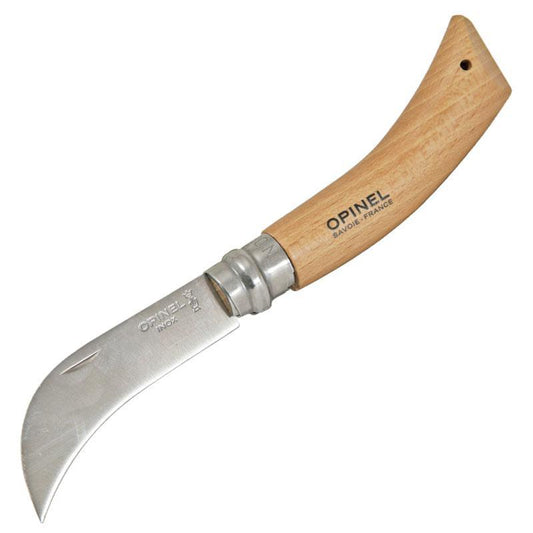
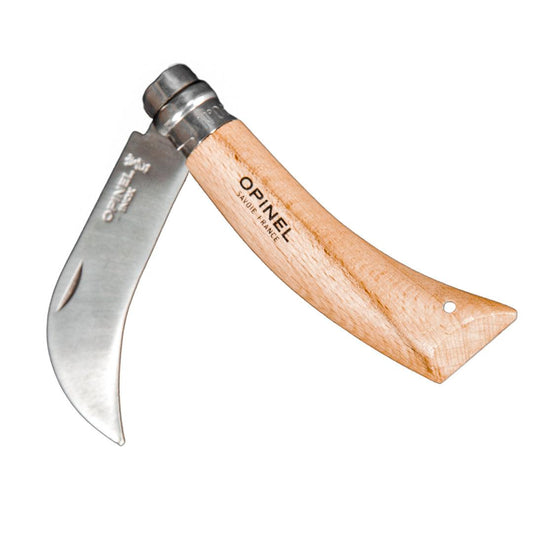
Early harvested sprouts will be bitter. Sprouts are better if harvested after a frost. Use a good harvest knife to cut off individual sprouts when they about 1–2" in size from the bottom of stem working upward as they mature.
The whole plant can also be removed once sprouts have sized up. Cut stalk at soil surface, remove leaves and store plants in a root cellar, cool garage or shed. You can remove the sprouts as you need them, or cut all the sprouts and store in a refrigerator where they will be good for about 2 weeks.
Common Pests & Diseases

Alternaria Leaf Spot: Cool wet weather favors, lesions on leaves form concentric rings turn brown to gray. Treat with an organic fungicide labeled to control Alteraria leaf spot.
Black Rot: Blotches of yellow appear on the leaf edges and progress to a V-shaped dead sections on the leaves. Avoid overhead watering, practice good sanitation, and do not add diseased and dead leaves to your compost pile, bag and put in the trash. Do not grow any brassicaes in the area for several years. Applying lime to the soil may reduce fungal growth.
Cabbage Aphid: Gray-green with a waxy coating, usually in clusters, usually found on the underside of leaves or on flower head. Control with a strong spray of water (our Bug Blaster Spray Nozzle works great), beneficial insects, or organic insecticides labeled for aphids.
Cabbage Root Maggot: From eggs of tiny grayish-brown flies. Eggs can sometimes be detected on the stem at soil level. Larvae tunnel into the roots causing early wilting and eventual death of plant, especially if plant is young and small. Avoid over ferilization with manures, can cover young plants with floating row covers (remove when temperatures get hot).
Cabbage Worm: Leaves eaten. Cover with floating row covers (remove when temperatures get hot), hand pick, beneficial insects, or an organic insecticide labeled for cabbage worms.
Clubroot: May see stunting, yellowing, or wilting of foliage and swelling and distortion of the roots. Don’t plant vegetables in the brassicae family in the same location each year. If present, raise pH to 7.2 with lime. Can solarize soil to help control.
Diamondback Moth: Larvae feed on underside of leaves. More likely seen in spring to early summer. Hand pick them off the plant, use beneficial insects, or an organic insecticides labeled for Diamondback Moths.
Downey Mildew: Avoid overhead watering. Can treat with an organic fungicide labeled to control Downey Mildew.
Flea Beetles: Visual symptoms are holes in leaves. Cover with floating row covers (remove when temperatures get hot), hand pick them off the plant, use beneficial insects, sticky traps or an organic insecticide labeled for flea beetles.
Pest Control – IPM (Integrated Pest Management)
Integrated Pest Management (IPM) is an effective and environmentally sensitive approach to pest management that starts with the least invasive or impactful control methods and considers the use of chemical controls as the last step. For more information watch our Integrated Pest Management video.
It is important to practice good cultural controls for pest management of Brussels sprouts. Cultural controls such as removing plants after harvest (to avoid leaving food for insects to continue to multiply on), practice crop rotation (i.e. do not plant crops in same family, in the same area for 3 years), and use row covers such as Agribon AG15 (cover before insects arrive or to protect against birds when plants are young).
Common Questions
Why are some of my sprouts more bitter than others? Both overly mature as well as immature sprouts can take on a bitterness. Harvest when buds are not cracked or yellowing (overmature) or undersized. Plant so that harvest arrives when temperatures are cooler and will be enhanced by early frosts. If the sprouts are also poorly developed and not tightly bound, insufficient water is usually the cause.
Why are my plants short or stunted? This is most often caused by starting transplants too early or in too small a pots so they become root bound before moving into the garden.
How do I keep the plants from falling over when they are getting tall? Brussel sprouts will fall over even if staked in windy areas. Be sure your stakes are secure. Heavy, clayish soils will hold stalks through harvest, so do not till your soil to make it lighter. Plant so that bed receives sufficient sun, but has a wind break.
How long after frost should I wait to harvest? As long as your night temperature are above 20°F, the plants are safe in their beds. In some areas, growers will wrap their plants as you would an ornamental to protect them or use a hoop house to extend their harvest. Plants can be potted up and put into a root cellar to extend harvest a few weeks.
Are the leaves of my plants edible as well? Yes, the leaves can be used as would any brassica. If plants are left in the ground and survive until spring, they may send up a tall flowering stalk which can also be cut and steamed or served raw.
Definitions
Heirloom: Heirloom seeds come from open-pollinated plants that pass on similar characteristics and traits from the parent plant to the next generation plant. Heirloom vegetables are old-time varieties generally which have been in production since before WWII, and have been saved and handed down through multiple generations.
Hybrid: a cross between two or more unrelated plant varieties. The two different varieties are cross bred, resulting in a seed that carries one or more favorable traits (increased yield, uniformity, color, disease resistance.) Hybrid seeds are not GMO, as they are manually cross-bred, not genetically modified in a lab. Hybrid seed is often sterile or does not reproduce true to the parent plant. Therefore, never save the seed from hybrids.
Open Pollinated: generally refers to seeds that will “breed true”. When the plants of an open-pollinated variety self-pollinate, or are pollinated by another representative of the same variety, the resulting seeds will produce plants roughly identical to their parents. Genetic traits may differ only slightly due to variations created by local conditions.
GMO: Genetically Modified Organisms were genetically modified in a laboratory where DNA genes are extracted and mixed with other unrelated plants to improve characteristics. Saved seed will not always be viable and may be trademarked to prevent unauthorized use.


