Bare Root Tree Care Timeline
- When the box arrives: Open it promptly, identify each tree, inspect the trunk, graft union, branches, and roots, and confirm that the packing material is still moist.
- If planting is delayed: Keep roots cool, moist, protected from wind, and safely dormant. Heel the tree in when a longer delay is unavoidable.
- Before planting: Confirm sunlight, drainage, mature spacing, chill-hour suitability, and pollination requirements.
- On planting day: Rehydrate the roots briefly, remove damaged root tissue, plant at nursery depth with the graft union above the soil, backfill primarily with native soil, and water thoroughly.
- During the first month: Check soil moisture, settling, bud development, mulch placement, trunk protection, and staking.
- During the first year: Adjust watering to soil and weather, limit fertilizer until establishment is evident, manage competing weeds, and begin species-appropriate training.
1. Inspect the Tree When It Arrives
Open the package promptly rather than leaving a dormant tree sealed in its shipping box. Confirm the label and variety, then inspect the roots and lower trunk. Healthy dormant roots should remain protected from drying. Small broken twigs or trimmed roots may be normal after harvesting and packing; remove only wood or roots that are clearly broken, dead, diseased, or badly kinked.
If the packing material feels dry, moisten it lightly. Do not leave the roots submerged or waterlogged during storage. Keep the tree cool and shaded while preparing the planting site.
If you cannot plant promptly, follow the complete heeling-in guide. Heeling in is temporary storage, not a substitute for selecting and preparing a permanent site.
2. Confirm the Planting Site
Choose the site before exposing the roots. Most fruit and nut trees perform best in full sun with good air movement, reliable irrigation access, and soil that drains without remaining saturated. Allow enough room for the tree’s expected canopy and rootstock size, as well as access for pruning and harvest.
Also confirm whether the variety needs a compatible pollinizer. A second tree must provide compatible pollen and overlap in bloom; simply planting two trees does not guarantee compatibility. Review the variety’s product information and the fruit tree pollination guide before planting.
Use Where to Plant a Fruit Tree for detailed guidance on sun, drainage, frost pockets, wind, mature spacing, and access.
3. Prepare the Roots
Keep the roots covered until the hole is ready. Shortly before planting, soak bare roots in clean water long enough to rehydrate them—generally about one to four hours. Avoid leaving them submerged for an extended period.
With clean, sharp pruners, remove roots that are broken, dead, diseased, or sharply kinked. Avoid routine shortening of healthy roots; enlarge the hole so the roots can spread naturally without circling or bending upward.
4. Dig a Wide, Properly Shaped Hole
Dig no deeper than needed to place the upper roots at approximately their previous nursery level. Make the hole wide enough to spread the roots naturally, with gently sloping or roughened sides. A small cone or firm pedestal of native soil can support the trunk while the roots are arranged around it.
Do not create a small pocket of heavily amended soil. Backfill primarily with the soil removed from the hole so roots transition into the surrounding ground. If poor drainage is the problem, amending only the hole will not correct the site; consider drainage improvements, a raised planting area, or a different location.
Where gophers are active, install an appropriately sized gopher basket before positioning the tree. See the bare root tree planting supplies checklist for essential and site-specific equipment.
5. Set the Correct Planting Depth
Spread the roots over the soil support without forcing them into tight bends. The root crown—the transition between the trunk and upper roots—should finish at or slightly above the surrounding grade after settling. Keep the graft union several inches above the final soil level unless the specific tree’s instructions state otherwise.
Backfill gradually with native soil, working soil carefully around the roots. Firm it gently by hand without heavily compacting it. Recheck the tree’s depth before watering.
6. Water Thoroughly After Planting
Water immediately after backfilling to settle soil around the roots and reveal any large air pockets. If the tree settles too deeply, correct its position before the soil firms.
After the initial watering, do not follow a rigid calendar without checking the soil. Weather, rainfall, soil texture, drainage, mulch, and root-zone size all affect watering frequency. Check moisture several inches below the surface near the root zone. Water when the soil is becoming dry, applying enough to moisten the root area; wait when it remains wet or saturated.
Newly planted trees need consistent moisture, but roots also require oxygen. Chronic saturation can be as damaging as drought. Review the first 30 days after planting for the initial monitoring routine.
7. Mulch and Protect the Young Tree
Apply a broad layer of mulch over the surrounding root zone to conserve moisture, moderate soil temperature, and reduce weed competition. Keep mulch several inches away from the trunk and graft union rather than piling it against the bark.
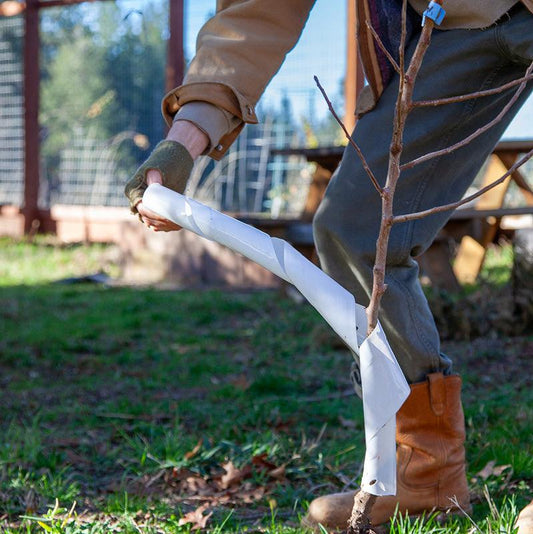
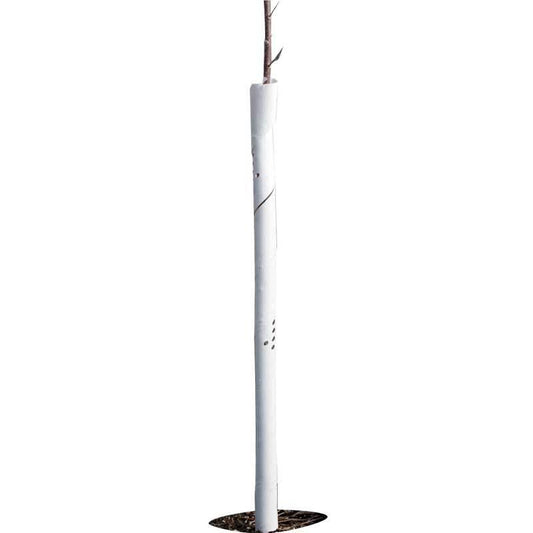
Use trunk protection where sunburn, rodents, deer, equipment, or other site hazards are likely. Choose guards that do not trap moisture against the bark and check them as the trunk grows.
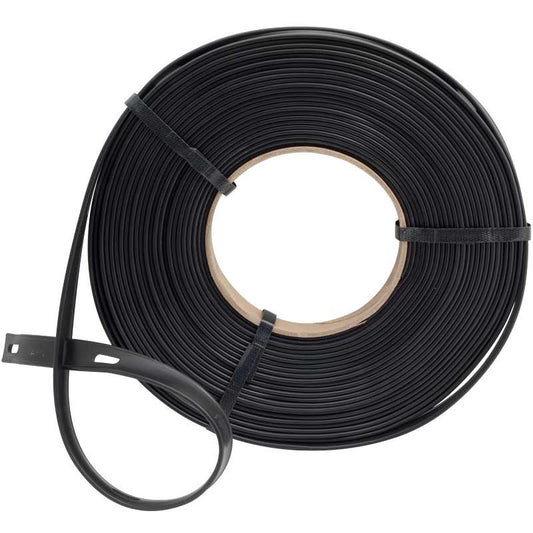
Stake only when the tree or site needs support. Use two stakes and flexible ties when practical, allowing the trunk to move slightly while preventing the root system from rocking. Inspect ties regularly and remove the support once the tree is stable.
8. Handle Fertilizer Carefully
Do not place concentrated fertilizer, manure, or high-nitrogen products against bare roots. A soil test is the best basis for correcting known nutrient or pH problems.
During establishment, prioritize proper planting depth, moisture, drainage, sunlight, and weed control. Begin a measured fertility program after the tree shows active growth and according to its species, soil test, local conditions, and product directions. Excess nitrogen can encourage soft shoot growth at the expense of balanced establishment.
For a focused schedule, read When and How to Fertilize Fruit Trees.
9. Prune and Train for Long-Term Structure
Planting-time pruning depends on tree form, species, root loss, and the training system you intend to use. Remove broken or dead wood, then follow the appropriate instructions for an unbranched whip, a branched tree, a multi-graft tree, or a species with special pruning needs.
Do not apply wound paint or sealant to ordinary pruning cuts. Make clean cuts with sharp tools and allow the tree to compartmentalize the wound naturally. Use How to Prune Fruit Trees for the general framework and follow species-specific guidance where available.
10. Monitor the First Growing Season
- Watch for bud swell and new growth, recognizing that different species and varieties break dormancy at different times.
- Continue checking soil moisture rather than watering automatically.
- Keep weeds and turf from competing immediately around the young tree.
- Inspect the trunk, graft union, ties, guards, and mulch placement.
- Remove shoots arising below the graft union.
- Check for chewing damage, sunburn, leaf symptoms, or branch dieback and identify the cause before treating.
- Follow species-appropriate advice about flowers or fruit during the establishment year.
Special Considerations
Persimmons
Persimmons can be slow to break dormancy and are sensitive to poorly drained, excessively wet soil. Avoid assuming that delayed bud break means immediate failure; continue monitoring the wood and soil moisture while following the variety’s care instructions.
Mulberries
Protect dormant mulberry roots and stems from drying during storage and planting. Use appropriate planting-time pruning to balance the top with the newly establishing root system.
Multi-Graft Trees
Identify and label every grafted branch. During the first several seasons, monitor relative vigor so one variety does not dominate the tree. Use the multi-graft balancing guide for ongoing training.