Introduction
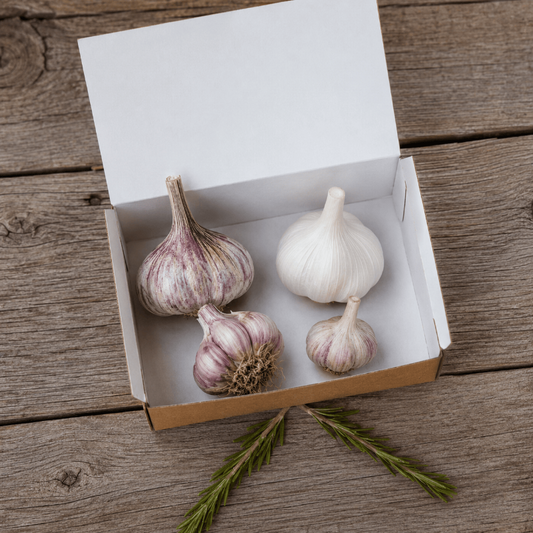
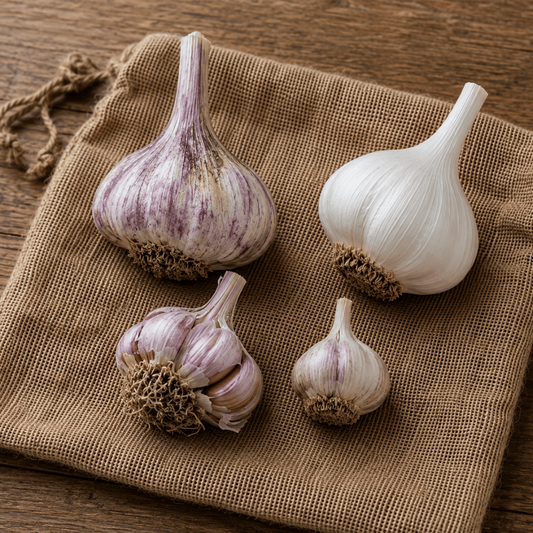
Growing garlic from bulbs starts with separating a bulb into cloves. Each healthy clove can develop into a new bulb when the variety, weather, and care suit its needs. A little planning now can lead to a useful harvest next summer.
This guide explains how to plant garlic cloves, from choosing a bed to setting depth and spacing. Successful growing of garlic starts with healthy stock, good drainage, and enough room for each plant.

1. Choose When to Plant
The best answer to when to plant garlic depends on your region. Allow roots to grow before the ground freezes, without encouraging too much early top growth.
Regional advice offers useful starting points for fall garlic planting:
- Minnesota: Plant in fall, usually one to two weeks after the first killing frost.
- Oregon: September through November is the broad recommended window.
These are regional examples, not nationwide deadlines. See Minnesota Extension’s guidance and Oregon State’s advice, then check conditions near you.
Our planting-date guide helps you decide when to plant garlic in fall. When planning garlic planting by zone, use our growing-zone guide for context. Zones describe winter cold, but local frost dates and soil conditions help answer “when should i plant garlic.”
In warm-winter areas, some varieties need chilling before planting. Follow our vernalization guide rather than guessing at refrigerator temperatures or chilling time.
2. Choose Healthy Cloves and a Suitable Bed
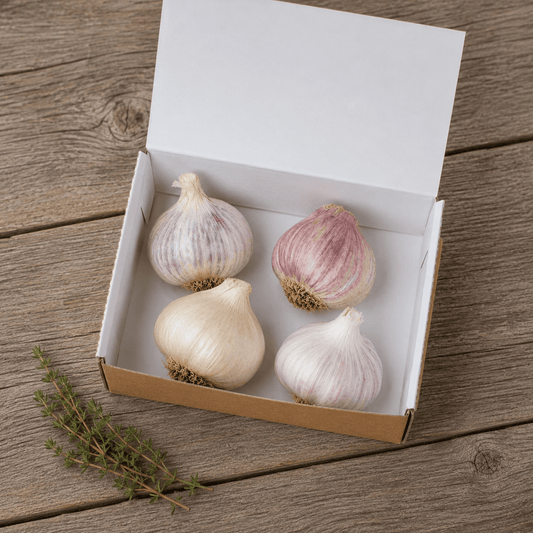
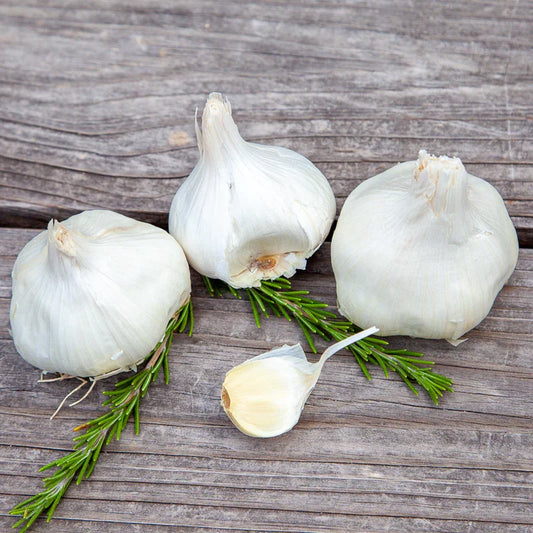
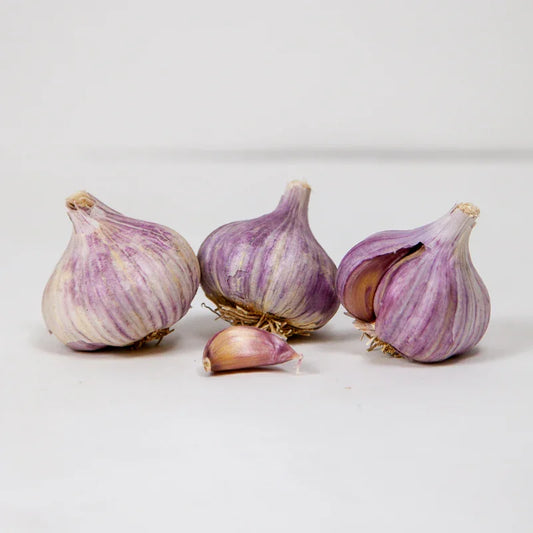
Compare types of garlic with our Garlic Selector. A locally suited softneck variety may work well in mild regions. Many hardneck varieties perform well where winters are cold.
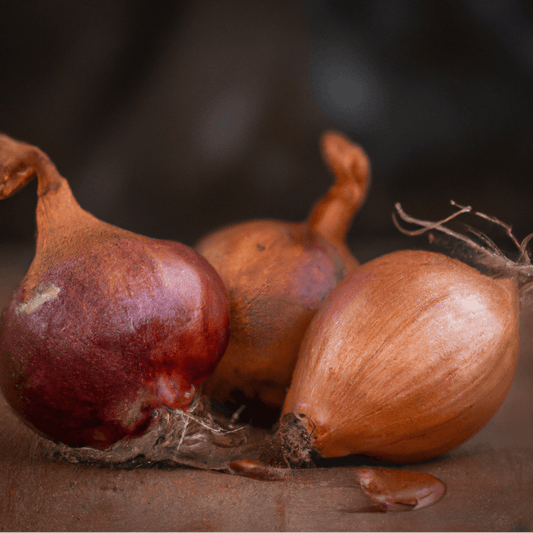
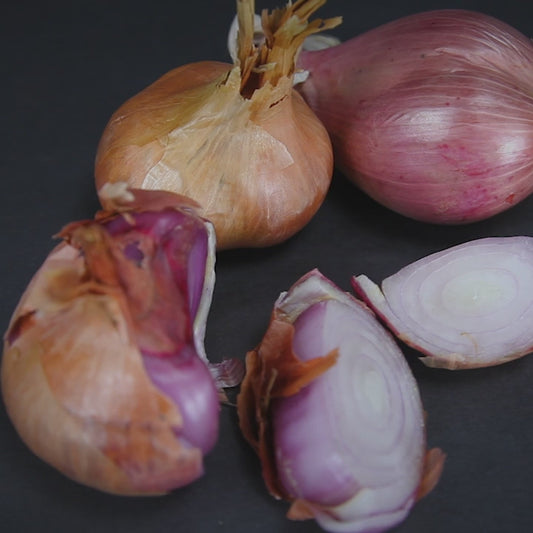
Buy seed garlic from a trusted source. The term garlic seed often means planting cloves, rather than true botanical seed. Browse garlic and shallot planting stock before choosing.
Keep bulbs whole until shortly before planting. Separate varieties into labeled containers so they do not get mixed up.
Where do you plant garlic?
Choose full sun and soil that drains freely. Raised beds can help where drainage is poor, but water still needs a route away from the roots.
For garlic rotation planting, avoid beds recently used for onions, leeks, shallots, or garlic. These crops share pests and diseases. A known soilborne disease may require a much longer break and local expert advice.
Use soil tests to guide organic fertilizer and organic matter additions. Choose a product that supplies the nutrients your soil needs, and follow its label rate. Adding more does not always improve growth. Finish this work before opening bulbs. Our fall garlic soil-preparation guide covers bed preparation.
3. Set Your Spacing and Depth
Searches for “planting garlic spacing depth” often overlook an important detail: planting-hole depth and soil cover are not the same measurement.
The right spacing for garlic planting gives each bulb room to grow and leaves space for weeding.
| Measurement | Practical starting point |
|---|---|
| Distance between standard cloves | 4–6 inches |
| Soil above the clove tip | About 2 inches |
| Space between rows | Enough for the chosen layout and weeding |
| Elephant garlic | More room than standard garlic |
Regional recommendations differ. Adjust garlic depth for soil texture, winter conditions, and variety. Mulch sits above the soil and does not replace the specified soil cover.
For example, a clove one inch tall needs a hole about three inches deep to leave two inches of soil above its tip. Measure from the soil surface, not the top of the mulch.
Wider spacing gives bulbs more room and makes weeding easier. For large cloves, use our elephant garlic spacing guide.

4. Plant the Cloves Step by Step
Here is how to plant garlic in the fall once your bed is ready.
-
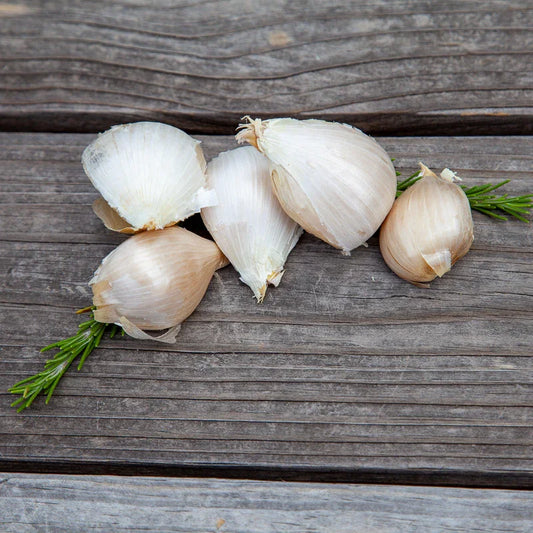
Separate the bulbs. Break heads of garlic into individual cloves shortly before planting. Keep their papery skins intact where possible.
-
Inspect each clove. Reject soft, moldy, or badly damaged pieces. Select large, healthy cloves for bulb production.
-
Mark the layout. Use a ruler, string, or planting grid to keep spacing even. Leave room to reach the middle without stepping on the bed.
-
Make the holes. Loosen soil first rather than forcing cloves into hard ground.
-
Place cloves upright. If you are unsure which direction to plant garlic, put the pointed tip up and the flat root plate down.
-
Cover gently. Fill each hole to the chosen depth. Firm lightly so soil contacts the clove without packing it hard.
-
Water if needed. Moisten dry soil to settle it. Do not soak a bed that is already wet.
-
Label and record. Note the variety, date, spacing, and bed location.
Watch our planting demonstration for a visual guide. Gather labels and other garlic planting essentials before starting.
5. Mulch and Check the Bed
Garlic planted in fall often benefits from mulch suited to local conditions. Clean straw or shredded leaves can reduce weeds and temperature swings. Avoid thick, wet grass clippings that form a dense mat.
In cold New England gardens, UNH Extension recommends adding winter mulch after the ground freezes. Timing and depth may differ in wet or mild regions.
Check the bed after strong wind or heavy rain. Replace displaced mulch without burying shoots under a packed layer. If leaves appear before winter, do not assume the crop has failed.
In spring, make sure shoots can push through. Gently loosen mulch where it blocks growth.
6. Follow Growth Through Harvest
During the growing season, check soil moisture and remove weeds while small. Avoid deep hoeing near shallow roots.
Hardneck plants often form garlic scapes in late spring or early summer. Cut them while tender and curling. They add flavor to a stir fry, and removal can help the plant produce a larger bulb.
When harvesting garlic, inspect bulbs instead of relying only on a date. Plants may be ready to harvest when lower leaves brown while several upper leaves remain green.
Lift a sample carefully. Look for developed cloves and intact wrappers. Follow our complete growing guide for watering, harvest, curing, and storage.
Conclusion
Planting garlic in the fall works best when timing, drainage, and spacing fit your site. Record what you do and compare results at harvest. Visit the Garlic Resource Center for help growing garlic in the fall and beyond.