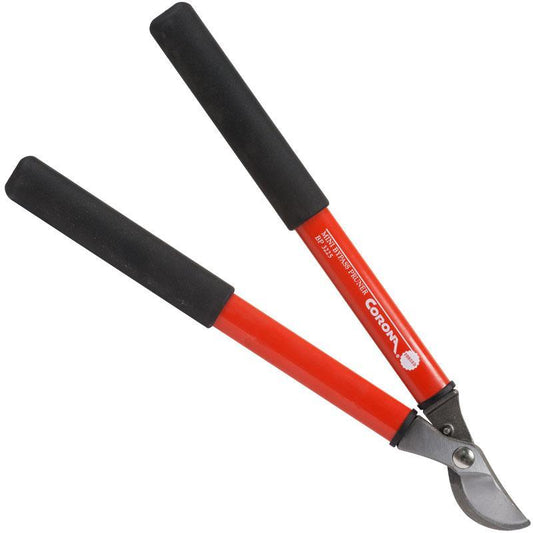
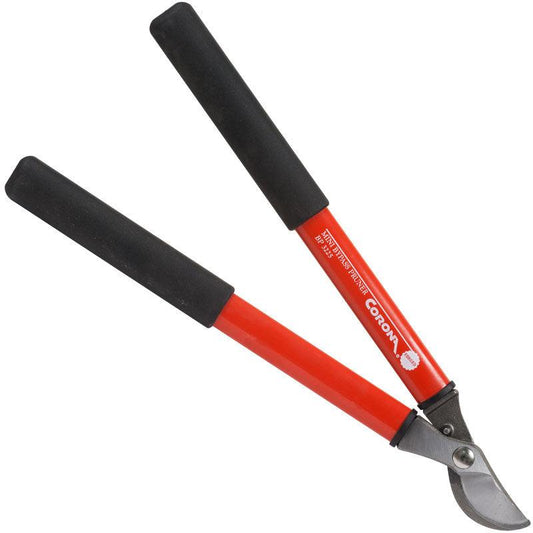
This video is a practical introduction to pruning tools and basic cuts. Use it as a visual companion to How to Prune Fruit Trees, which owns the complete planning, timing, training-system, and species-guidance pathway.
What the Pruning 101 video covers
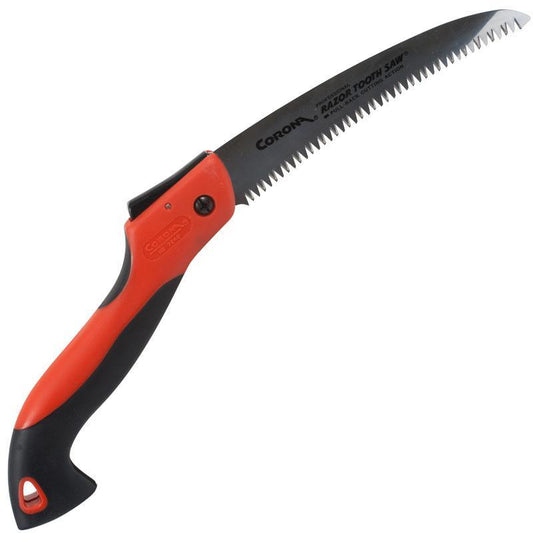
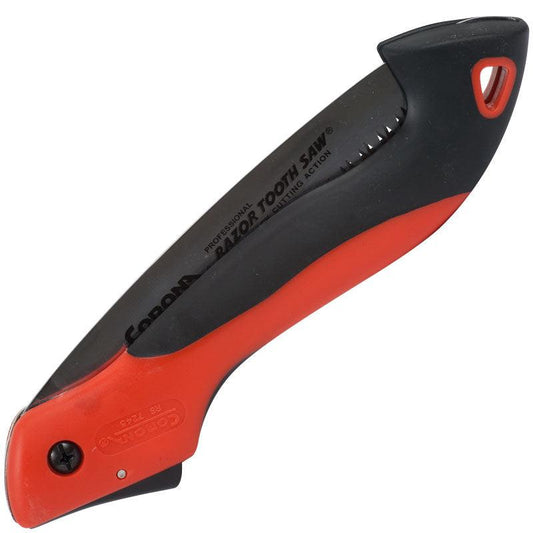
- Matching hand pruners, loppers, and pruning saws to the branch
- Recognizing thinning cuts and heading cuts
- Finding a branch collar and avoiding flush cuts
- Removing a larger limb in stages to reduce bark tearing
- Using sharp tools and basic protective equipment
- Pausing to reassess the canopy before making more cuts
Thinning cuts versus heading cuts
A thinning cut removes a shoot or branch back to its point of origin or to an appropriate lateral branch. It is useful for reducing crowding while retaining a natural canopy.
A heading cut shortens a shoot to a bud or short stub and often stimulates growth below the cut. Use it for a specific training or branching objective rather than shortening every shoot.
Removing a larger branch
Support heavy branches and use a staged cut so the falling limb does not strip bark from the trunk. Make the final cut just outside the branch collar. Do not cut into the trunk and do not leave an unnecessarily long stub.
Safety and limits
Wear eye protection and gloves, keep feet on stable ground, and stay clear of electrical conductors. Work requiring climbing, a chainsaw aloft, or removal of large hazardous limbs belongs with a qualified tree-care professional.
Fruit-tree context matters
Cut type is only part of the decision. Tree age, species, variety, rootstock, bearing habit, training system, climate, and disease pressure determine which branches should be removed. Continue with the written pruning pillar or a species-specific guide before making substantial cuts.
Browse pruning and cutting tools after confirming the tool size and type required for the work.