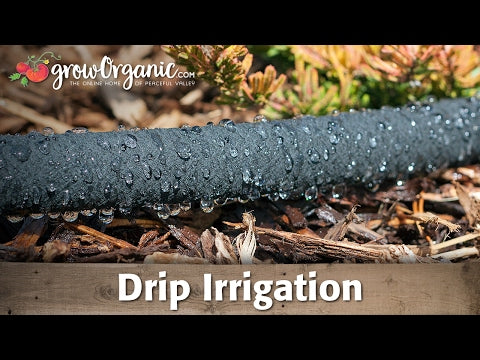
Drip Irrigation - Part 4: Using Emitterline in the Garden

Welcome to part 4 of our series on assembling a drip irrigation system. We're sharing tips on how to install emitterline. Before getting started, we recommend watching Part 1: How to Assemble a Drip Irrigation System. You can also watch our video on installing emitterline, where Tricia demonstrates its use in the garden.
Facts About Emitterline
- Best operating pressure is between 6 psi and 15 psi.
- Emitterline is ideal for meandering lines in garden beds or landscaping areas.
- Perfect for moderate water coverage for shrubs, perennials, trees, and garden beds.
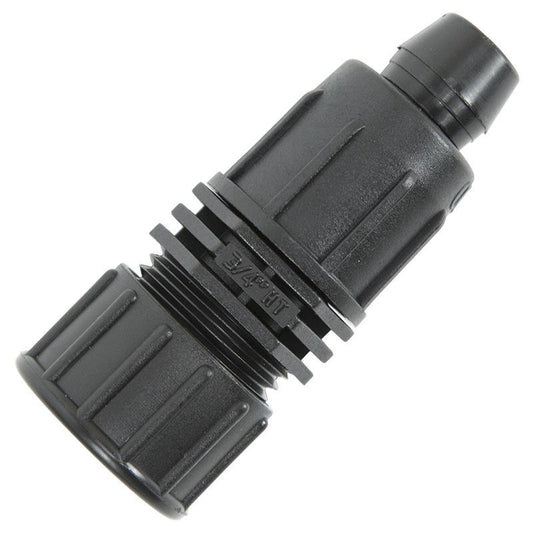
- It is available in 1/4" and 1/2" sizes.
- 1/2" emitterline has 1.0 GPH emitters spaced every 12" with a maximum run length of 216 feet at 25 psi and 357 feet at 55 psi.
- 1/4" emitterline has 0.5 GPH emitters spaced every 6" with a maximum run length of 18 feet.
Installing 1/2" Emitterline in Straight Lines
- Extend your 1/2" poly tubing along one full edge of the garden.
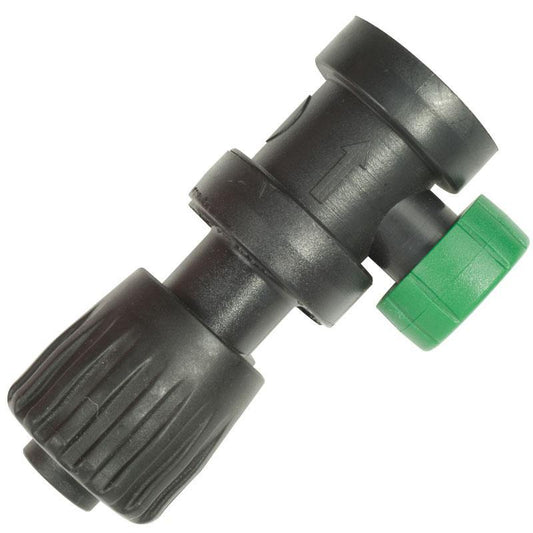
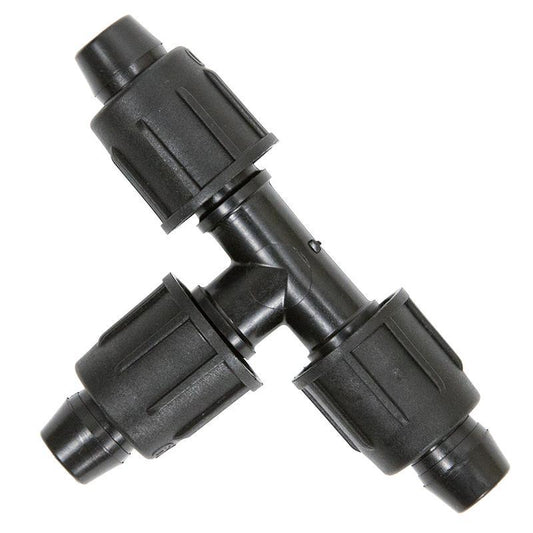
- At desired branching points, cut the poly tubing and insert a Power-Loc 1/2" Tee. Reconnect the tubing and ensure the third end faces the direction of the emitterline.
- At the end of the emitterline, install an End Cap or fold over the end using a 1/2" Figure 8 Closure.
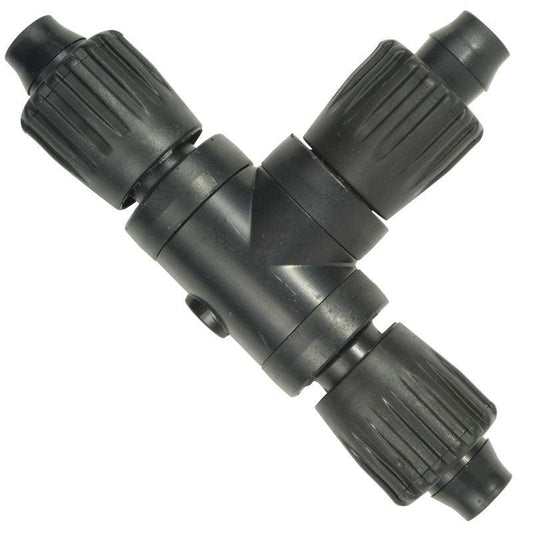
- Use elbows to make sharp turns and prevent kinks.
- Ensure emitterline holes face up when laying it down.
- Secure the emitterline with ground staples.
Conclusion
Emitterline offers a versatile and efficient solution for watering your garden. Install it today and Grow Organic for Life!