Planting bare root trees can be a rewarding and cost-effective way to establish fruit and nut trees in your garden or orchard.
Whether you're a novice gardener or a seasoned pro, this guide will walk you through the essential steps of planting bare root trees for the first time. We will also explore some of the most popular types of fruit and nut trees suitable for planting across the country.
Popular Fruit and Nut Trees for All Regions
Before diving into the "how to" of planting bare root trees, it's important to choose the right trees for your climate and location. Here are some popular fruit and nut tree varieties that can thrive in various regions of the country:
- Apple Trees: Classic favorite across the United States. They are available in numerous cultivars suitable for different climates. Some well-known varieties include the Honeycrisp, Fuji, Gala, and Granny Smith. Apples are versatile and can be used for fresh eating, baking, and making cider.
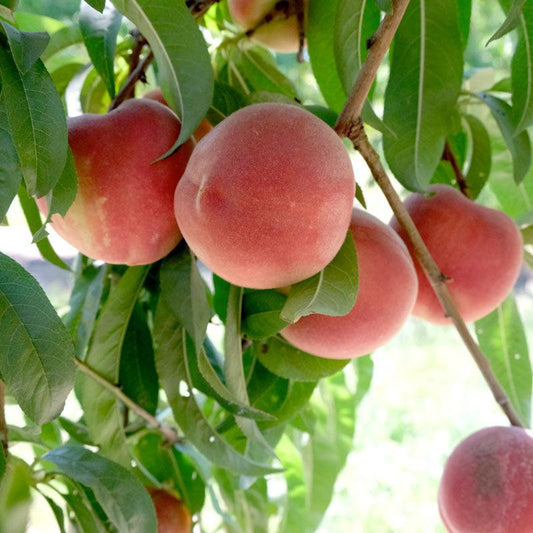
- Peach Trees: Popular in warm, sunny regions. Varieties like Elberta, Red Haven, and Georgia Belle produce sweet, juicy peaches that are perfect for summertime snacking and canning.
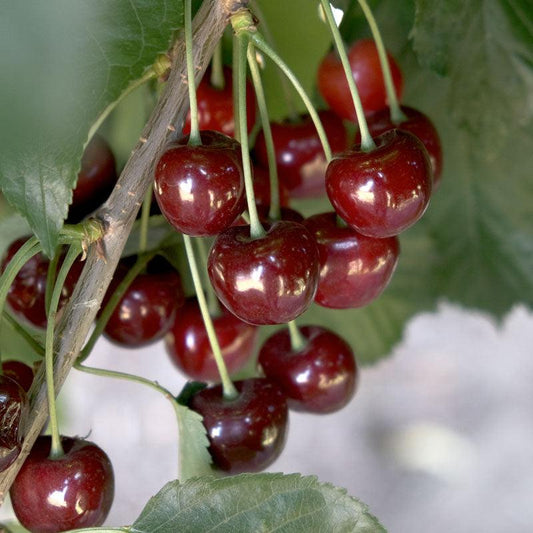
- Cherry Trees: Come in sweet and tart varieties. Sweet cherries like Bing and Rainier thrive in mild climates, while tart cherries such as Montmorency are more cold-hardy. Cherries are great for fresh eating and making pies.
- Pear Trees: Bartlett and Anjou, are well-suited to a wide range of climates. They produce delicious and juicy pears that are excellent for eating fresh or canning.
- Plum Trees: Santa Rosa and Methley, are known for their sweet and flavorful fruit. They are adaptable to various climates and are ideal for making jams and jellies.
- Nut Trees: Pecans, walnuts, and almonds can be grown in many regions of the country. Pecan trees are a staple in the South, while walnuts and almonds thrive in a broader range of climates. Nuts from these trees are not only tasty but also nutritious.
How to Plant Bare Root Trees: A Step-by-Step Guide
Step 1: Gather Your Supplies
Before you start planting bare root trees, it's essential to gather the necessary supplies. Here's what you'll need:
- Bare Root Tree: Purchase a bare root tree from a reputable nursery or supplier. Make sure it's healthy and dormant, typically available during the winter months.
- Shovel: A sturdy shovel will help you dig the planting hole.
- Pruning Shears: You may need these to trim any damaged or overly long roots or branches.
- Mulch: Organic mulch such as wood chips or straw will help retain moisture and regulate soil temperature.
- Stakes and Ties: These will provide support to the young tree as it establishes its roots.
- Watering Can or Hose: Adequate watering is crucial for the tree's initial growth.
- Fertilizer: This can promote root development and is helpful in setting up the trees for success in spring. We recommend Prime Start Booster Blend, and for detailed guidance on fertilizing newly planted fruit trees, follow this step-by-step guide.
Step 2: Choose the Right Location
Selecting the perfect location for your bare root tree is paramount to its success. While some fruit and nut trees are more adaptable to various conditions, it's essential to consider the specific requirements of the tree variety you've chosen.
- Sunlight: Most fruit and nut trees thrive in full sun (6–8 hours daily).
- Soil Quality: Conduct a soil test. Most fruit trees prefer slightly acidic to neutral, well-draining soil.
- Air Circulation: Avoid planting near obstructions. Good airflow prevents disease.
- Spacing: Ensure enough room for mature canopy growth and nutrient access.
For help selecting trees with the right size, vigor, and soil adaptability for your planting site, explore our Tree Rootstock Characteristics Chart. This resource compares common rootstocks and how they influence growth, disease resistance, and long-term performance.
Step 3: Dig a Proper Hole
- Size: Twice as wide as the root spread. Avoid excess depth.
- Depth: The crown should sit level with surrounding soil.
- Loosen Soil: Break up compacted bottom soil. Mix in compost if desired.
Step 4: Prepare the Tree
- Root Inspection: Trim damaged roots cleanly with sharp shears.
- Branch Pruning: Trim long or unbalanced branches to shape canopy.
Step 5: Place the Tree in the Hole
- Center the Tree: Ensure crown is level and upright.
- Spread the Roots: Fan roots evenly outward for stable growth.
Step 6: Backfill the Hole
- Tamping Down: Firm soil gently as you fill.
- Watering as You Go: Water in layers to eliminate air pockets.
Step 7: Add Mulch and Stake the Tree
- Mulch Application: Apply 2–4 inches, avoiding contact with trunk.
- Staking: Use soft ties if support is needed, but allow movement.
Step 8: Water Thoroughly
- Deep Watering: Saturate the root zone immediately after planting.
- Regular Watering: Maintain consistent moisture during first season.
Step 9: Monitor and Care for Your Tree
- Pruning: Remove dead/diseased branches and promote airflow.
- Fertilization: Follow specific nutrient needs per tree variety.
- Pest and Disease Management: Inspect regularly for early signs of trouble.
Step 10: Be Patient and Enjoy the Fruits (or Nuts) of Your Labor
It may take a year or more for your tree to establish and begin producing. But with care and patience, your investment will pay off for years to come.
Conclusion
Planting bare root trees is a rewarding endeavor that can provide you with a bountiful harvest for years to come. By following these detailed steps and considering the specific needs of your chosen tree variety, you'll give your tree the best possible start in its new home. Remember that each type of fruit or nut tree may have unique requirements, so always consult the specific care instructions for your selected tree. Happy planting, and may your orchard flourish and thrive!
For more information, see our collection of bare root fruit and nut trees.
Bare Root Tree Planting Resource Center
Embarking on the journey of planting bare root fruit and nut trees can be both exciting and rewarding. To ensure your success, we've curated a selection of expert articles, guides, and product recommendations to support you every step of the way.
Essential Reading & Guides
-
Planting Bare Root Trees for Beginners: A Comprehensive Guide
A step-by-step manual covering everything from site selection to post-planting care, tailored for novice gardeners. -
Planting Your Bare Root Fruit & Nut Trees
Detailed instructions on how to properly plant bare root trees to maximize their growth and fruit production. -
Debunking Bare Root Fruit Tree Myths
Addressing common misconceptions and providing clarity on best practices for bare root tree care. -
Rootstocks: The Unsung Heroes
An in-depth look at the role of rootstocks in tree growth, disease resistance, and fruit yield. -
Thinking About Potting Your Bare Root Tree?
Insights into the challenges and considerations of growing bare root trees in containers.
Nursery Stock & Products
-
Current Nursery Stock Availability
Stay updated on the latest availability of bare root fruit and nut trees to plan your planting accordingly. -
Fruit & Nut Trees Collection
Browse a diverse selection of bare root and potted fruit and nut trees suitable for various climates and garden sizes.