
9 Steps For Big Garlic (and how to grow large garlic bulbs)

If you’re searching for how to grow big garlic or how to grow large garlic bulbs, the “bulb size” recipe is surprisingly consistent: start with large cloves, give each plant space, keep growth steady through spring, then time harvest and curing correctly.
Quick answer (for bigger bulbs):
- Space cloves 6 inches apart (crowding is a top cause of small bulbs).
- Plant pointy end up, typically 1–2 inches deep (deeper in colder areas).
- Feed for strong leaf growth in early spring, then taper nitrogen as bulbing begins.
- Keep moisture consistent in spring, then taper watering as plants near maturity.
- For hardneck garlic, remove scapes to help direct energy into bulbs.
- Harvest when about half the leaves have yellowed, then cure in shade with airflow.
Step 1: Choose the right type for your climate
Garlic is often grouped into hardneck and softneck types. Hardneck garlic typically excels where winters are colder and produces a scape. Softneck types often perform well in milder winter regions and tend to store longer.
Helpful next read: Hardneck vs. softneck garlic.
Step 2: Plant at the best time
For most gardens, fall planting is the most reliable route to larger bulbs. The goal is to establish roots before winter, then push strong leaf growth in spring. In mild-winter areas, planting later in fall (or early winter) can be better than planting too early.

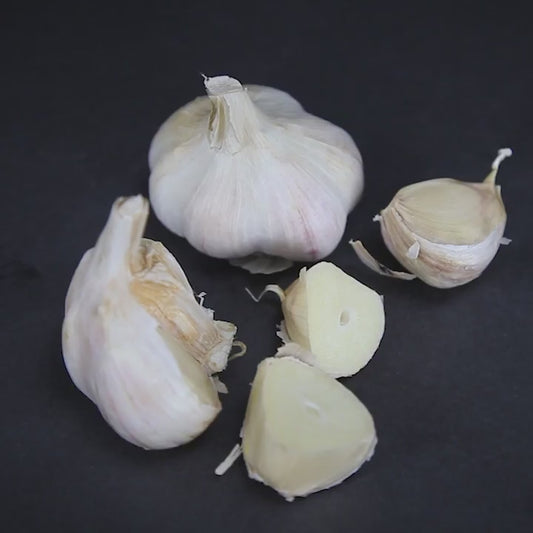
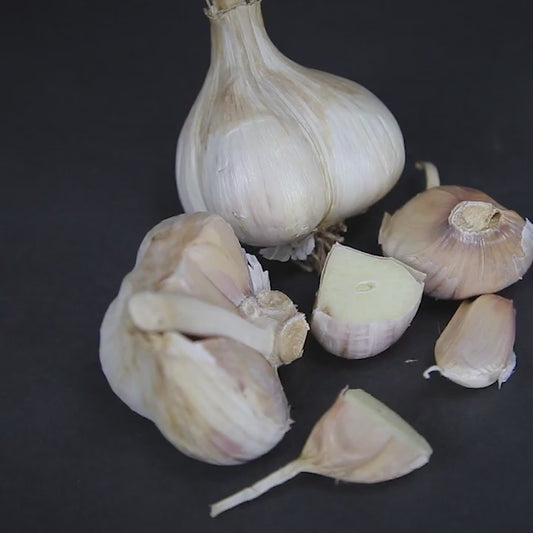
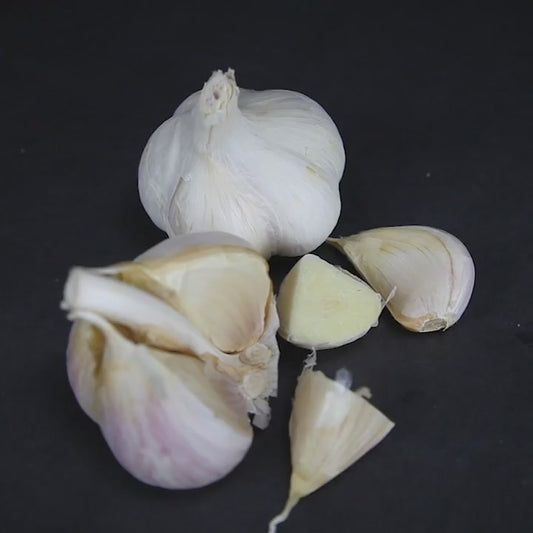
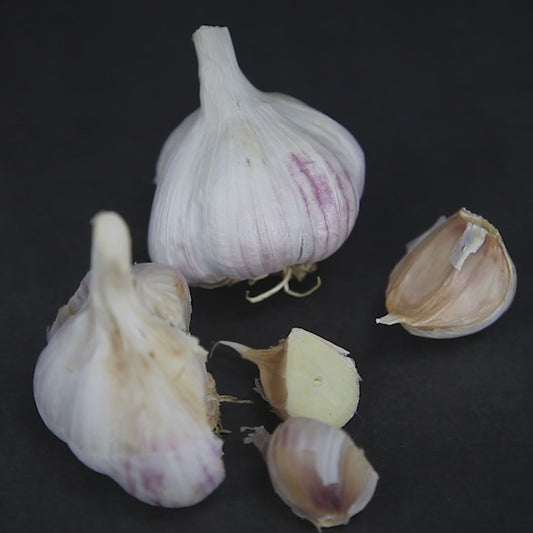
Step 3: Start with the biggest cloves
Bulb size is strongly influenced by planting stock. For larger heads, plant the biggest, healthiest cloves you have. Separate bulbs into cloves close to planting time, keep the papery skins on, and plant cloves pointy end up with the flat basal plate down.
Step 4: Space cloves 6 inches apart
If your goal is big bulbs, crowding is the enemy. Space cloves 6 inches apart within the row. Keep rows far enough apart that you can weed and water easily.

Step 5: Prep soil for drainage and easy root growth
Garlic sizes up best where roots can expand easily and excess water drains away. Before planting, loosen the top 6–8 inches and mix in compost. In heavier soils, raised beds can improve drainage and bulb shape.
If you like to fine-tune inputs, a soil test kit can help guide amendment choices.
Step 6: Mulch for steadier conditions and fewer weeds
Mulch reduces temperature swings, helps hold moisture, and blocks weed competition. After planting, apply a 3–4 inch layer of clean straw or leaves. Top it up if it breaks down over winter.
Step 7: Feed early, then taper late
Big bulbs require strong leaves first. In early spring (as growth resumes), side-dress with compost and/or a nitrogen-forward organic fertilizer. As bulbing begins (often late spring), taper nitrogen so plants shift energy into bulb development.
Step 8: Water steadily, then taper before harvest
Keep moisture consistent during spring growth and early bulbing. As plants near maturity (when lower leaves begin yellowing), taper irrigation so wrappers dry down more cleanly. Avoid soaking the bed late in the season.
Step 9: Remove scapes (hardneck), harvest, and cure correctly
Hardneck garlic produces a flower stalk called a scape. When scapes are tender and curled, remove them to help direct energy into bulb development.
Harvest timing matters for both size and storage. A practical cue: harvest when about half the leaves have yellowed but several green leaves remain. Use a fork or trowel to lift bulbs (don’t yank them), shake off loose soil, and move them out of direct sun.

Curing basics: cure bulbs in shade with good airflow until wrappers feel papery and necks are dry. Then trim roots and tops (or braid softnecks) and store in a cool, dry place with ventilation.
Why garlic bulbs stay small (quick troubleshooting)
- Cloves were small: start with larger planting stock.
- Planted too close: keep cloves 6 inches apart.
- Weeds competed early: weed pressure reduces bulb size.
- Too much late nitrogen: taper inputs as bulbing begins.
- Harvested too early: wait until about half the leaves yellow.
- Late heavy watering: taper moisture as maturity approaches.
Conclusion
If you're wondering how to get bigger garlic bulbs, success comes from following the basics throughout the growing season. Start with healthy individual cloves, choose the right types of garlic, and give your garlic plants proper spacing, consistent moisture, and the right fertilizer for garlic. Since garlic is a heavy feeder, using a quality garlic fertilizer or organic fertilizer for garlic early in the season and tapering nutrients as bulbs develop can help improve results.
Whether your goal is growing giant garlic, learning how to grow giant garlic, or simply how to grow great garlic, combining good care with proper harvest timing will reward you with larger, healthier bulbs year after year.


50 comments
Jefferey, One of the most common causes of rot in garlic and onions is caused from White Rot, Stromatinia cepivora, but I am not sure what the cause of your roots rotting in your garlic. Do you rotate the areas that you plant garlic? White rot can persist in the ground for years, so it is very important to rotate your planting areas. Here is a good article on White Rot that you may be interested in reading, https://www2.ipm.ucanr.edu/agriculture/onion-and-garlic/white-rot/
What causes root fungus and what do you do for it. I have been growing garlic for years and just recently I have had problems
Christy-one thing you can do is make sure you are rotating where you plant your onions and garlic. Stay out of the area with rust for at least 3 years. Make sure to keep your garlic and onions weed free. Many weeds can be the initial host and or carrier of the rust. Remove infected plants and put them in the trash and not your compost bin. The garlic you have this year, make sure you are destroying the infected plant parts and I would not recommend using any of the cloves to replant this fall. The disease is favored on stressed plants, on plants with excess nitrogen as well. Make sure you are not over or under watering your plants and they are kept as healthy as possible. Do not overhead water, I would recommend drip irrigation.
This year all of my garlic and onions suffered from rust, which affected the bulb size. This fall I will plant in a new area of the garden, but how can I prevent rust from happening again? Thanks for the great info!
Fran, are you sure it is not elephant garlic? That tends to be a little wetter than garlic. If it is garlic, then maybe it was not cured or at least not fully cured. That tends to increase the flavor of the garlic and makes the cloves also a little drier.