
9 steps for big garlic (and how to grow large garlic bulbs)

If you’re searching for how to grow big garlic or how to grow large garlic bulbs, the “bulb size” recipe is surprisingly consistent: start with large cloves, give each plant space, keep growth steady through spring, then time harvest and curing correctly.
Quick answer (for bigger bulbs):
- Space cloves 6 inches apart (crowding is a top cause of small bulbs).
- Plant pointy end up, typically 1–2 inches deep (deeper in colder areas).
- Feed for strong leaf growth in early spring, then taper nitrogen as bulbing begins.
- Keep moisture consistent in spring, then taper watering as plants near maturity.
- For hardneck garlic, remove scapes to help direct energy into bulbs.
- Harvest when about half the leaves have yellowed, then cure in shade with airflow.
Jump to a step:
- 1) Choose the right type for your climate
- 2) Plant at the best time
- 3) Start with the biggest cloves
- 4) Space cloves 6 inches apart
- 5) Prep soil for drainage and easy root growth
- 6) Mulch for steadier conditions and fewer weeds
- 7) Feed early, then taper late
- 8) Water steadily, then taper before harvest
- 9) Remove scapes (hardneck), harvest, and cure correctly
- FAQs
Step 1: Choose the right type for your climate
Garlic is often grouped into hardneck and softneck types. Hardneck garlic typically excels where winters are colder and produces a scape. Softneck types often perform well in milder winter regions and tend to store longer.
Helpful next read: Hardneck vs. softneck garlic.
Step 2: Plant at the best time
For most gardens, fall planting is the most reliable route to larger bulbs. The goal is to establish roots before winter, then push strong leaf growth in spring. In mild-winter areas, planting later in fall (or early winter) can be better than planting too early.

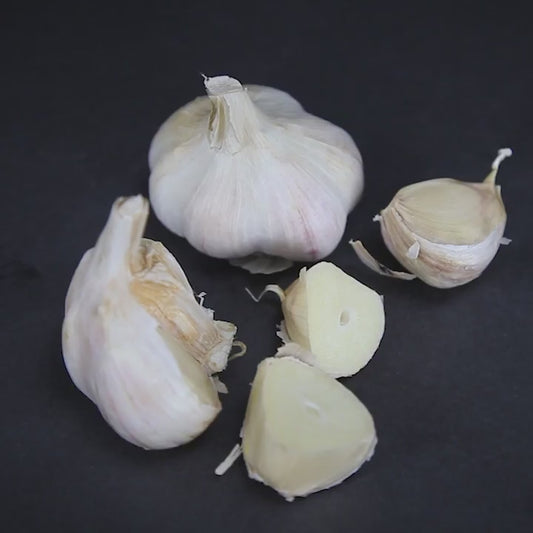
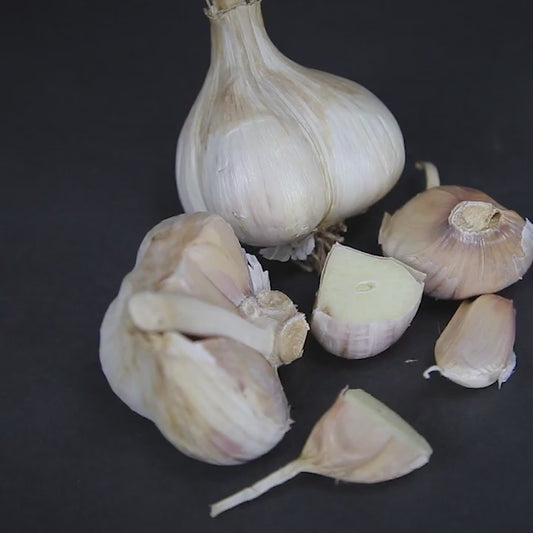
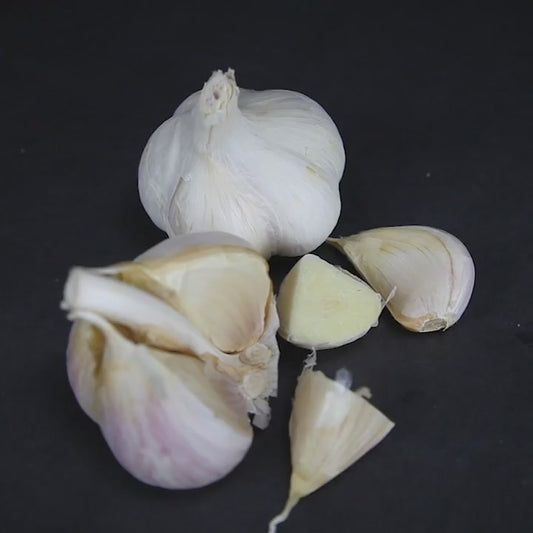
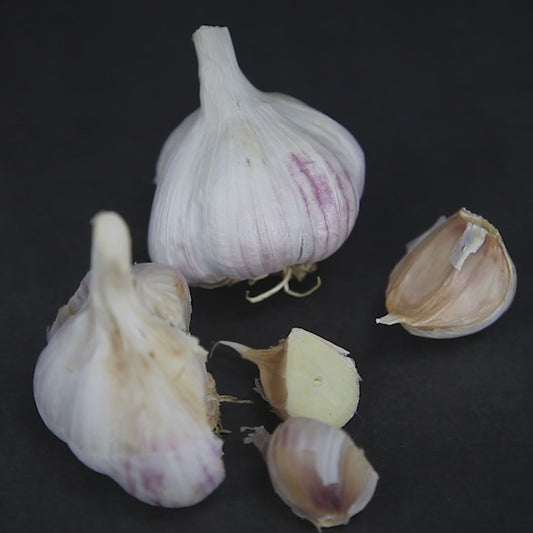
Step 3: Start with the biggest cloves
Bulb size is strongly influenced by planting stock. For larger heads, plant the biggest, healthiest cloves you have. Separate bulbs into cloves close to planting time, keep the papery skins on, and plant cloves pointy end up with the flat basal plate down.
Step 4: Space cloves 6 inches apart
If your goal is big bulbs, crowding is the enemy. Space cloves 6 inches apart within the row. Keep rows far enough apart that you can weed and water easily.

Step 5: Prep soil for drainage and easy root growth
Garlic sizes up best where roots can expand easily and excess water drains away. Before planting, loosen the top 6–8 inches and mix in compost. In heavier soils, raised beds can improve drainage and bulb shape.
If you like to fine-tune inputs, a soil test kit can help guide amendment choices.
Step 6: Mulch for steadier conditions and fewer weeds
Mulch reduces temperature swings, helps hold moisture, and blocks weed competition. After planting, apply a 3–4 inch layer of clean straw or leaves. Top it up if it breaks down over winter.
Step 7: Feed early, then taper late
Big bulbs require strong leaves first. In early spring (as growth resumes), side-dress with compost and/or a nitrogen-forward organic fertilizer. As bulbing begins (often late spring), taper nitrogen so plants shift energy into bulb development.
Step 8: Water steadily, then taper before harvest
Keep moisture consistent during spring growth and early bulbing. As plants near maturity (when lower leaves begin yellowing), taper irrigation so wrappers dry down more cleanly. Avoid soaking the bed late in the season.
Step 9: Remove scapes (hardneck), harvest, and cure correctly
Hardneck garlic produces a flower stalk called a scape. When scapes are tender and curled, remove them to help direct energy into bulb development.
Harvest timing matters for both size and storage. A practical cue: harvest when about half the leaves have yellowed but several green leaves remain. Use a fork or trowel to lift bulbs (don’t yank them), shake off loose soil, and move them out of direct sun.

Curing basics: cure bulbs in shade with good airflow until wrappers feel papery and necks are dry. Then trim roots and tops (or braid softnecks) and store in a cool, dry place with ventilation.
Why garlic bulbs stay small (quick troubleshooting)
- Cloves were small: start with larger planting stock.
- Planted too close: keep cloves 6 inches apart.
- Weeds competed early: weed pressure reduces bulb size.
- Too much late nitrogen: taper inputs as bulbing begins.
- Harvested too early: wait until about half the leaves yellow.
- Late heavy watering: taper moisture as maturity approaches.
FAQs: How to grow big garlic bulbs
What makes garlic bulbs grow bigger?
Large cloves, full sun, space (6 inches apart), low weed competition, steady spring growth, timely scape removal (hardneck), and harvesting at the right leaf stage all support bigger bulbs.
When should I plant garlic for the largest bulbs?
Fall planting is the most common approach for large bulbs because it establishes roots before winter and supports strong spring leaf growth.
How far apart should I plant garlic for big bulbs?
Space cloves 6 inches apart. This reduces competition and is one of the most reliable levers for improving bulb size.
How deep should I plant garlic cloves?
A common guideline is 1–2 inches deep, with deeper planting in colder climates. Plant pointy end up and keep the clove firmly covered.
Should I plant small or large cloves?
Plant the largest, healthiest cloves you can. Bigger planting stock typically produces bigger bulbs at harvest.
Do I need to remove garlic scapes?
Only hardneck garlic produces scapes. Removing scapes when curled and tender helps direct energy toward bulb development.
What fertilizer helps grow bigger garlic?
Compost plus early-season nitrogen is a common approach. Focus feeding in early spring, then taper nitrogen as bulbing begins.
When should I stop watering garlic?
Keep moisture consistent through spring, then taper as plants near maturity (when lower leaves begin yellowing) to help wrappers dry down.
When is garlic ready to harvest?
Harvest when about half the leaves have yellowed but several green leaves remain. Lift bulbs carefully, then move them out of direct sun.
How do I cure garlic for better storage?
Cure in shade with strong airflow until wrappers are papery and necks are dry. Then trim and store in a cool, dry place with ventilation.


50 comments
Nick, you might want to consider getting a soil test. Possibly there is not enough phosphorus and nitrogen to grow a good size bulb. Also are you getting enough cold if you are growing hardnecks?
Elisabeth, as long as the garlic leaves are fully composted, they should not be a problem.
Hi there,
I’ve been growing hard neck garlic in Northern Ontario for a few years now. The bulbs are full sized, but I’m only getting 2 or 3 massive cloves per bulb. Every so often I do get a bulb with 4 to 6 cloves but it’s rare.
These are purple stripe garlic and everywhere says that a bulb should have between 8 and 10 cloves, but I’ve never seen a bulb come close to that.
The plants are otherwise large and healthy. They grow in well drained soil and deep mulch.
I’ve read that you shouldn’t plant legumes in soil that previously had garlic planted in it. I just finished curing my garlic and am getting ready to put the discarded leaves from the garlic plants into the compost. Would compost containing garlic leaves also be detrimental to legumes if added to the soil prior to planting?
Elisabeth, hard to say what your garlic needs, without knowing what level of nutrients you have in your soil. You may want to consider doing a soil test to find out. Garlic can not size up for several reasons: not enough phosphorus and nitrogen, not the right garlic for your growing zone (hardnecks will not size up if they do not get enough cold in winter), soil too warm in the summer (which will cause bulbs to stop increasing in size). If you do not want to feed with any animal based fertilizers, you can use soft rock phosphate for phosphorus and soy-based fertilizers or alfalfa meal for your nitrogen. Kelp has no to very little nitrogen or phosphorus, not sure the amount of nutrients in alfalfa tea.