How to Harvest Amaranth Seeds Without Losing Them (Step-by-Step Guide)
Growing amaranth is rewarding, but harvesting it correctly can be tricky. The seeds are tiny, and if you wait too long or handle them roughly, they can easily fall and be lost.
This guide explains how to harvest amaranth, including when to harvest, how to collect seeds efficiently, and how to avoid common mistakes. Whether you are growing for greens or amaranth grain, timing and technique matter.

Why Harvesting Amaranth Properly Matters
Amaranth has been grown for centuries in regions like Central America as a reliable, highly nutritious food crop. The seeds are rich in protein and often used as a health food or cooked into dishes like porridge or popped amaranth.
However, unlike larger grains, amaranth seeds are very small and can scatter easily. Careful amaranth harvesting ensures you actually keep what you grow.
Here’s a refined and slightly expanded version of your section. It keeps your structure but adds clarity so beginners understand what to look for and exactly what to do without overcomplicating it.
When to Harvest Amaranth
Understanding when to harvest amaranth is the most important step. Harvest too early and seeds are immature. Wait too long and they fall to the ground.
Signs Amaranth Is Ready to Harvest
- The seed head feels dry and slightly rough, not soft or green
- Seeds fall off easily when you rub the flower head between your fingers
- Lower leaves turn yellow or start to drop
- The top of the plant looks dry while the stem may still be green

These are clear signs the plant is ready to harvest.
If you are unsure when is amaranth ready to harvest, gently rub a seed head over your hand. If you see tiny seeds falling out, it is time.
Amaranth Harvest Time
Typical amaranth harvest time is:
- About 90 to 120 days after planting for grain amaranth
- Earlier if you are harvesting leaves or flowers
Try not to delay once seeds are mature. Wind, birds, or rain can cause significant seed loss.
How to Harvest Amaranth Seeds
Learning how to harvest amaranth seeds properly helps you keep as many seeds as possible.
Step-by-Step Harvesting Method
1. Cut the seed heads
Use clean scissors or pruners to cut mature flower heads. Choose heads that look dry and full.
2. Place in a container right away
Put them directly into a bucket, cloth bag, or paper bag. This prevents loose seeds from falling to the ground.
3. Let them dry further
Even if they seem dry, place them indoors in a warm, airy space for about 5 to 7 days. This makes seed removal easier.
4. Remove the seeds
Once dry, gently rub or crumble the seed heads between your hands. You will see seeds separate from the plant material.
5. Pour the seed mixture
As seeds loosen, pour the seed mixture into a container. You can repeat the process to remove more seeds.
This method is simple and reliable for harvesting amaranth seeds without losing them.
How to Harvest Amaranth Grain Efficiently
If you are working with many plants, small adjustments help reduce loss.
- Harvest early in the morning when moisture keeps seeds from falling easily
- Place a tarp, sheet, or container under plants while cutting
- Handle seed heads gently to avoid shaking seeds loose
This approach makes harvesting amaranth grain more efficient, especially for larger plantings.

Cleaning and Storing Amaranth Seeds
After you harvest amaranth seeds, they will contain bits of dried leaves and stems.
Cleaning Seeds
- Use a kitchen sieve or screen to remove larger pieces
- Gently blow across the seeds or use a fan to separate lighter chaff
- Repeat until seeds look clean
Storage Tips
- Store seeds in a dry, airtight container
- Keep them in a cool, dark place
- Make sure seeds are fully dry before storing to prevent mold
Proper storage keeps seeds usable for cooking or planting later.
Harvesting Amaranth Leaves and Flowers
Amaranth is useful beyond seeds.
How to Harvest Amaranth Leaves
- Cut young leaves when plants are about 6 to 10 inches tall
- Harvest outer leaves first so the plant continues growing
- Pick regularly for tender, better-tasting greens
Learning how to harvest amaranth leaves lets you enjoy fresh greens early in the season.
When to Harvest Amaranth for Cut Flowers
- Cut flower spikes when they are fully formed but still bright in color
- Varieties like love lies bleeding are ideal for arrangements
Knowing when to harvest amaranth for cut flowers helps them last longer after cutting.
Common Mistakes When Harvesting Amaranth
Many beginners lose seeds because of timing or handling.
Avoid These Issues
- Waiting too long after seeds mature
- Harvesting on windy or rainy days
- Shaking or handling seed heads too roughly
- Skipping the drying step before removing seeds
Good timing and gentle handling are key to a successful amaranth harvest.
Growing and Harvesting Amaranth Successfully
A strong harvest starts with healthy plants.
- Grow amaranth in full sun
- Use well-draining soil, meaning water does not sit around roots
- Water regularly early on, then reduce as plants mature
- Watch for pests like flea beetles, especially on young plants
Amaranth is naturally drought tolerant, so once established, it requires less attention.
With proper care, growing and harvesting amaranth becomes a simple and reliable process each season.
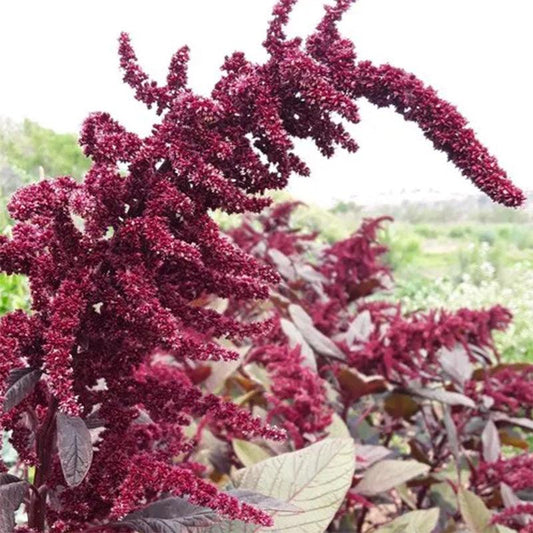
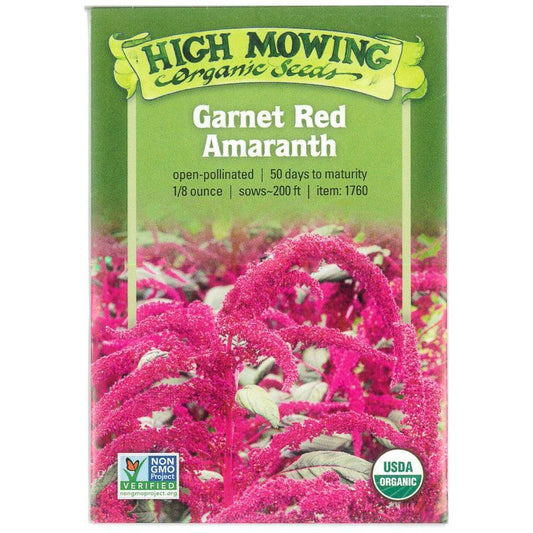
Recommended Amaranth Varieties
Choosing the right variety helps improve harvest results.
-
Organic Amaranth, Burgundy (1 oz)
- A good option for amaranth grain production
-
Organic Greens, Red Amaranth (1 oz)
- Ideal for harvesting tender leaves
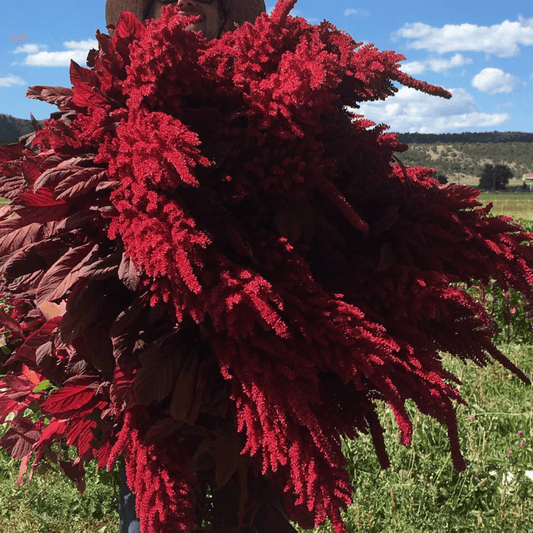
-
Love Lies Bleeding Amaranth Flower Seeds
- Excellent for ornamental use and seed production
For a complete growing and harvesting overview, see red amaranth from seed to table.
Conclusion
Learning how to harvest amaranth grain and seeds properly makes a big difference in how much you actually keep. The key is timing, gentle handling, and proper drying.
Once you understand when to harvest amaranth seeds and how to process them, this crop becomes one of the easiest and most productive plants in your garden. Whether you grow it for greens, flowers, or grain, amaranth offers reliable harvests with minimal effort.