Item Number: FPO157
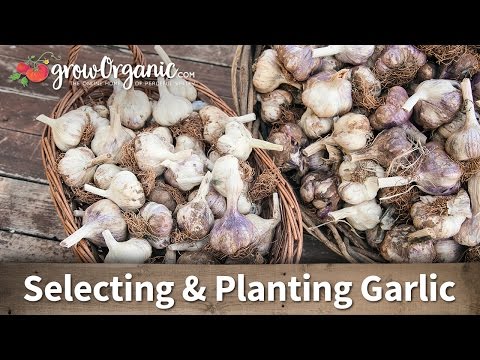
Organic Norquay Garlic (lb)
Robust cloves ideal for chillier regions
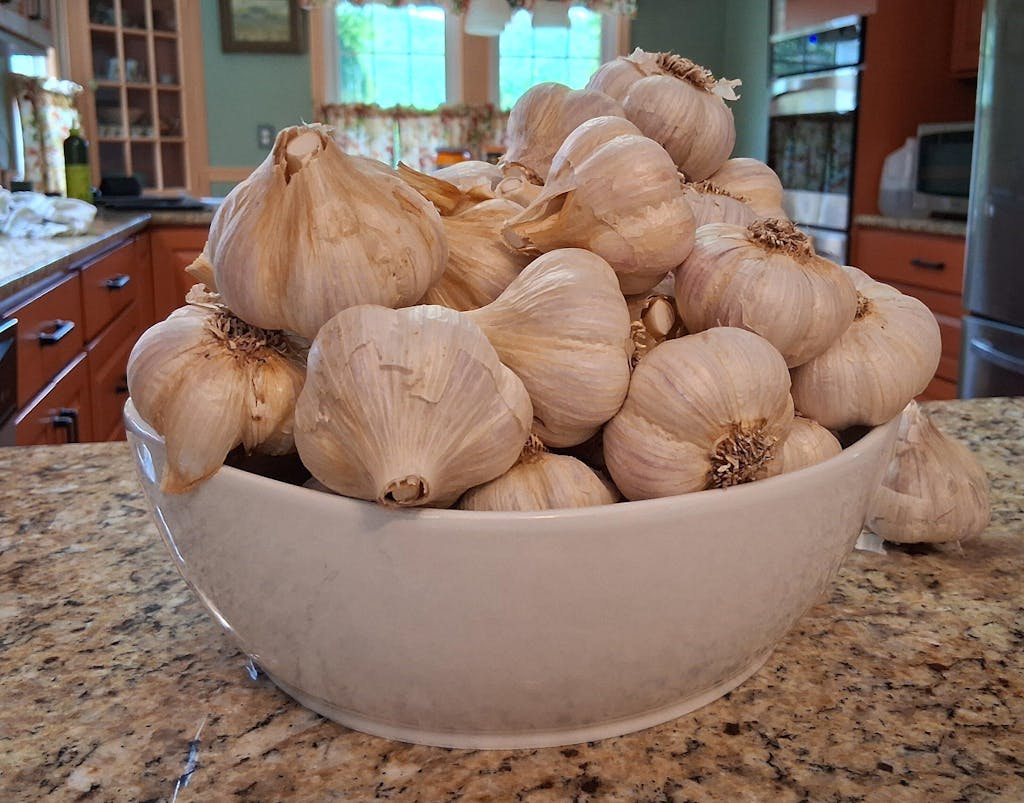
Organic Norquay Garlic is a premium Porcelain hardneck variety renowned for its large, easy-to-peel cloves and exceptional cold tolerance. Each bulb typically contains 5–8 robust cloves wrapped in creamy white skins. Its bold, spicy flavor profile makes it a go-to choice for those who love garlic with character—perfect for hearty stews, roasted entrées, and fresh salsas alike.
This Canadian heirloom thrives in northern climates and delivers reliable yields when fall-planted and grown in fertile, well-drained soil. Norquay’s vigorous growth habit and natural disease resistance make it a strong performer in gardens where winters are long and temperatures drop low. It’s an excellent choice for both culinary and storage purposes, thanks to its impressive bulb size, hardiness, and flavor retention.
Favored by gourmet chefs and home gardeners alike, Norquay Garlic combines beauty, resilience, and flavor. Its easily peelable cloves and rich heat make it a standout for raw preparations as well as cooked dishes. With proper curing, this garlic stores well for months, making it a practical and delicious addition to your garlic-growing lineup.
- Porcelain Hardneck Garlic.
- Excellent choice for cooler climates and northern gardens.
- Bold, spicy flavor with smooth heat and savory depth.
- Large, white bulbs with 5–8 easy-to-peel cloves each.
- Cold-hardy and ideal for fall planting.
- Thrives in well-drained, fertile soil with consistent moisture.
- Strong performer with excellent storage and curing potential.
Flavor and Aroma Profile
-
Flavor Profile: Norquay delivers a bold, well-rounded flavor with moderate heat that builds on the palate. This Porcelain variety shines in both raw and roasted forms—offering deep savory notes, a touch of sweetness when cooked, and an assertive kick when fresh. It's a versatile garlic that enhances everything from sauces and sautés to dressings and marinades.
-
Aroma Profile: When chopped or crushed, Norquay Garlic releases an earthy, pungent aroma with warming spice and intensity. Its fragrance deepens during cooking, adding rich depth to soups, stir-fries, and roasted dishes. In raw applications, its powerful scent stands out in pestos, dips, and compound butters.
Planting Time
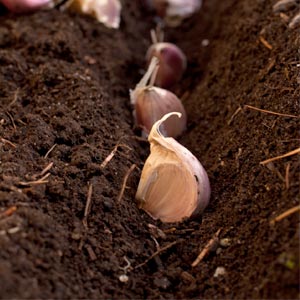
It is typically planted in the fall for a summer harvest, similar to other hardneck garlic varieties. Planting in the fall allows the cloves to establish roots before winter sets in, leading to healthier plants and larger bulbs.
Scaping
Hardneck garlic varieties like this garlic produce scapes, curly flower stalks that emerge from the center of the plant. While the scapes are edible and delicious, their removal redirects energy to bulb development, resulting in larger cloves. Harvest scapes when they curl once or twice and use them in culinary dishes like pesto or stir-fries.
Read our blog about The Differences Between Hardneck vs Softneck Garlic to learn more.
Storage and Preservation
How to Store Fresh Garlic
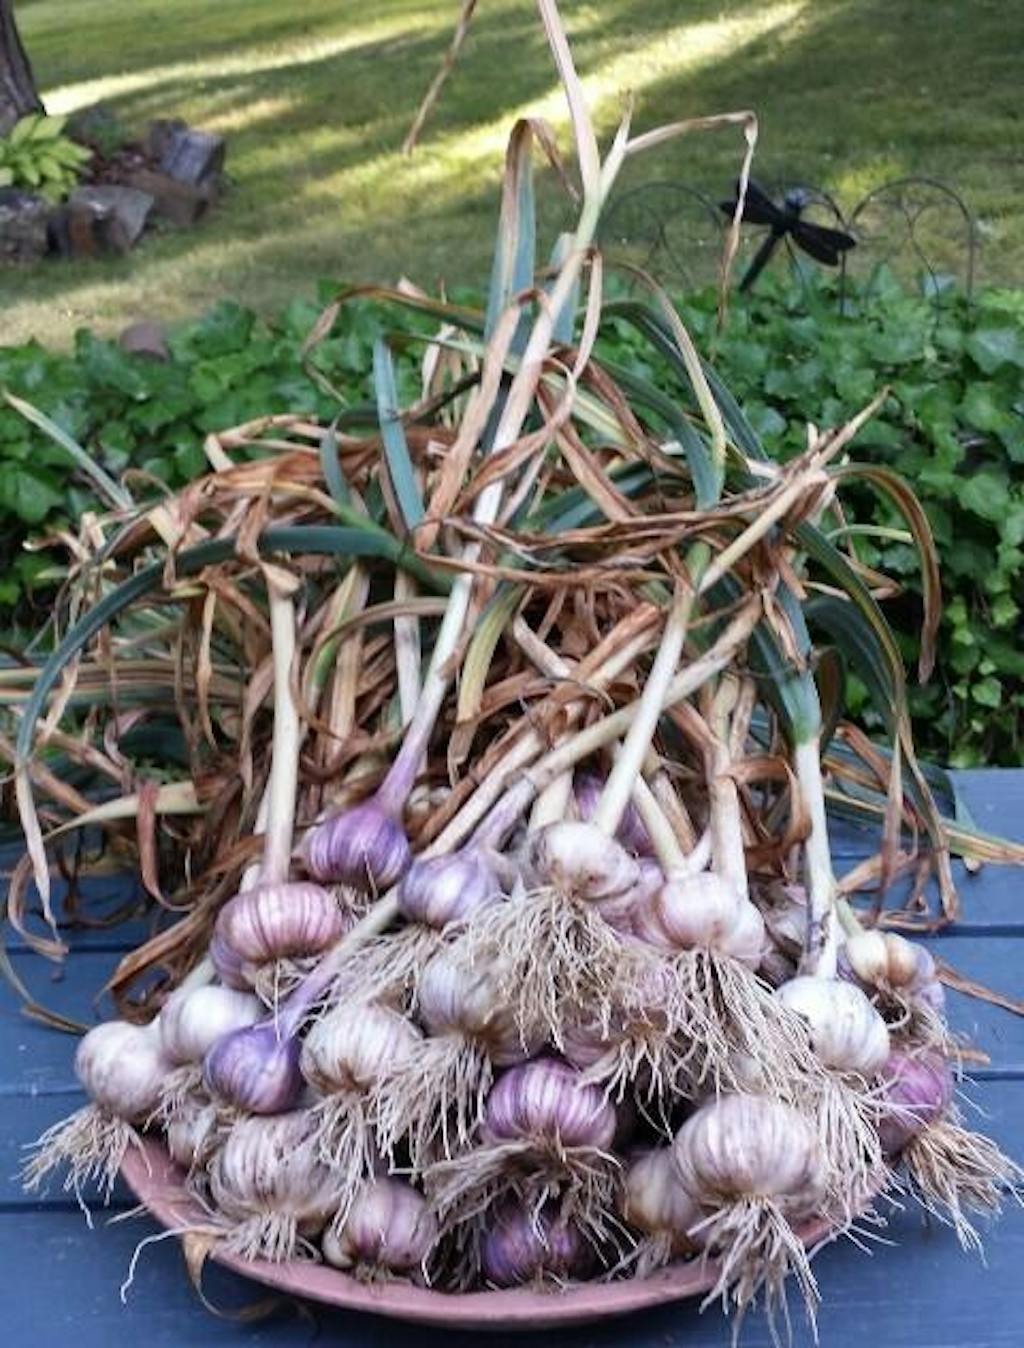
Once harvested in early to midsummer, allow the green stalks to completely dry and turn brown to ensure the garlic is fully cured. For best results, hang the hardneck bulbs in a cool, dry, and airy location to promote proper curing and preserve their bold flavor and nutrients. This type of garlic keeps well for several months, making it an excellent choice for both fresh and roasted dishes.
Preserving Garlic for Long-Term Use
To extend the shelf life of this garlic, harvest when the foliage has fully browned and the bulbs have reached maturity. Cure them in a dry, breezy location to retain their aromatic flavor and beneficial compounds. With its smooth texture and well-balanced taste, this garlic variety enhances everything from sauces to roasted vegetables, while holding its freshness in long-term storage.
Best Practices for Drying and Freezing
Freezing garlic after it has been properly cured is an effective way to extend its shelf life while maintaining its rich flavor and quality. Depending on your future use, you can freeze it in several forms—whole bulbs, individual cloves (peeled or with skins), or even minced. Although it’s possible to freeze garlic right after harvest without curing, it’s usually not advised. High moisture levels in uncured garlic can cause a soft or mushy texture once thawed, and the flavor may not be as robust.
Why Order From Us?
We proudly offer premium hardneck garlic varieties like Norquay Garlic, carefully cultivated by experienced growers to ensure excellent germination and vigorous growth. Sold by the pound, this variety thrives in both fall and spring plantings and adapts well to a range of climates. Place your order today to explore our full selection of hardneck seed garlic varieties and softneck seed garlic varieties—ideal for cultivating a garden full of bold, delicious flavor.
** For more information, see our Garlic Resource Center and try out our Garlic Selector Tool to find the perfect garlic for your growing zone and tastes. Or check out all of our Garlic Learning Blogs where our staff have selected dozens of articles, videos, recipes and tips to help you learn how to successfully grow garlic bulbs.**


Check Your Zone Compatibility:

Our Guarantee To You
Since 1976, we've served our customers at every stage of growing. Please contact us at any time. We are happy to support and assist you.
Shipping Information
Shipping Information
We cannot delay ship garlic/shallots. They will be shipped as soon as they are in stock.
Cannot ship to the following states: HI, ID, PR, GU, VI
Shipping Weight: 1.1 lb
Dimensions: 5.0"L x 3.0"W x 3.0"H
Features
Features
- Bulb
- Container Compatible
- Easy to Peel Cloves
- Hardneck
- Spicy Flavor
- Suited to Cold Climates
- WSDA Certified Organic
Characteristics
Characteristics
Planting & Care
Planting & Care
Useful Information
Useful Information
Guarantee
Guarantee
Limited Seed Garlic Guarantee (When Planted by November 15th)
Claim Deadline is 45 Days from Purchase or Delivery. (Claims placed after December 31st will be denied.)
What We Guarantee
Our only guarantee is that the seed garlic we sell will germinate, provided you follow the steps listed in our Garlic Planting & Growing Guide. This guarantee is only available to customers who purchase their seed garlic directly from us.
What We Cannot Guarantee
We cannot guarantee that your garlic will remain alive & healthy, or sizes up properly, as there are too many variables beyond our control to be able to do so (i.e. soil preparation, fertilization, weed and pest control, temperature control, irrigation, etc).
How to Request a Credit
If you encounter a significant lack of germination of your garlic (over 50%), please contact us within 45 days of delivery. If we determine that your garlic had a significant lack of germination, we will issue you a credit (not a refund) for the purchase price of your garlic (excluding shipping).* This 45-day time frame is meant to allow you up to 2 weeks to plant your garlic, and up to 4 weeks to check for signs of growth.
(*) We reserve the right to not issue credit for items already replaced. We also reserve the right to require photographic evidence of the lack of germination of your garlic.