Step-by-Step Drip Tape Installation for Successful Drip Tape Irrigation
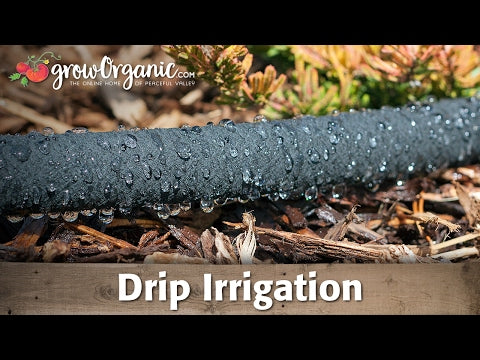
When it comes to efficient watering, drip tape irrigation is one of the best ways to keep your vegetable garden thriving while saving water and time. In this guide, we’ll walk you through everything you need to know about drip tape installation—from setup to troubleshooting—so you can build a reliable and water-efficient drip irrigation system that lasts all season long.
If you haven’t already, start by watching Drip Irrigation Part 1: Set-Up at the Faucet to learn how to connect your water source and mainline tubing. Once your mainline is ready, you can move on to installing your drip tape and finishing your system with confidence.

What Is Drip Tape?
Before you begin, it’s important to understand what drip tape is and why it’s so effective. Drip tape (sometimes called irrigation tape or tape drip) is a thin, flat tubing that expands when filled with water. Along its length are evenly spaced emitters—often every 12 inches—that allow water to drip slowly and evenly into the soil. This watering system ensures your plants get consistent moisture right at the root zone, which greatly reduces water waste and disease pressure.
Drip tape works best for straight rows of crops and is commonly used in systems for vegetables like tomatoes, peppers, and greens. Most gardeners choose between 8 mil and 15 mil thicknesses depending on how long they plan to leave the tape in place.
How to Install Drip Tape
When learning how to install drip tape, start by running your mainline tubing down the center or along the top of your garden bed. From there, you’ll connect the drip tape using fittings designed for a tight, leak-free connection.
- Install a pressure regulator: A 10 PSI pressure regulator is highly recommended to maintain the correct pressure for your drip tape. Most tape irrigation products perform best below 10 psi to prevent bursting or uneven watering.
- Lay out your drip tape: Roll out your tape to the desired length—often 100 feet or more—and position it with the emitter holes facing up. This ensures even water flow and prevents clogging.
- Attach the tape: Use a drip tape layer attachment or double wheel hoe to help lay and bury the drip tape about an inch below the soil surface. Burying helps protect the tape from sun damage and keeps it in place.
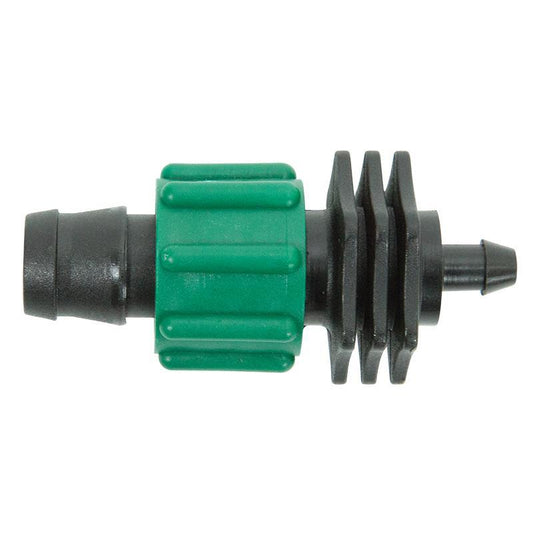
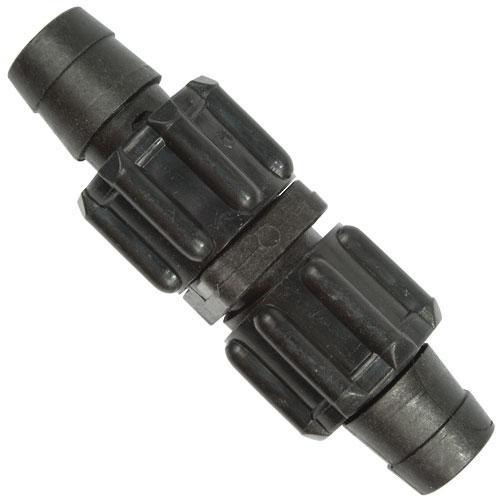
- Secure and end the line: Use end caps or clamps to close off the end of each row. To connect the drip tape to your mainline tubing, use barbed fittings with shut-off valves for easy control.
- Add fertilizer if needed: You can run water soluble fertilizer through the system using a fertilizer injector for efficient feeding while watering.
For a step-by-step visual, watch our full video tutorial on How to Install Drip Tape where Tricia demonstrates the installation process in action.
Tips for Successful Tape Irrigation
- Always flush your system before sealing the ends to remove debris.
- Keep your flow rate based setup balanced; check the gallons per minute output to ensure even watering.
- Avoid twisting or kinking the tape—this can reduce pressure and affect water distribution.
- If you plan to reuse your irrigation tape, remove it carefully after harvest, clean it, and store it out of sunlight.
Once you’ve completed your drip tape installation, your system should provide consistent, targeted watering that will save you time and water throughout the growing season.
If you’d like to take your irrigation to the next level, explore other options like emitterline systems (video guide here) or soaker hoses (video tutorial here). You can find all essential drip irrigation parts and accessories in our watering and drip irrigation collection.
For even better results, consider conducting a professional soil analysis to understand your soil’s nutrient profile before setting up your irrigation system.
With the right setup and care, placing your drip tape along the row ensures consistent, efficient watering all season long—helping you grow healthier plants while conserving water.