Transplant before Valley heat or after foothill frost only when six gates align: soil workability, soil temperature, local forecast, hardening, irrigation and realistic maturity. Start with a small batch and keep backups protected. The Sacramento Valley can lose the cool establishment window quickly; higher foothills can remain too cold even when lower elevations are planting.
Use the regional spring plan to decide which beds can support transplants. Check the soil guide for workability and cover termination, and the irrigation guide before new roots depend on the zone. Then match propagation, hardening and crop timing to the site's heat-to-frost window.
Subregional crop and timing matrix
| Segment | Spring opportunity | Transplant trigger | Main caution |
|---|---|---|---|
| Sacramento Valley floor | Finish cool crops and establish warm crops before severe heat | Clay workable, soil temperature fits crop, hardened start and moderate forecast | Cold wet roots followed quickly by heat |
| Delta-influenced gardens | Cooler sequence with wind-aware hardening | Starts tolerate exposure and covers/supports are anchored | Wind abrasion and different water demand |
| Lower Sierra foothills | Staggered cool-to-warm crops by elevation | Stable thaw, safe runoff path, soil temperature and frost margin | Using Valley schedule on a slope |
| Higher foothills/frost-snow zones | Protected cool crops and delayed warm transplants | Soil stable, local minimums and hardened stage align | Late frost, snow and short heat runway |
Pass six transplant gates
- Workability: Soil crumbles at planting depth and the slope is stable.
- Temperature: Repeated morning readings fit the crop, not just one warm afternoon.
- Forecast: Local frost, wind and heat allow establishment.
- Hardening: Starts have adjusted gradually to sun, wind and temperature.
- Water: The zone passes leak, pressure and wetting tests.
- Runway: Establishment plus maturity fits heat arrival or remaining frost-free time.
Catalog maturity is an estimate. Add time for transplant shock, cold soil, shortening or lengthening day response, smoke, pests and a backup event. A USDA zone is not a last-frost date.
Propagate in batches that preserve options
Label each crop and cultivar, measure media temperature and record emergence. Strong light, ventilation and root-zone moisture matter. A protected space can overheat on a sunny day and approach outdoor temperature at night.
Keep a later backup batch instead of placing every start in one uncertain window. If the bed remains wet, pot on only where crop guidance supports it. The seed-starting guide covers technique, and the soil-temperature guide covers measurement.
Harden to the actual destination
Gradually increase exposure. Valley starts need preparation for intense sun and warming afternoons; Delta starts need wind adaptation; foothill starts need cold and temperature-swing tolerance. Do not intentionally wilt plants as a routine.
Inspect for aphids, mites, earwigs, slugs and disease before moving starts. Keep hardening trays off unsafe wet soil. If a cover is used after planting, it still needs ventilation, anchoring and a plan for removal.
Sequence cool and warm crops without one calendar
Cool crops can bolt or lose quality as Valley heat builds, while warm crops can stall or suffer in cold wet soil. Define the desired harvest stage. Baby leaves, mature heads and fruiting crops require different runways. Use small successions and retire a crop when resource cost exceeds its remaining value.
Warm crops require crop-specific soil and air conditions, a functioning root-zone irrigation pattern and a forecast that supports establishment. In higher foothills, compare the full maturity interval with the next cold trajectory; a late warm transplant may lack a useful harvest runway.
Plan four crop transitions
Overwintered to spring harvest: Keep an established crop only while new growth, pest load and harvest quality justify the space. Do not fertilize a declining stand merely to keep it present. Cool succession to warm crop: Reserve time to harvest, manage residue, restore cover and test drip before the warm transplant arrives.
Protected start to outdoor bed: Coordinate root readiness with the bed and forecast. A start can be physiologically ready while clay is still wet. Spring planting to summer management: Define the heat trigger that ends establishment and starts shade, deeper root-zone monitoring or crop triage.
Use an eight-step transplant operation
- Water or condition the start according to crop guidance; do not move a wilted or saturated plant.
- Inspect leaves, stems, media and roots for pests, disease, circling and damage.
- Recheck soil moisture, temperature and workability at the exact location.
- Run the irrigation zone and confirm water reaches the future root volume.
- Review the short forecast for frost, wind, rain and heat.
- Plant at the crop-appropriate depth with minimal root disturbance.
- Apply only the water and protection the site evidence supports.
- Inspect overnight recovery and keep the backup batch until establishment is clear.
Scale establishment to water and labor
A full bed multiplies monitoring during the same narrow period. Count emitters, cover anchors, replacement starts and visits needed after frost or heat. If the gardener cannot check every zone, transplant a smaller batch and keep unused soil covered. More plants do not create a regenerative outcome when uneven irrigation causes repeated losses.
Separate containers, new transplants and established perennials. Their rooting volumes and recovery differ. Automation can reduce routine labor but introduces power, valve, program and sensor failures; it does not guarantee survival.
Respond to four establishment events
Late frost: Check crop tolerance and local minimum; use protection only if ventilated and anchored. Wait for injury to express before removing plants broadly. Cold rain: inspect drainage and delay planting into smeared clay. Delta wind: check abrasion, anchoring and root moisture before assuming drought. Sudden Valley heat: verify overnight recovery and emitter flow, then reduce exposure if appropriate.
After any event, compare the transplanted batch with the protected backup. If both decline, investigate seedling health or propagation. If only the field batch declines, focus on hardening, soil, water and exposure.
Diagnose transplant stress before feeding
Transplant stress is not automatically a nutrient deficiency. Cold roots, saturation, poor hardening and emitter failure can all limit uptake or growth. Use soil tests, crop need, label and bed history before adding fertilizer. Avoid concentrated material in the transplant hole unless crop and product guidance specifically support it.
Legume inoculation is crop- and product-specific. Compost and other organic inputs can add salts or excess nutrients. A small unamended comparison can help distinguish response where safe and appropriate.
Preserve pollinator and beneficial activity
Blooming cover and early crops can support beneficial organisms, but cover termination, weeds and habitat must also fit water, fire and pest constraints. Scout before removing all flowering material at once. If a pesticide is necessary, follow the label's bloom, pollinator, temperature and timing precautions.
Do not describe a product as universally safe or a plant as native without an authoritative geographic source. Use the spring IPM checks to identify the organism, count fresh damage and set a crop-specific threshold.
Rotate and keep roots with limits
Track plant families and known problems. Rotation can diversify residues but does not prevent every pest or disease. Succession extends root occupancy only when crops establish. Legume inoculation applies only to a compatible legume and inoculant and does not guarantee nitrogen fixation.
Between crops, retain healthy roots or surface cover where sanitation and planting allow. On foothill slopes, do not expose soil while waiting for a warm-crop date. On Valley clay, do not force a transplant to avoid an empty-looking bed.
Use frost and heat protection as measured tools
The low-tunnel guide covers technique. Protection can reduce exposure but cannot guarantee survival. Measure inside, vent, anchor and account for wind or snow load.
Temporary shade can reduce radiant stress during a hot establishment event, but it cannot compensate for a dry emitter or poorly hardened plant. Secure it, keep airflow and transition gradually.
Diagnose transplant failure
| Pattern | Check | Do not assume |
|---|---|---|
| Wilt only in hot afternoon, recovery overnight | Root moisture, radiant load and hardening | More water is always needed |
| Wilt persists in wet soil | Roots, saturation, cold and disease | Drought |
| One-sided torn/scorched leaves | Delta wind or sun exposure | Pest or disease |
| Clipped seedlings or holes | Earwigs, slugs, rodents and direct evidence | Frost alone |
| Uniform stalled growth | Soil temperature, light, nutrition and roots | Fertilizer deficiency |
Two local transplant examples
Valley warm-crop batch: Soil temperature is suitable, but drip output is uneven and heat is forecast. The gardener repairs the line, holds backups and transplants a small hardened batch during a moderate window. Root-zone recovery controls expansion.
Higher-foothill start: Snow is gone but soil is soft and frost remains credible. Starts stay protected, the bed remains covered and a cold-tolerant test moves only after soil, forecast and structure pass.
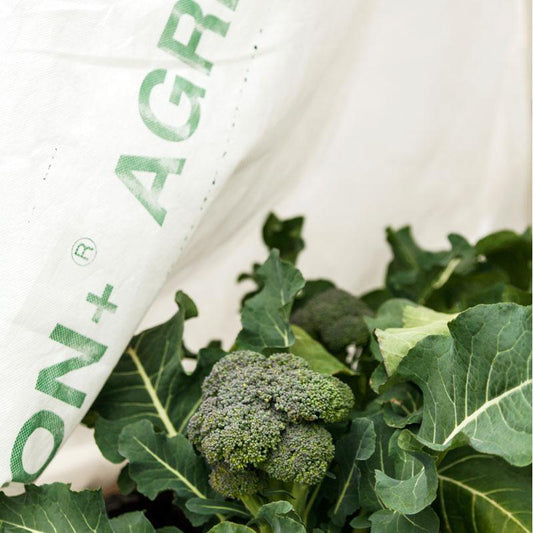
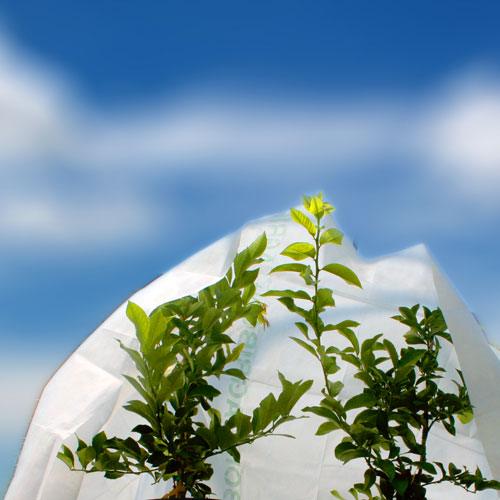
How to compare frost covers: Fabric weight changes both insulation and light transmission, so select the cover for the crop, forecast low and duration, bed dimensions, foliage contact, wind exposure, and ventilation plan. A cover works only when it extends over the complete canopy and its perimeter can be secured near the ground before temperatures fall. Check the temperature and moisture beneath it, edge gaps, wind abrasion, condensation, and daytime heat; open or remove it when light, pollination, or warming requires access. A timer, forecast, or product rating cannot account for every frost pocket, stored-soil-heat condition, or crop tolerance. Frost fabric may reduce exposure, but it cannot guarantee that plants will avoid injury or make a crop appropriate for the remaining seasonal runway.
Choose seed, propagation and protection after the gates
When the matrix supports planting, compare All Vegetable Seeds. For controlled starts, review Plant Propagation. For wind or cold, compare Floating Row Covers or Frost Protection. Recheck inventory, instructions and site fit.
Record the establishment outcome
Log segment, soil temperature/workability, crop/cultivar, hardening, forecast, wetting pattern, transplant date, recovery, pests, protection and harvest stage. Less failed planting and better use of the narrow window are intended outcomes, not guarantees. Shift the bed to summer care when heat—not the spring calendar—becomes the primary constraint.
Use the same field rating after transplant, the first night, the first weather event and one establishment interval later. Record upright growth, new leaf condition, root-zone moisture and whether the plant recovers after afternoon stress. Photograph the same plants, including a backup or later batch.
For a failed batch, name the dominant evidence. A dry pocket aligned with emitter spacing points toward distribution; a windward edge toward exposure; widespread collapse in wet cold soil toward roots or disease; clipped stems toward a biological investigation. Do not compress all outcomes into “transplant shock.”
Before expanding, ask whether the next batch inherits the same soil, water and forecast. If so, correct the constraint. If a moderate window has closed, change the crop, harvest stage or bed use. Keeping soil covered is preferable to repeated planting into a failed condition.
As summer begins, save the best-performing cultivar and location notes without turning them into guarantees. One mild spring does not prove cold tolerance, and one heat event does not define the full Valley or foothill region.
Include the actual harvest stage and water/labor used, not only survival. A transplant that lives but never reaches its intended harvest or growth purpose may still be a timing failure. Carry that evidence into the next spring's planting plan and separate crop performance from whether the planting steps were completed.
Review before repeating.
Use transplant records to plan the next season
Use your transplant and protection records when planning fall guidance, winter guidance, and summer guidance.
If your microclimate resembles another region, compare Bay-Area guidance, SoCal guidance, and Rockies guidance. Apply only advice that fits local soil, exposure, forecast, water and crop response.